Skip to product information
Arrow - Left
Arrow - Right
Save $9 + Free Bag

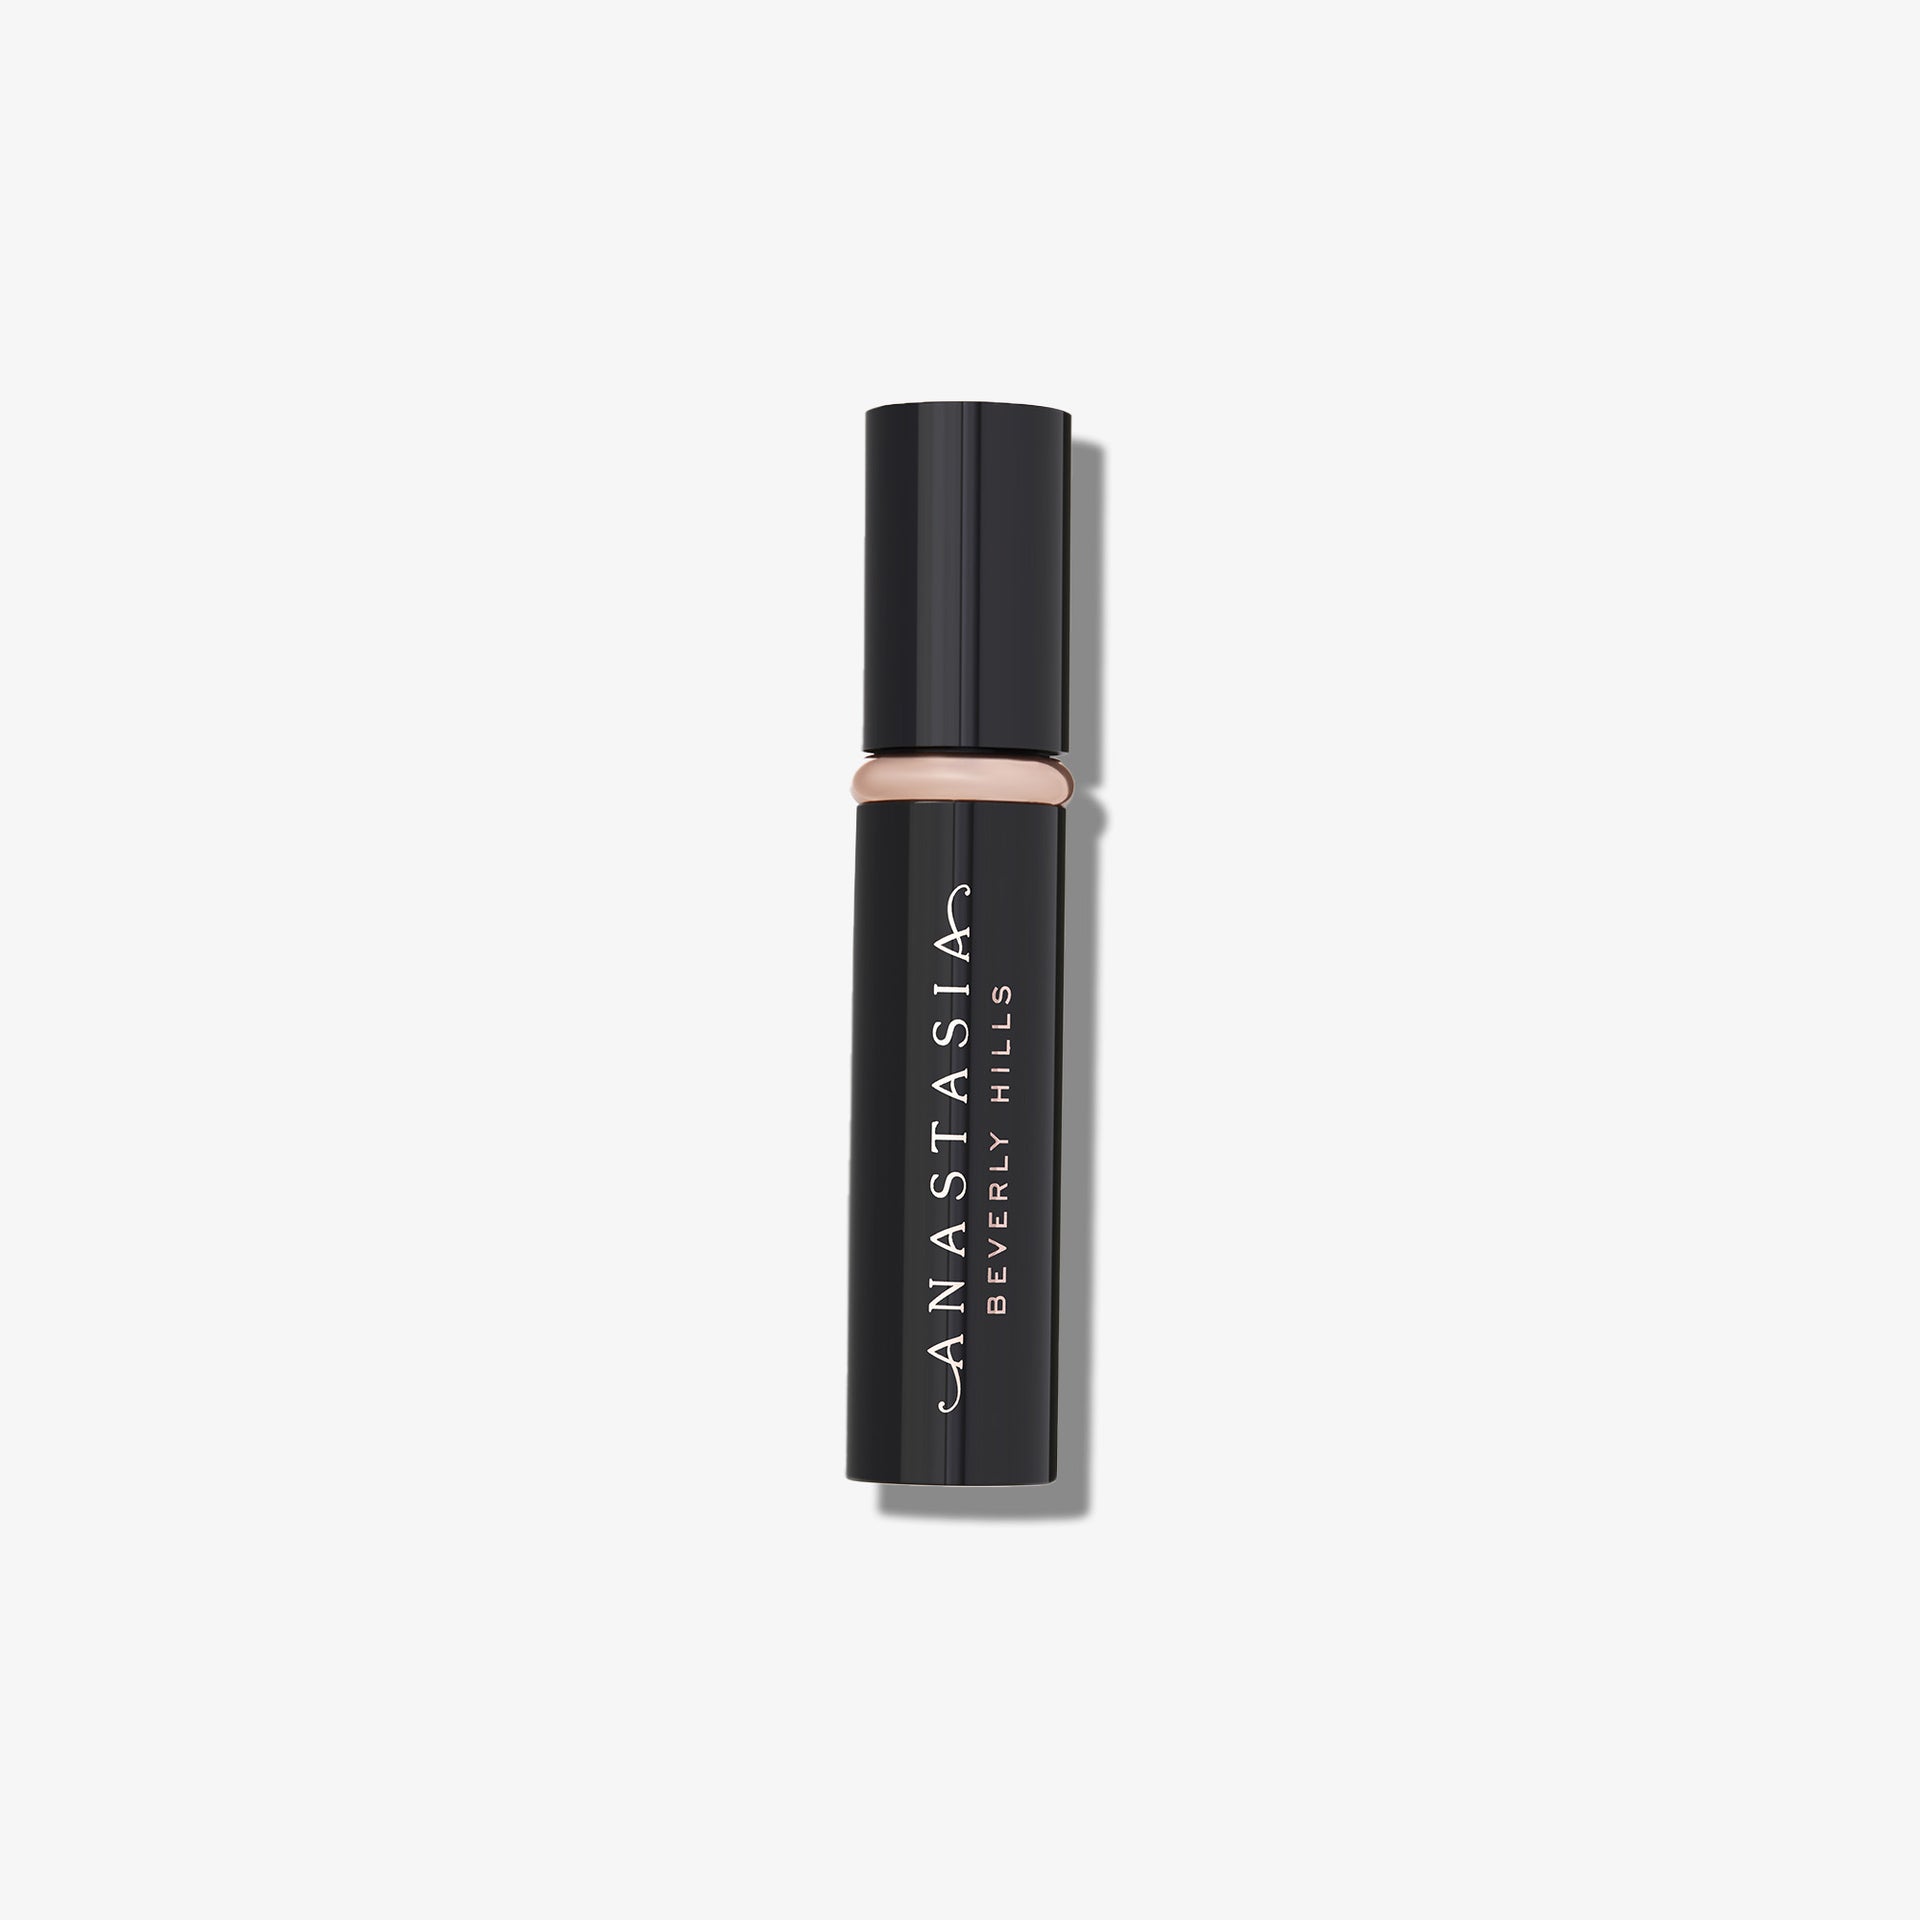
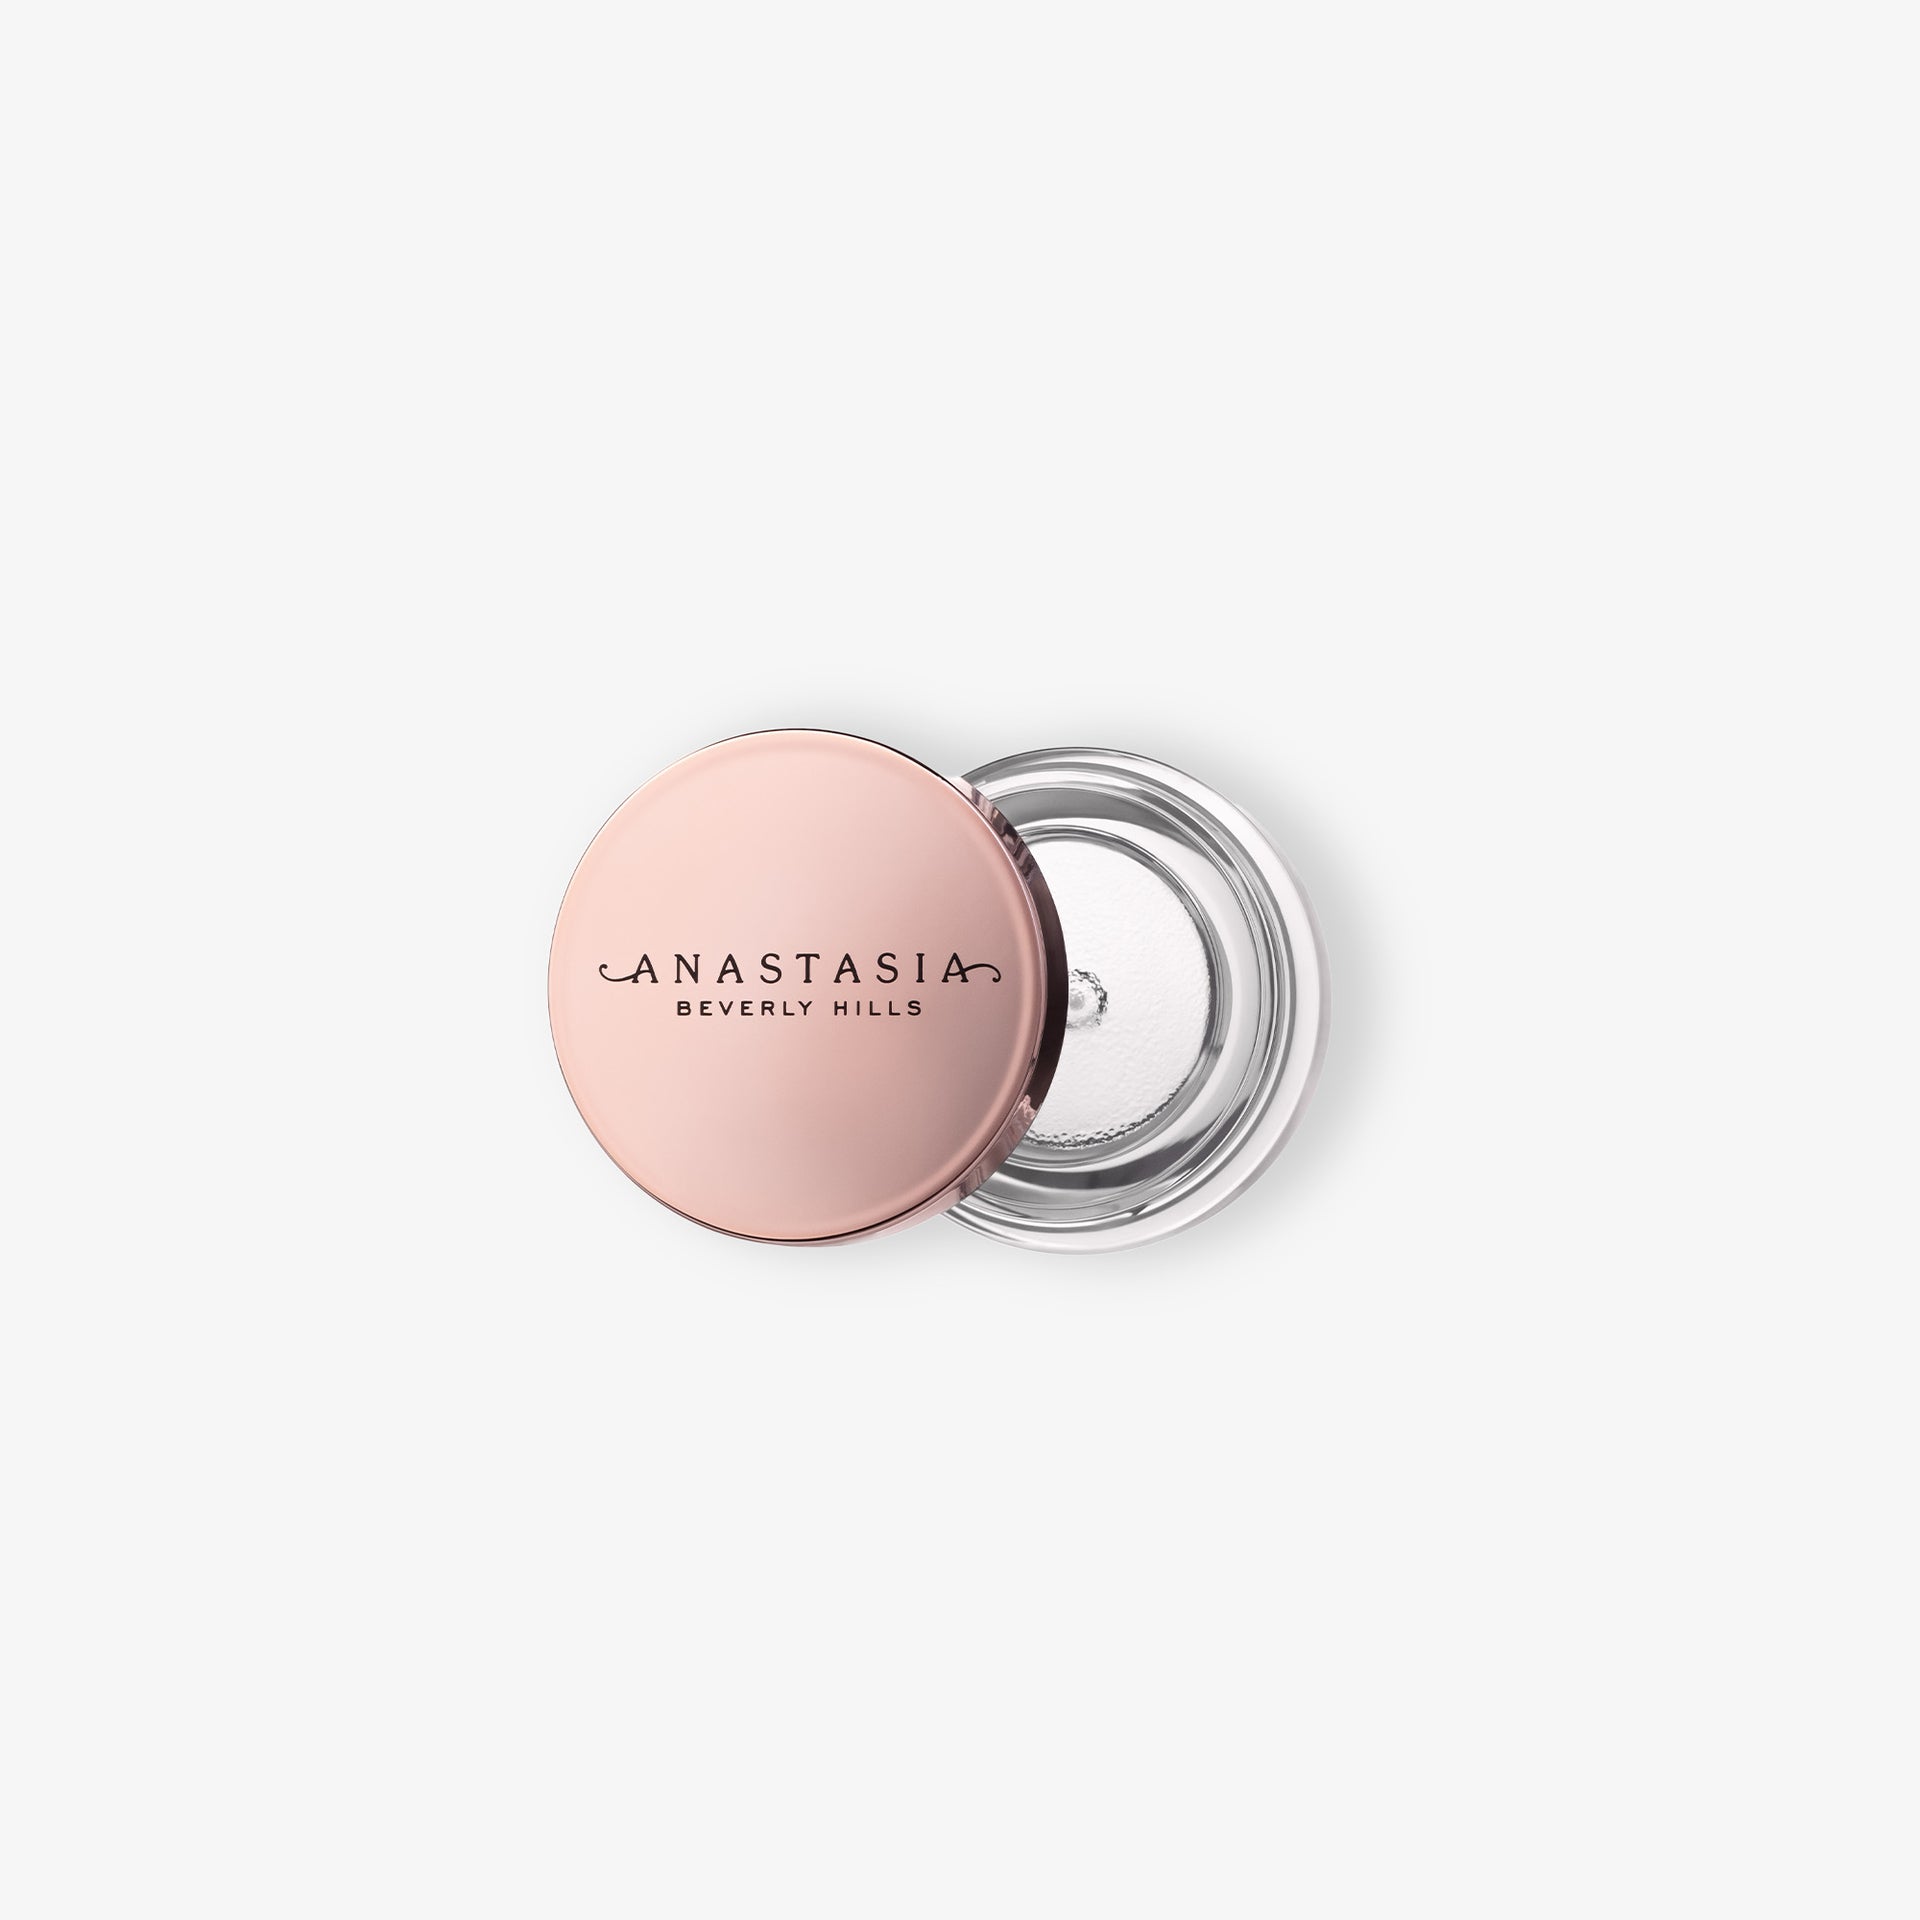
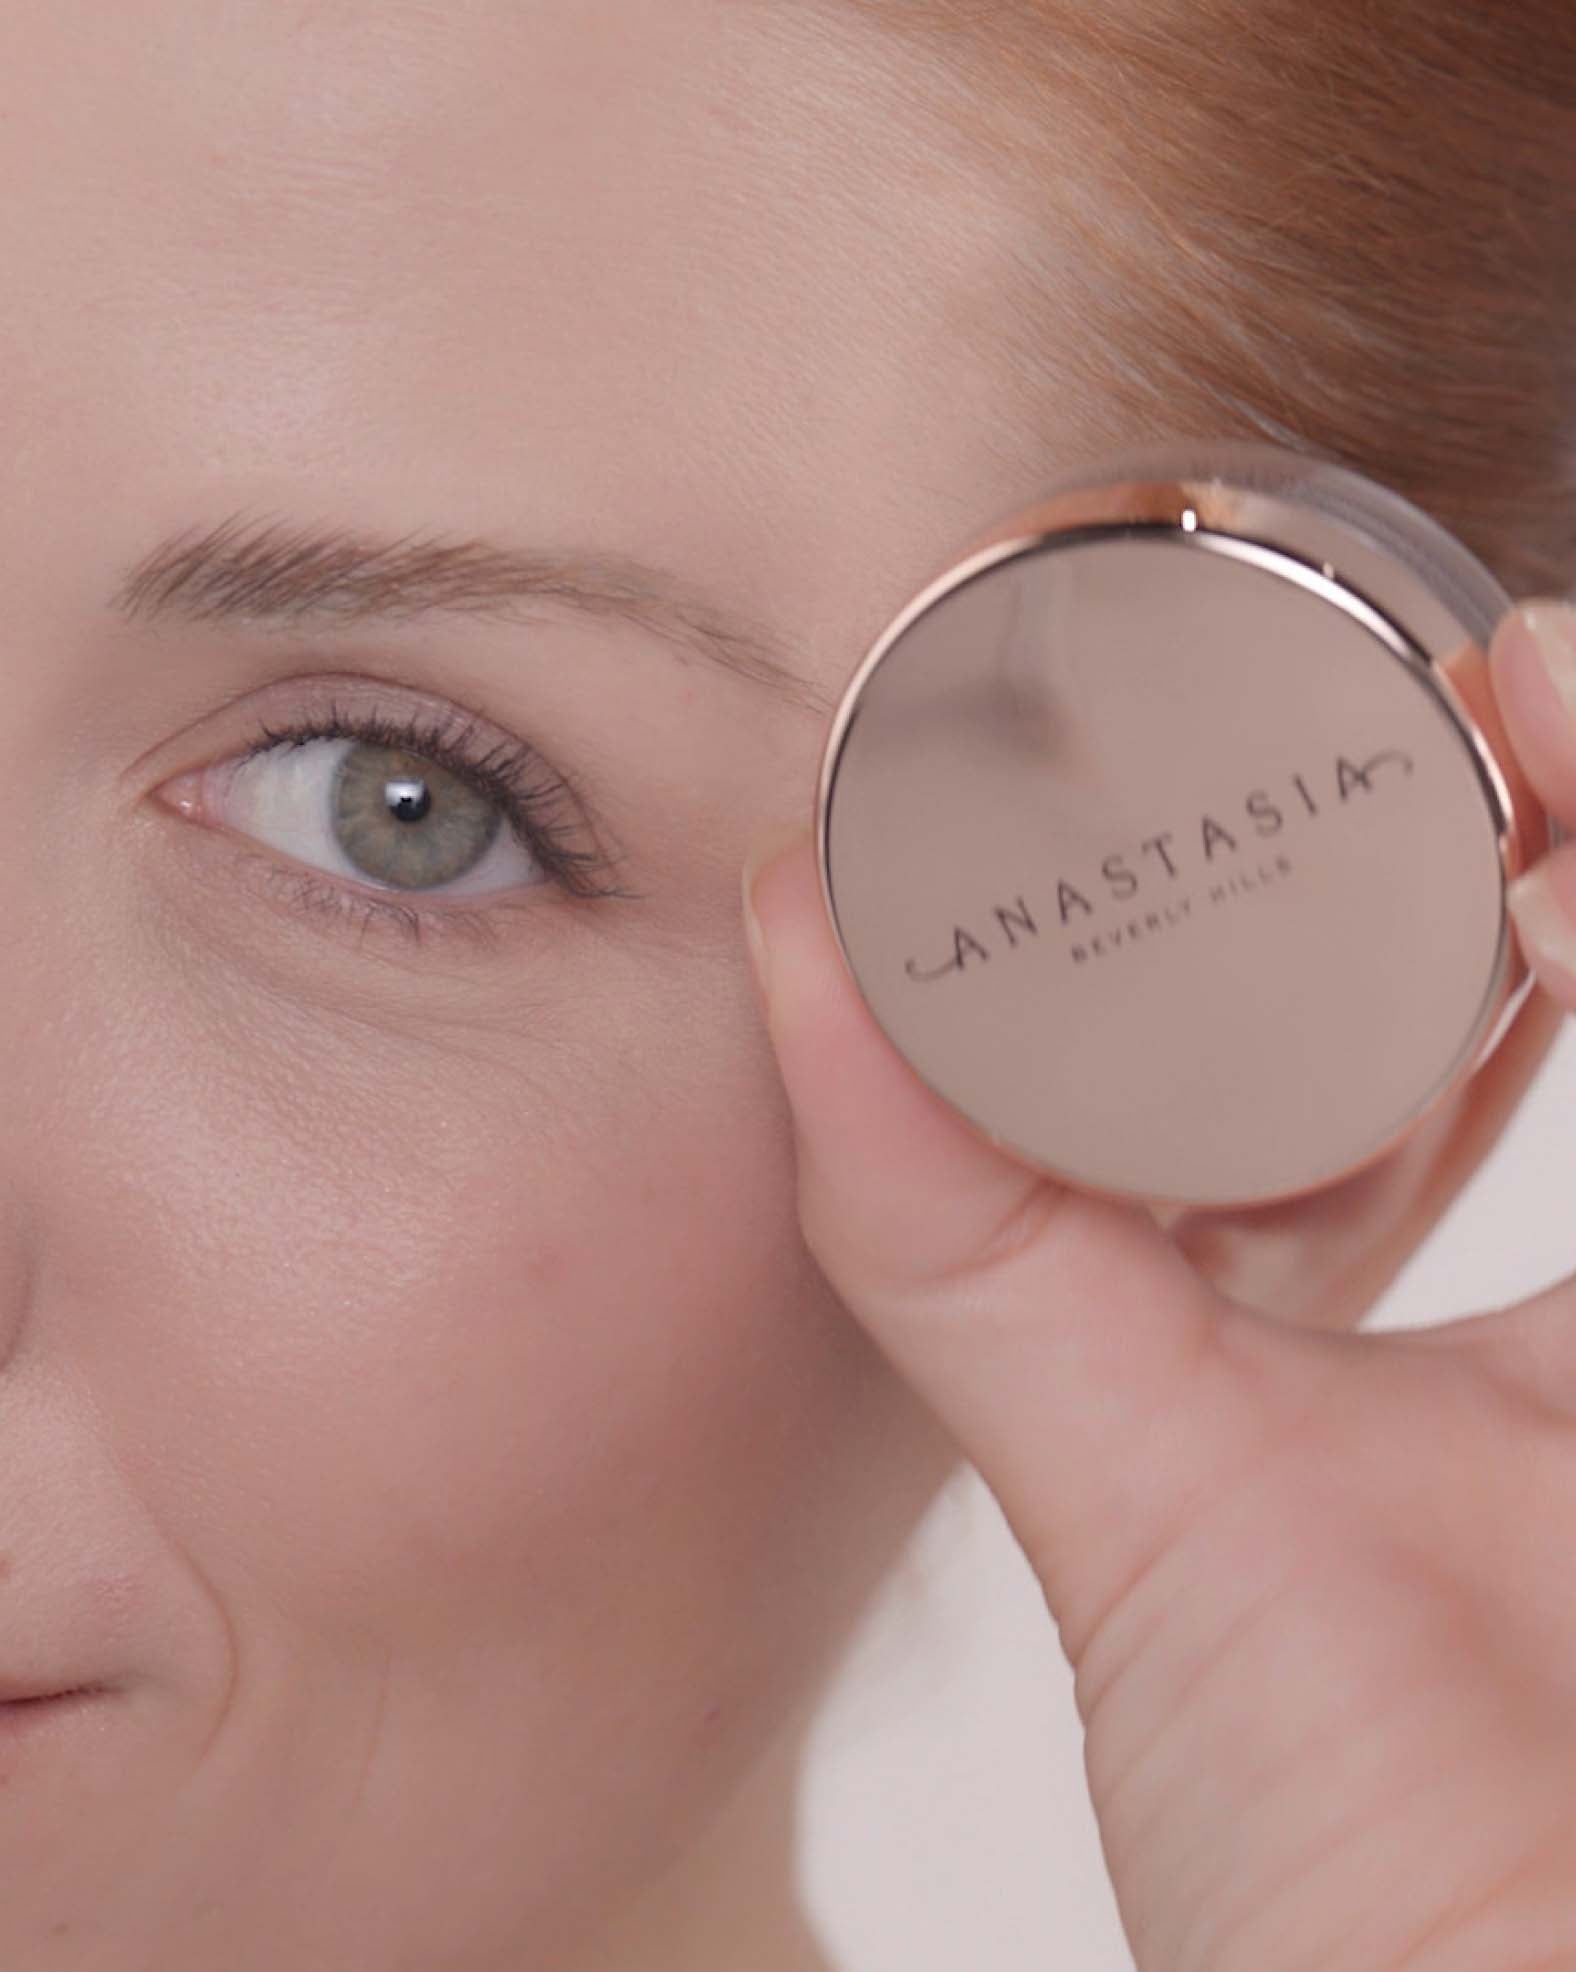
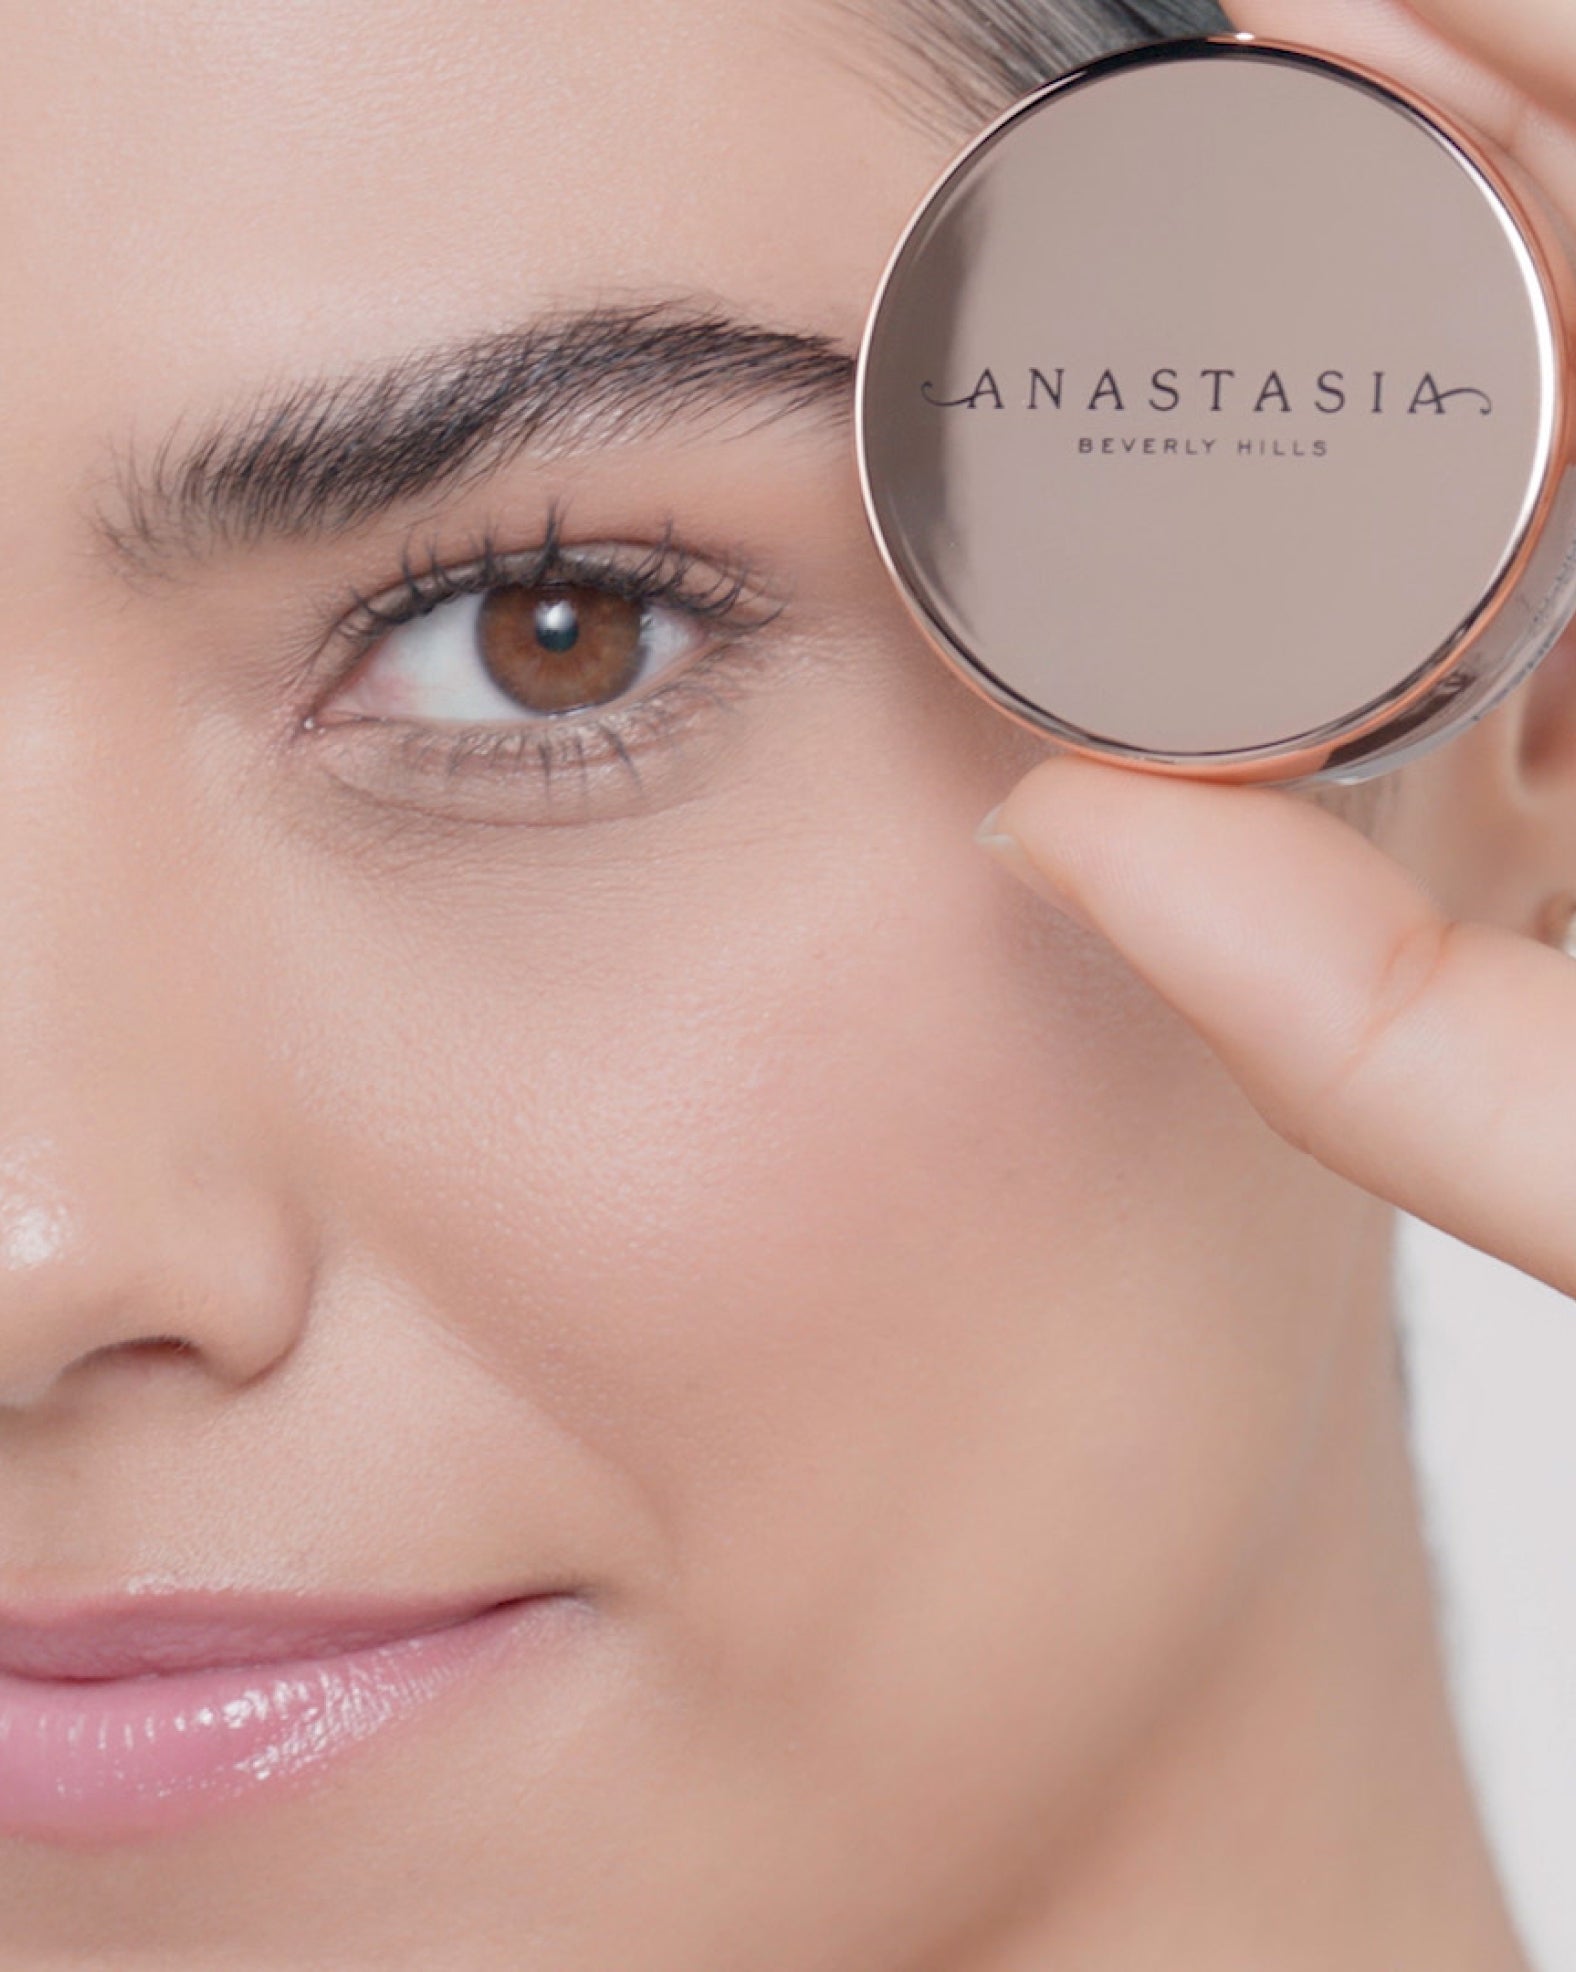
Mini Brow Freeze® Trio

$30.00 $39 Value

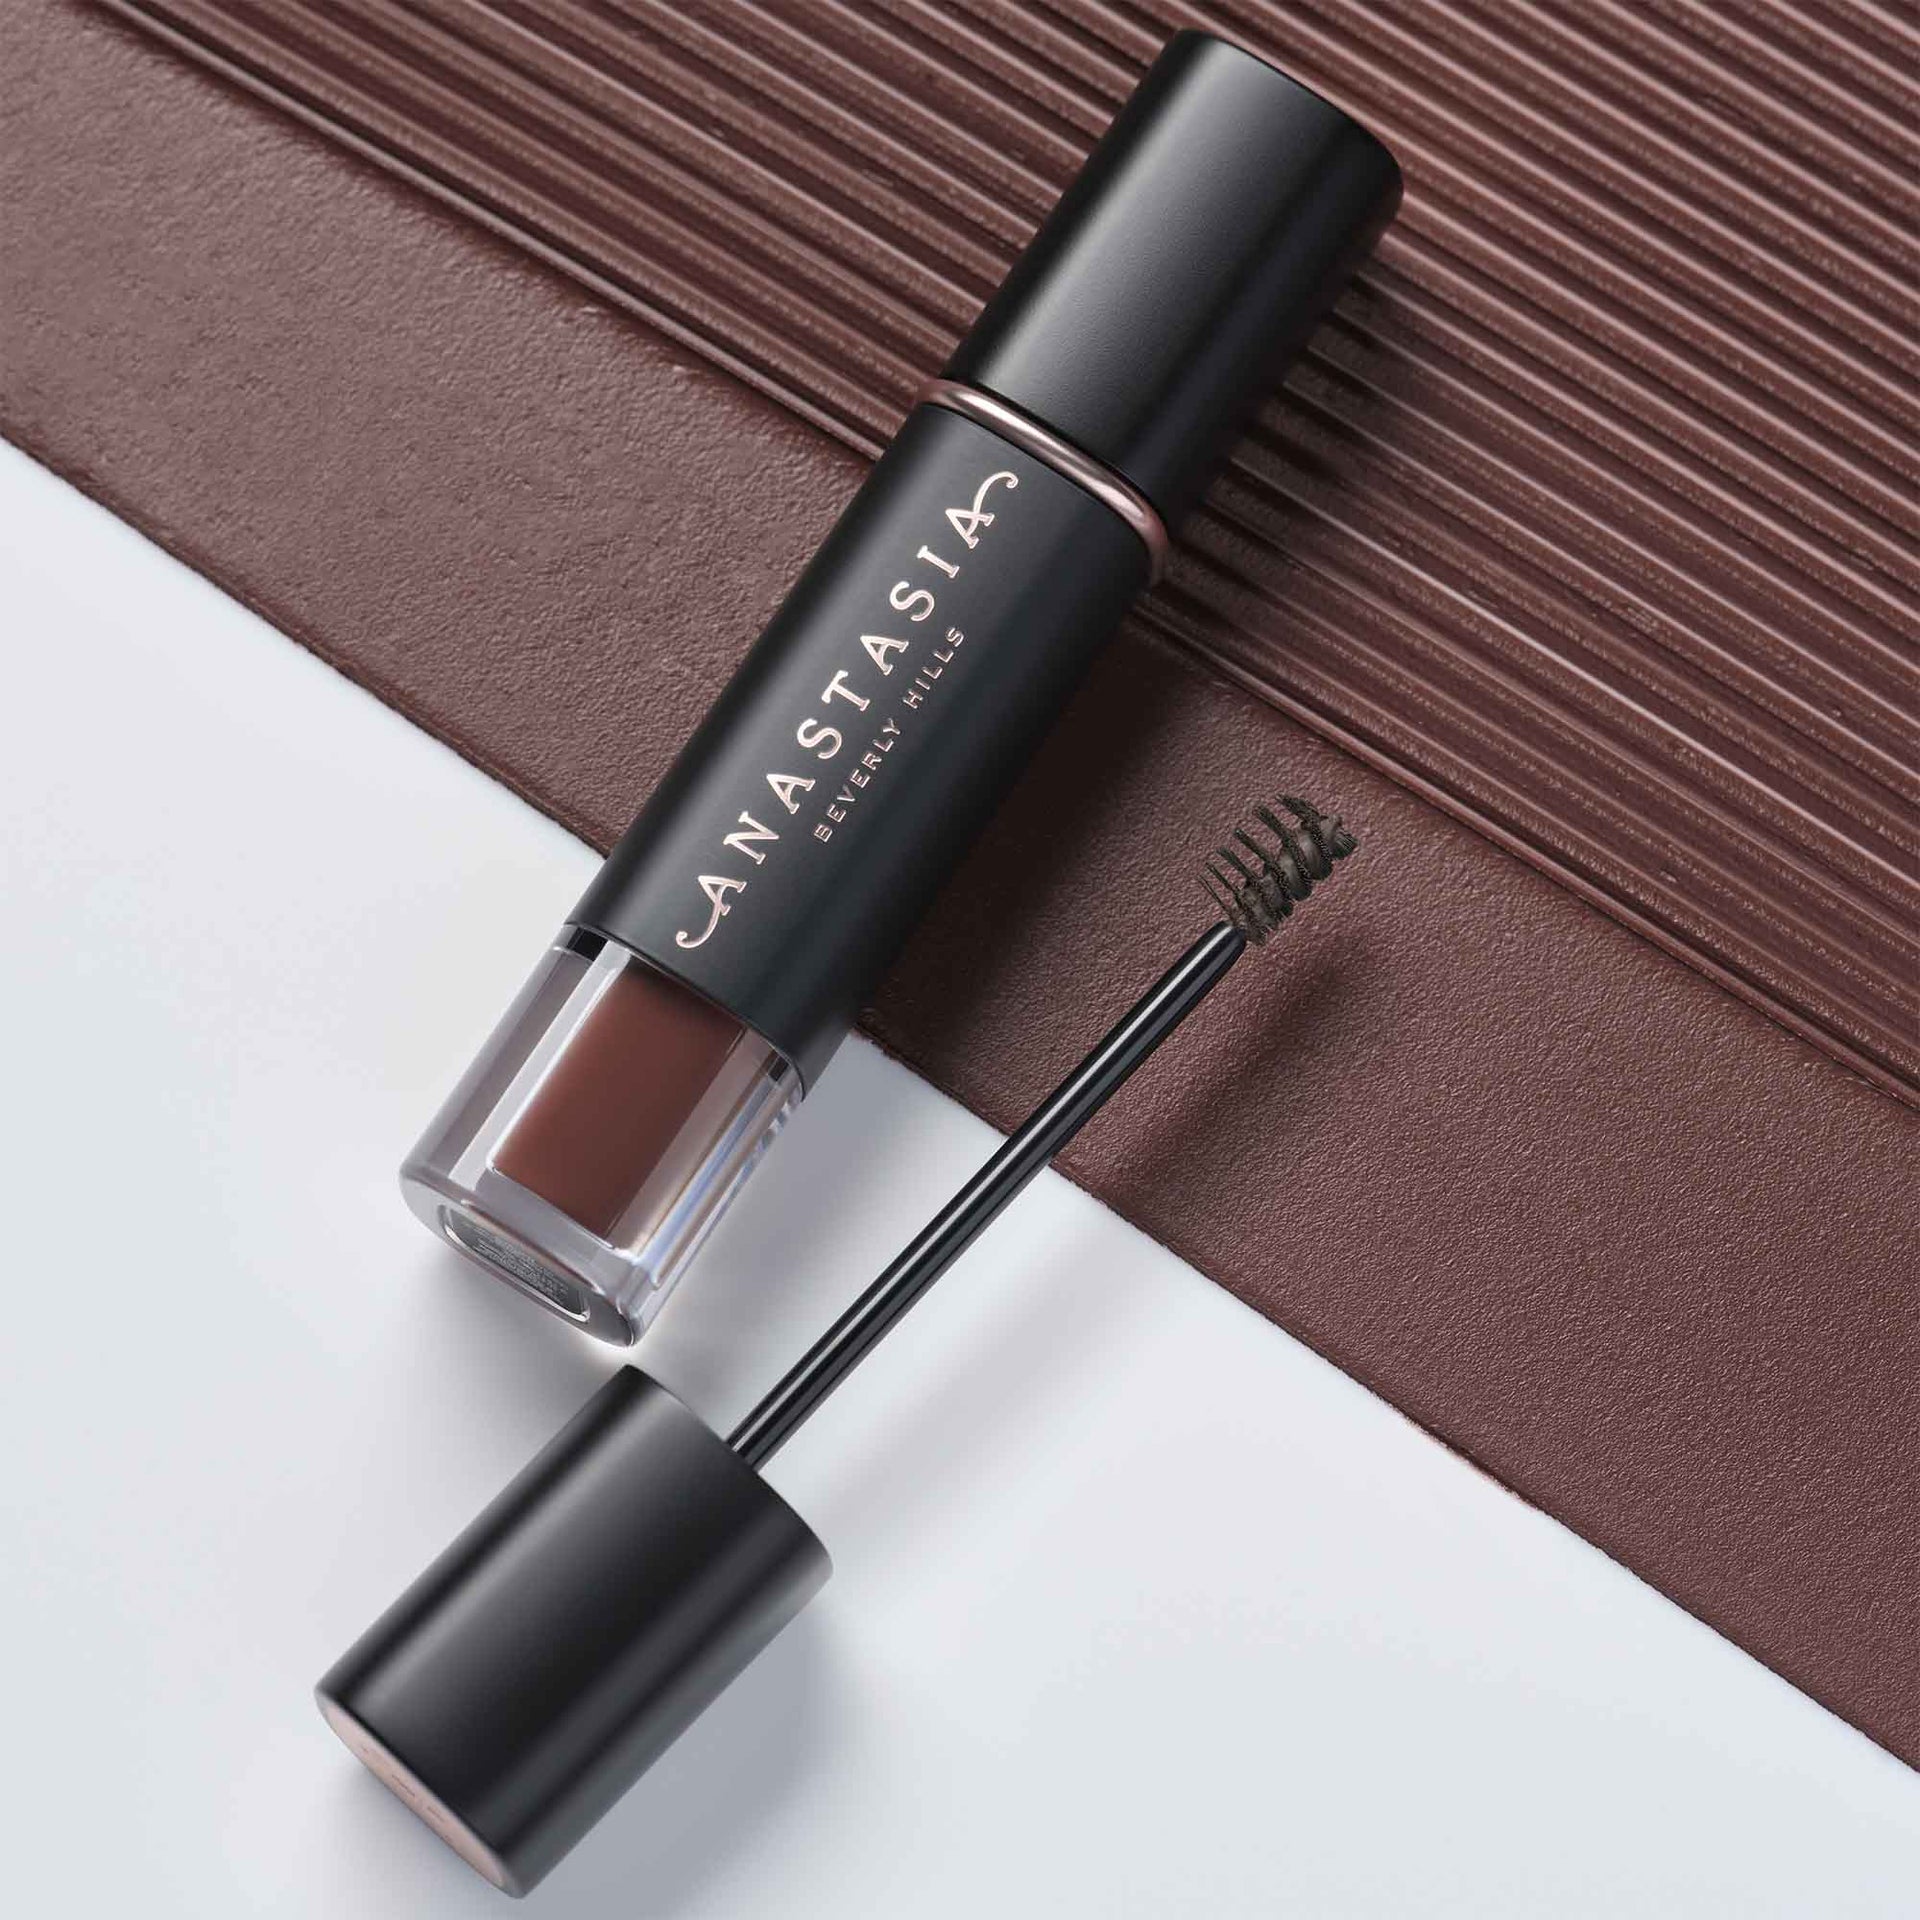
Three extreme-hold styling waxes. $39 value for $30.

Select Default Title:
Deluxe Mini Brow Freeze®
Qty: 3

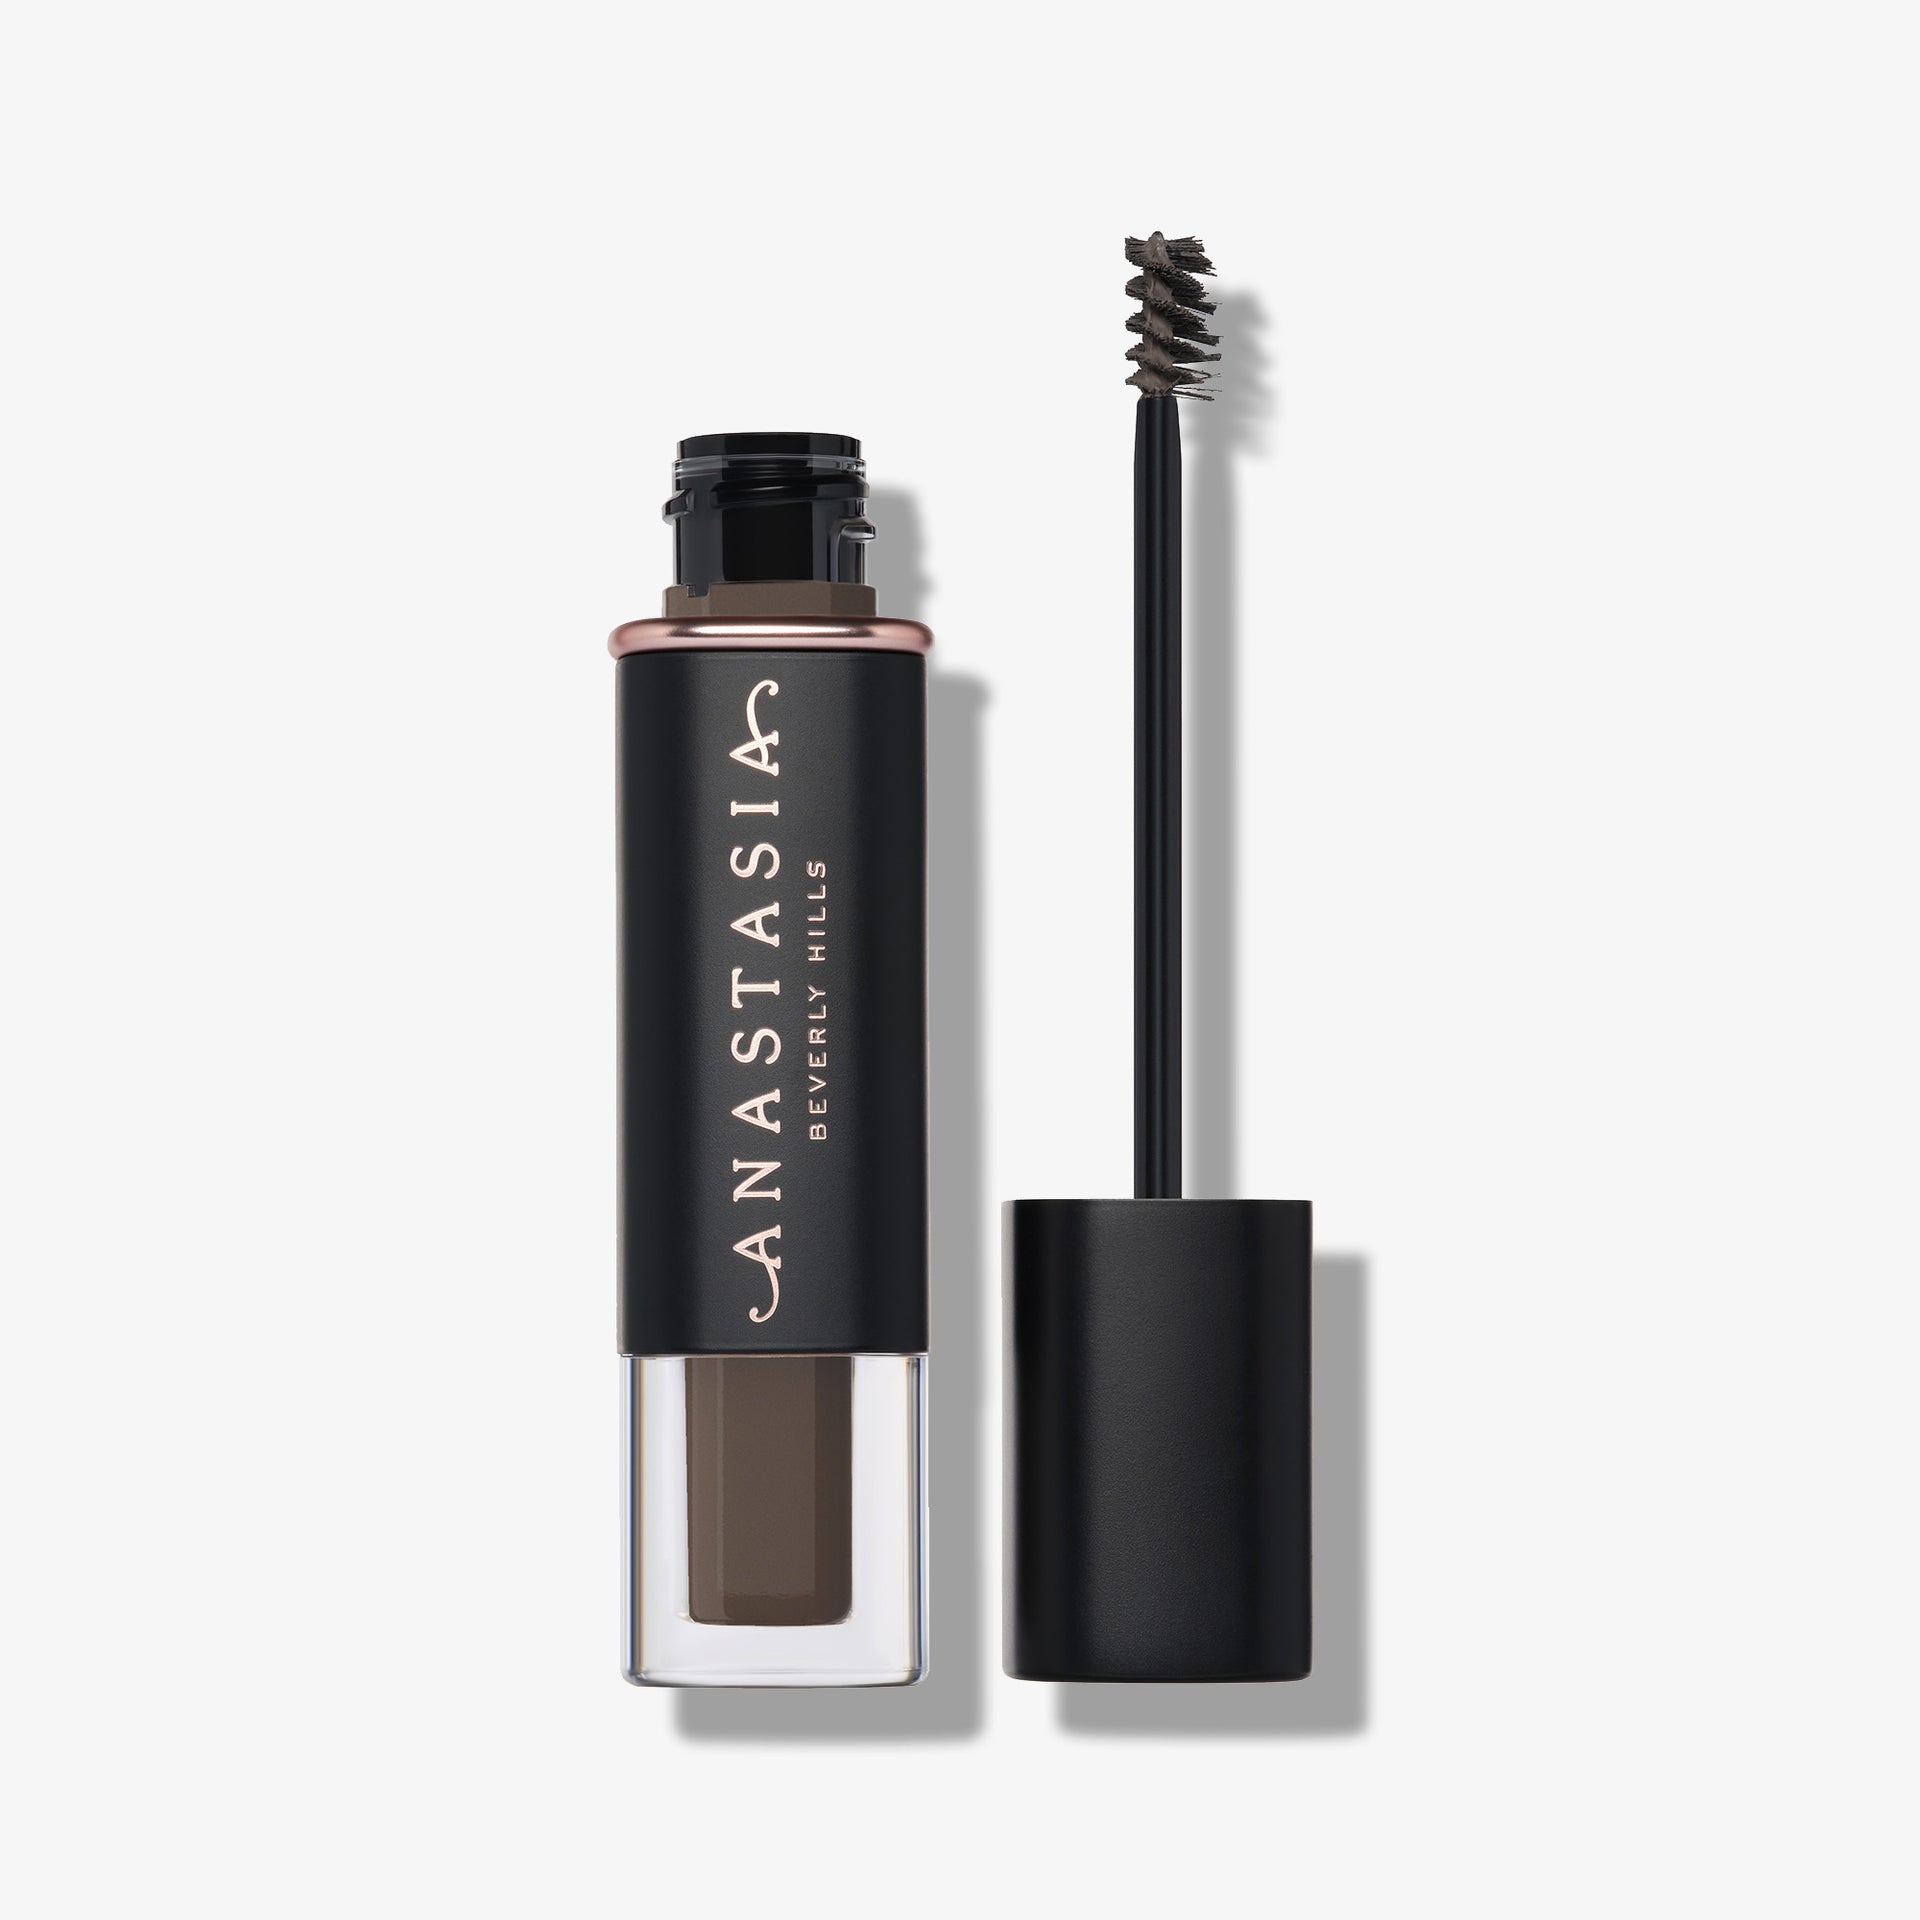
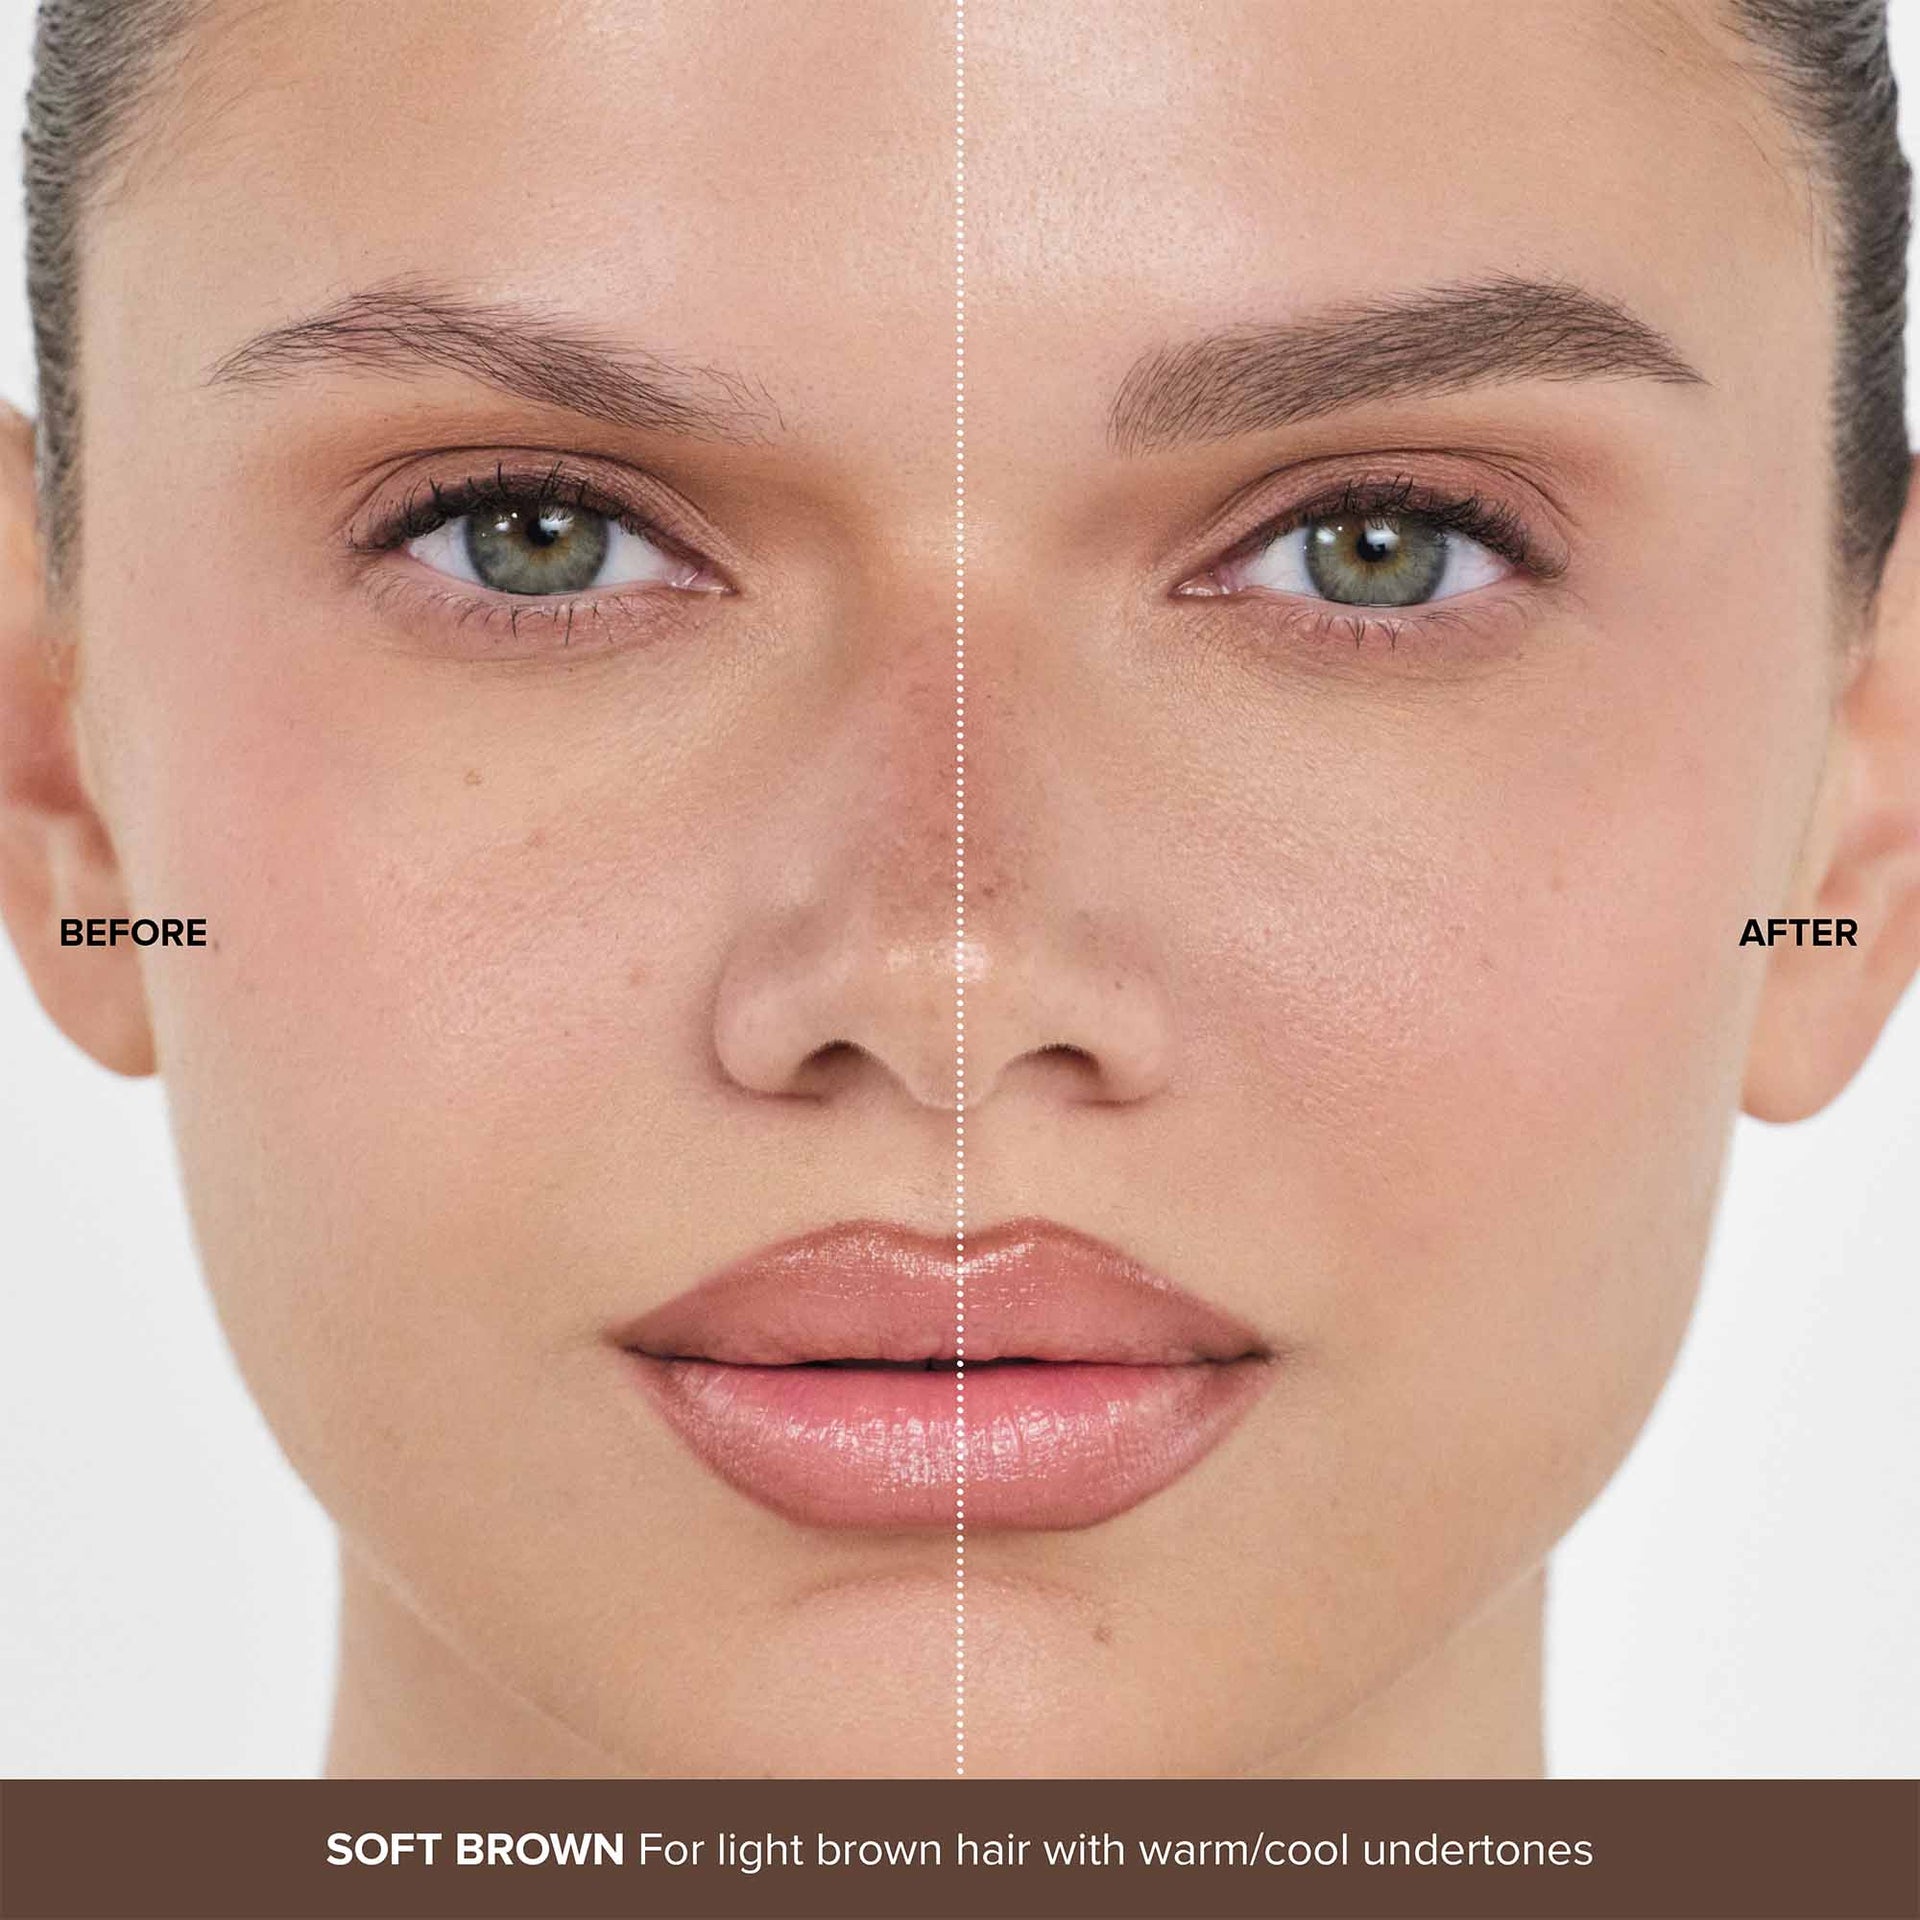
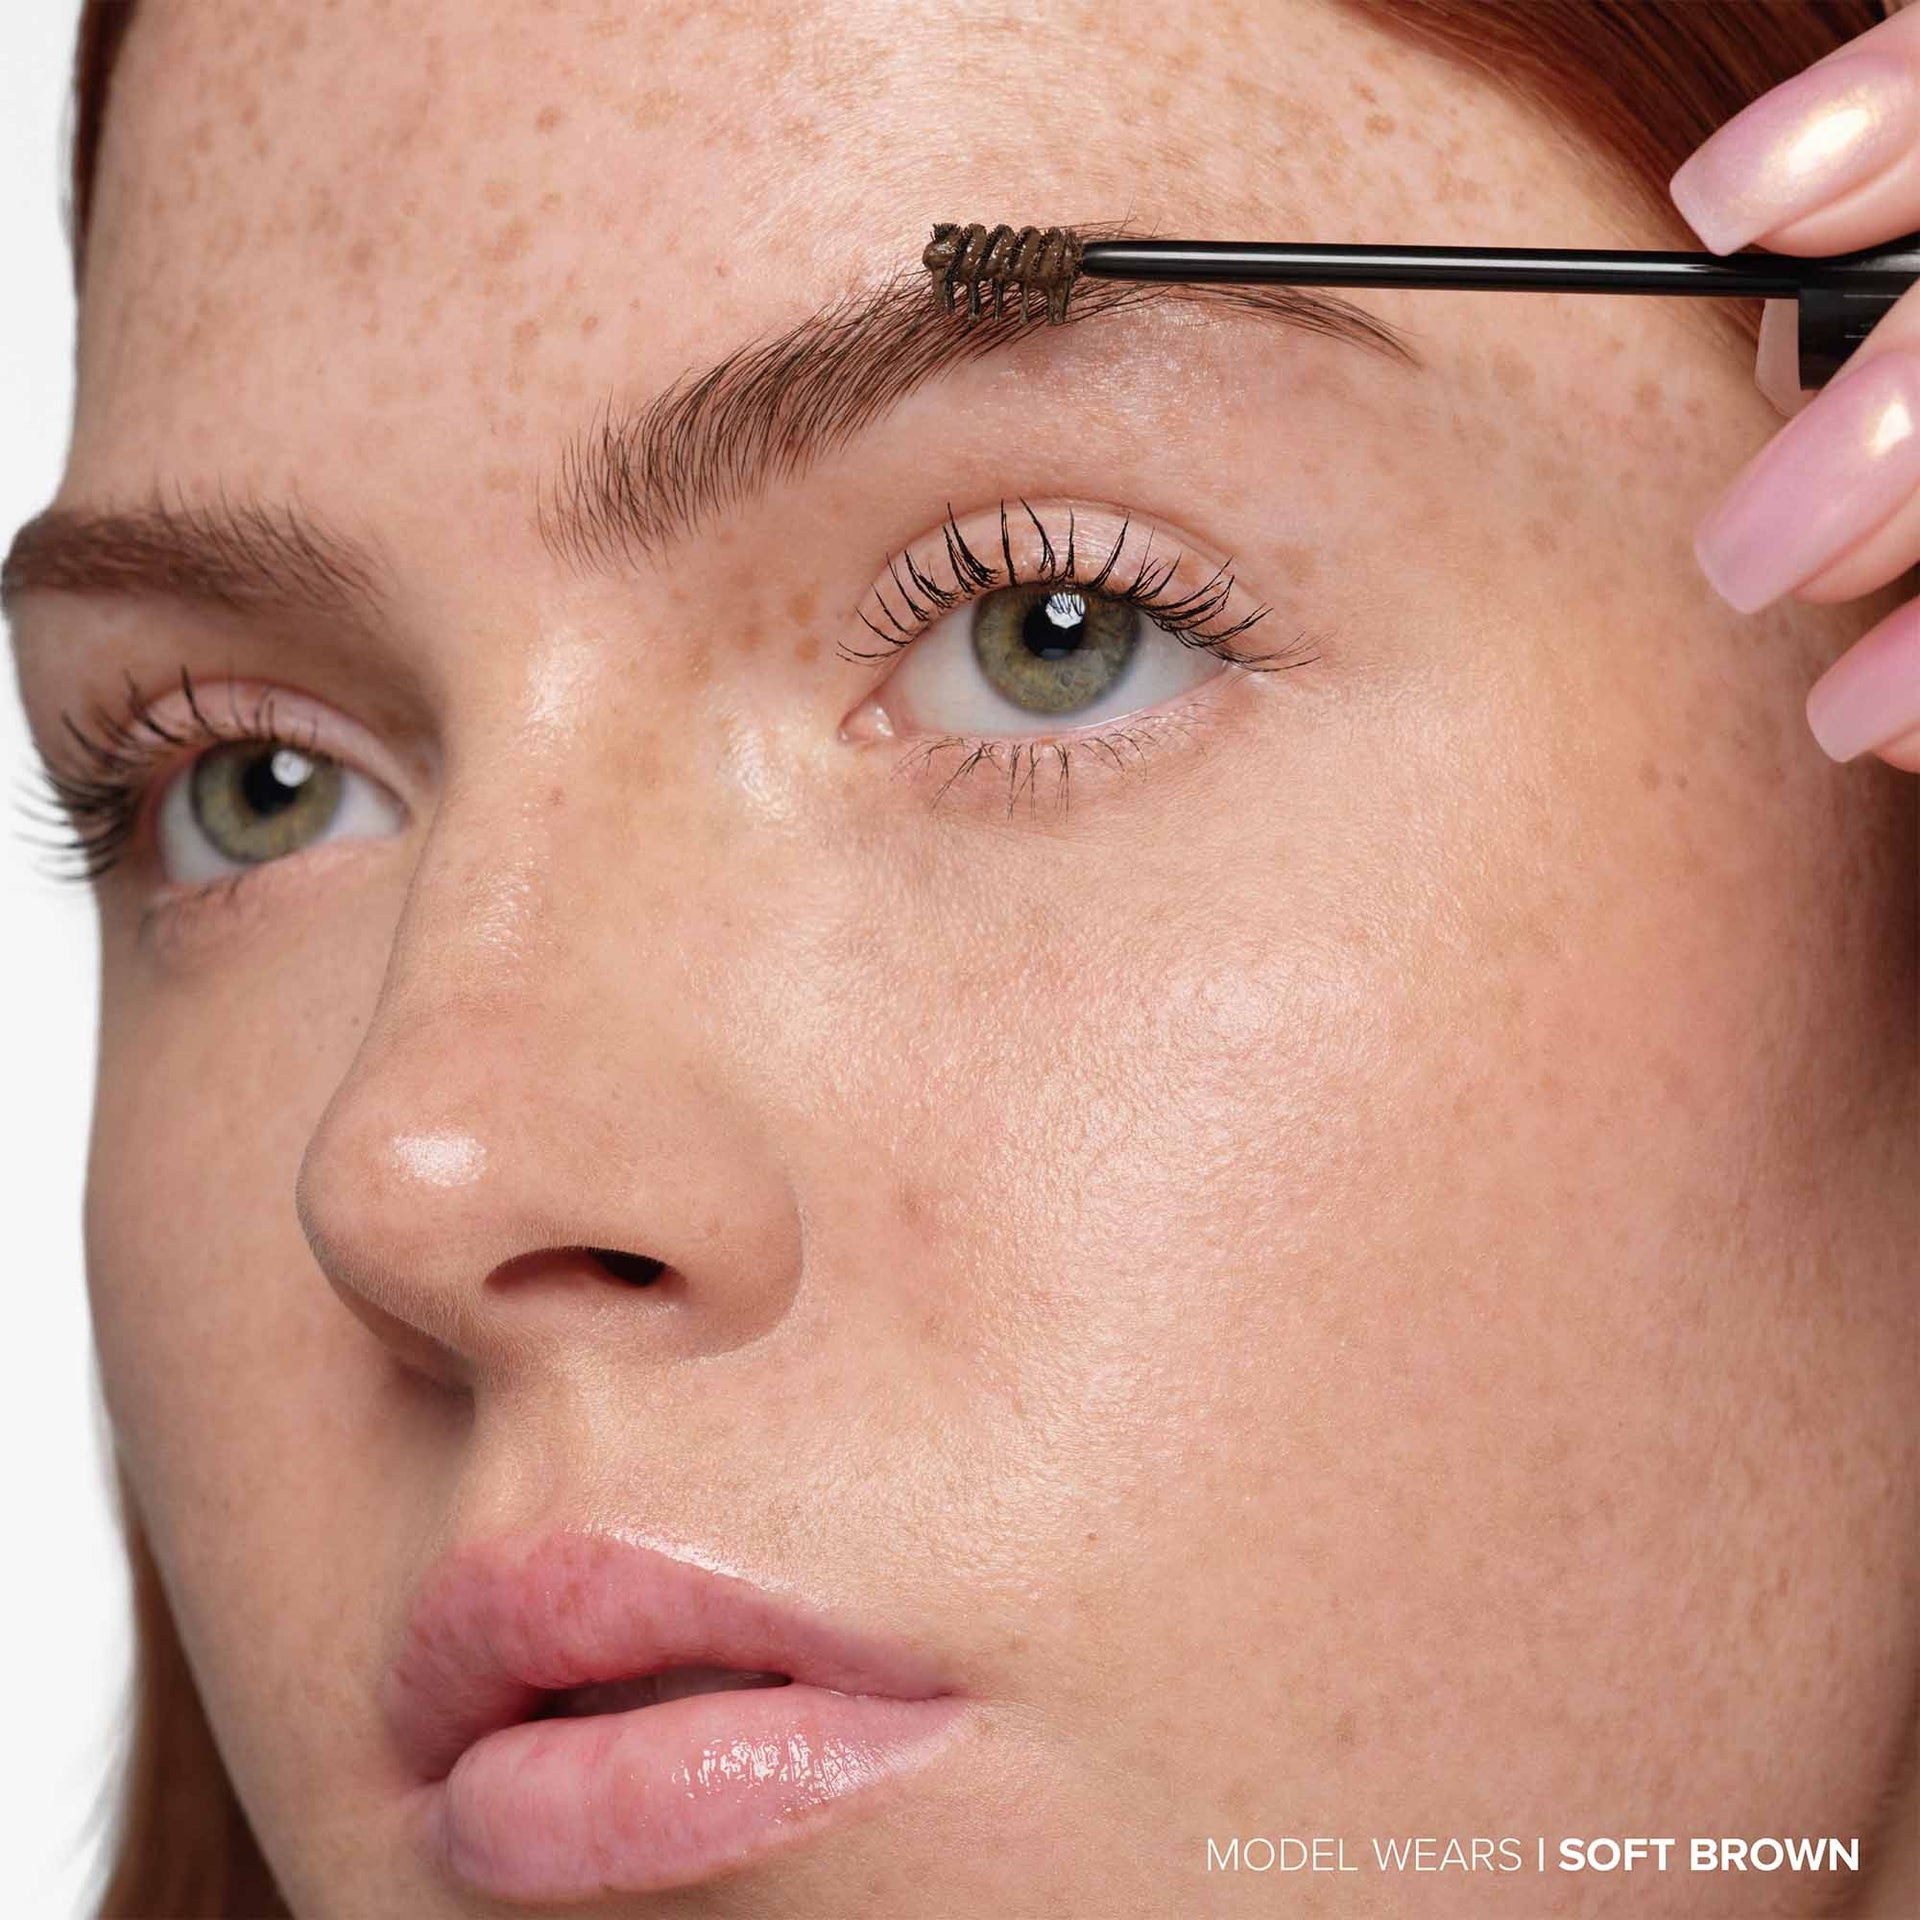
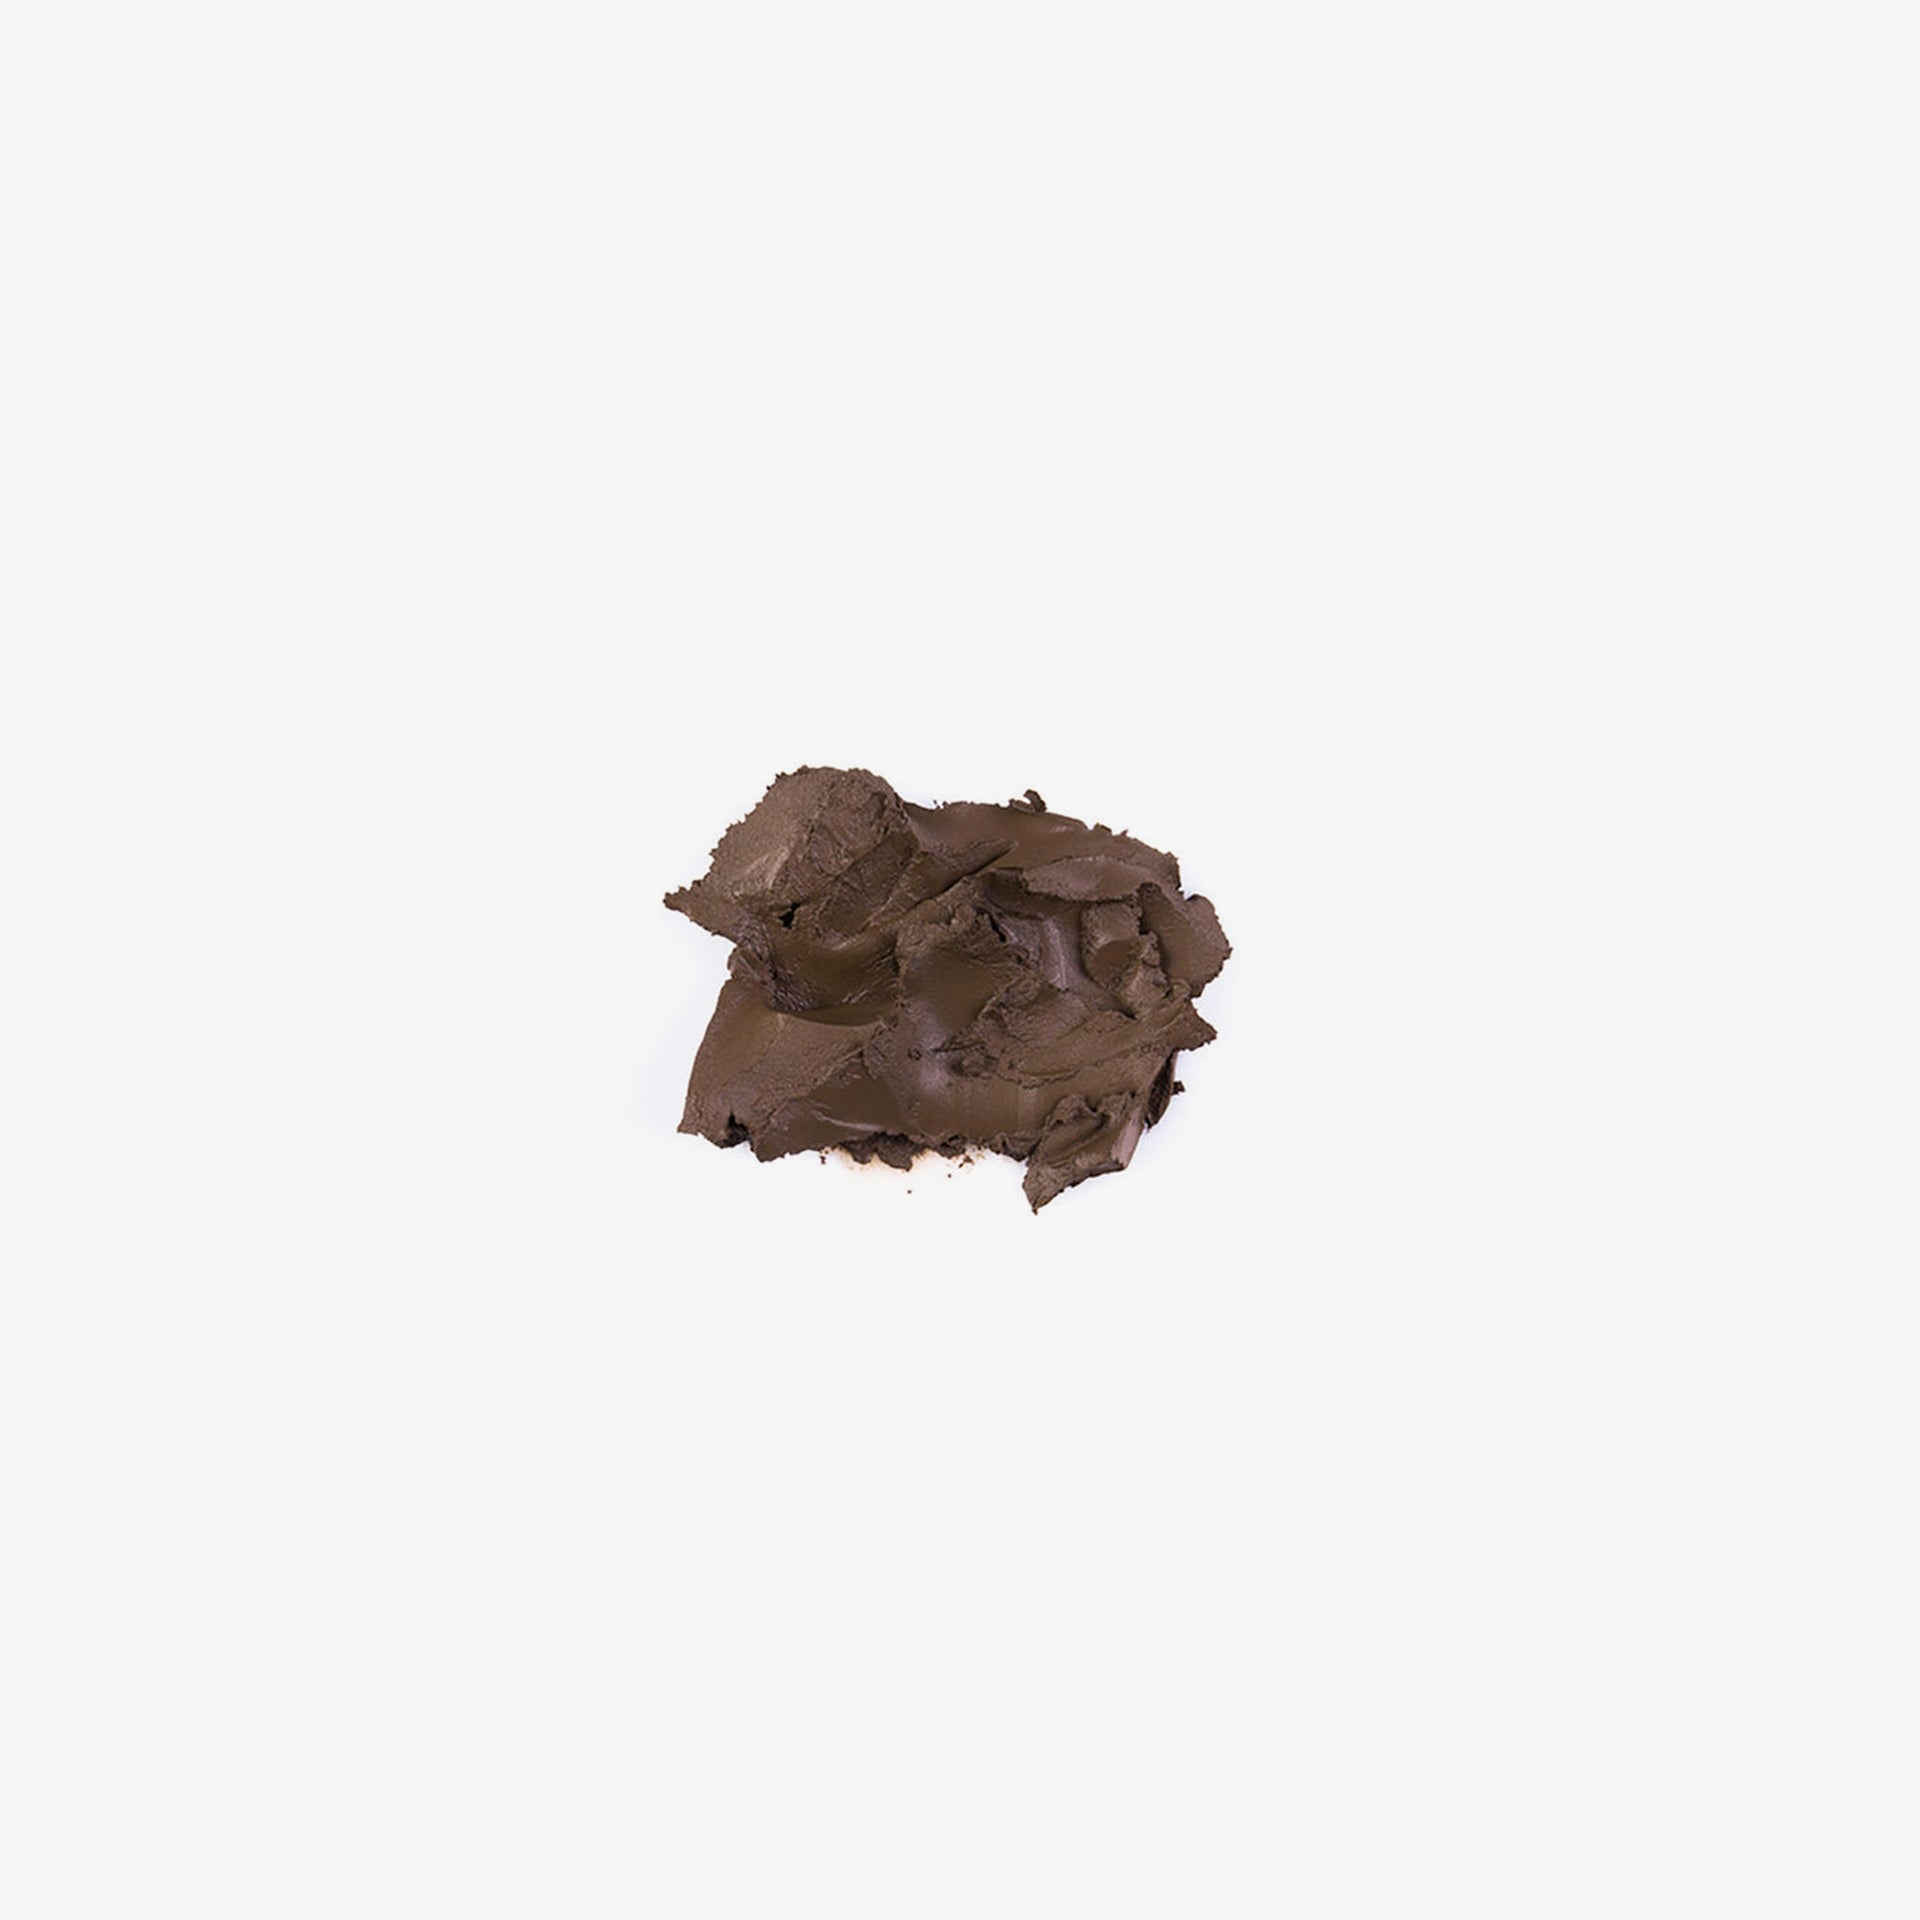
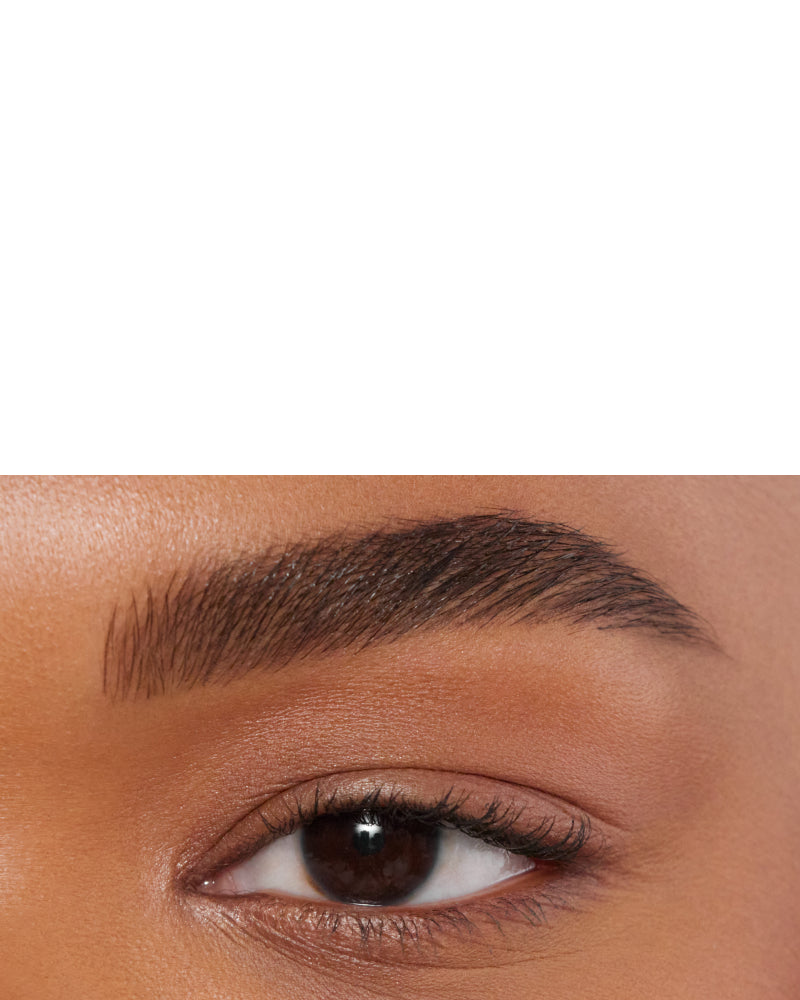
An extreme-hold styling wax that lifts and holds brows in place for a feathered effect.

Select Size:
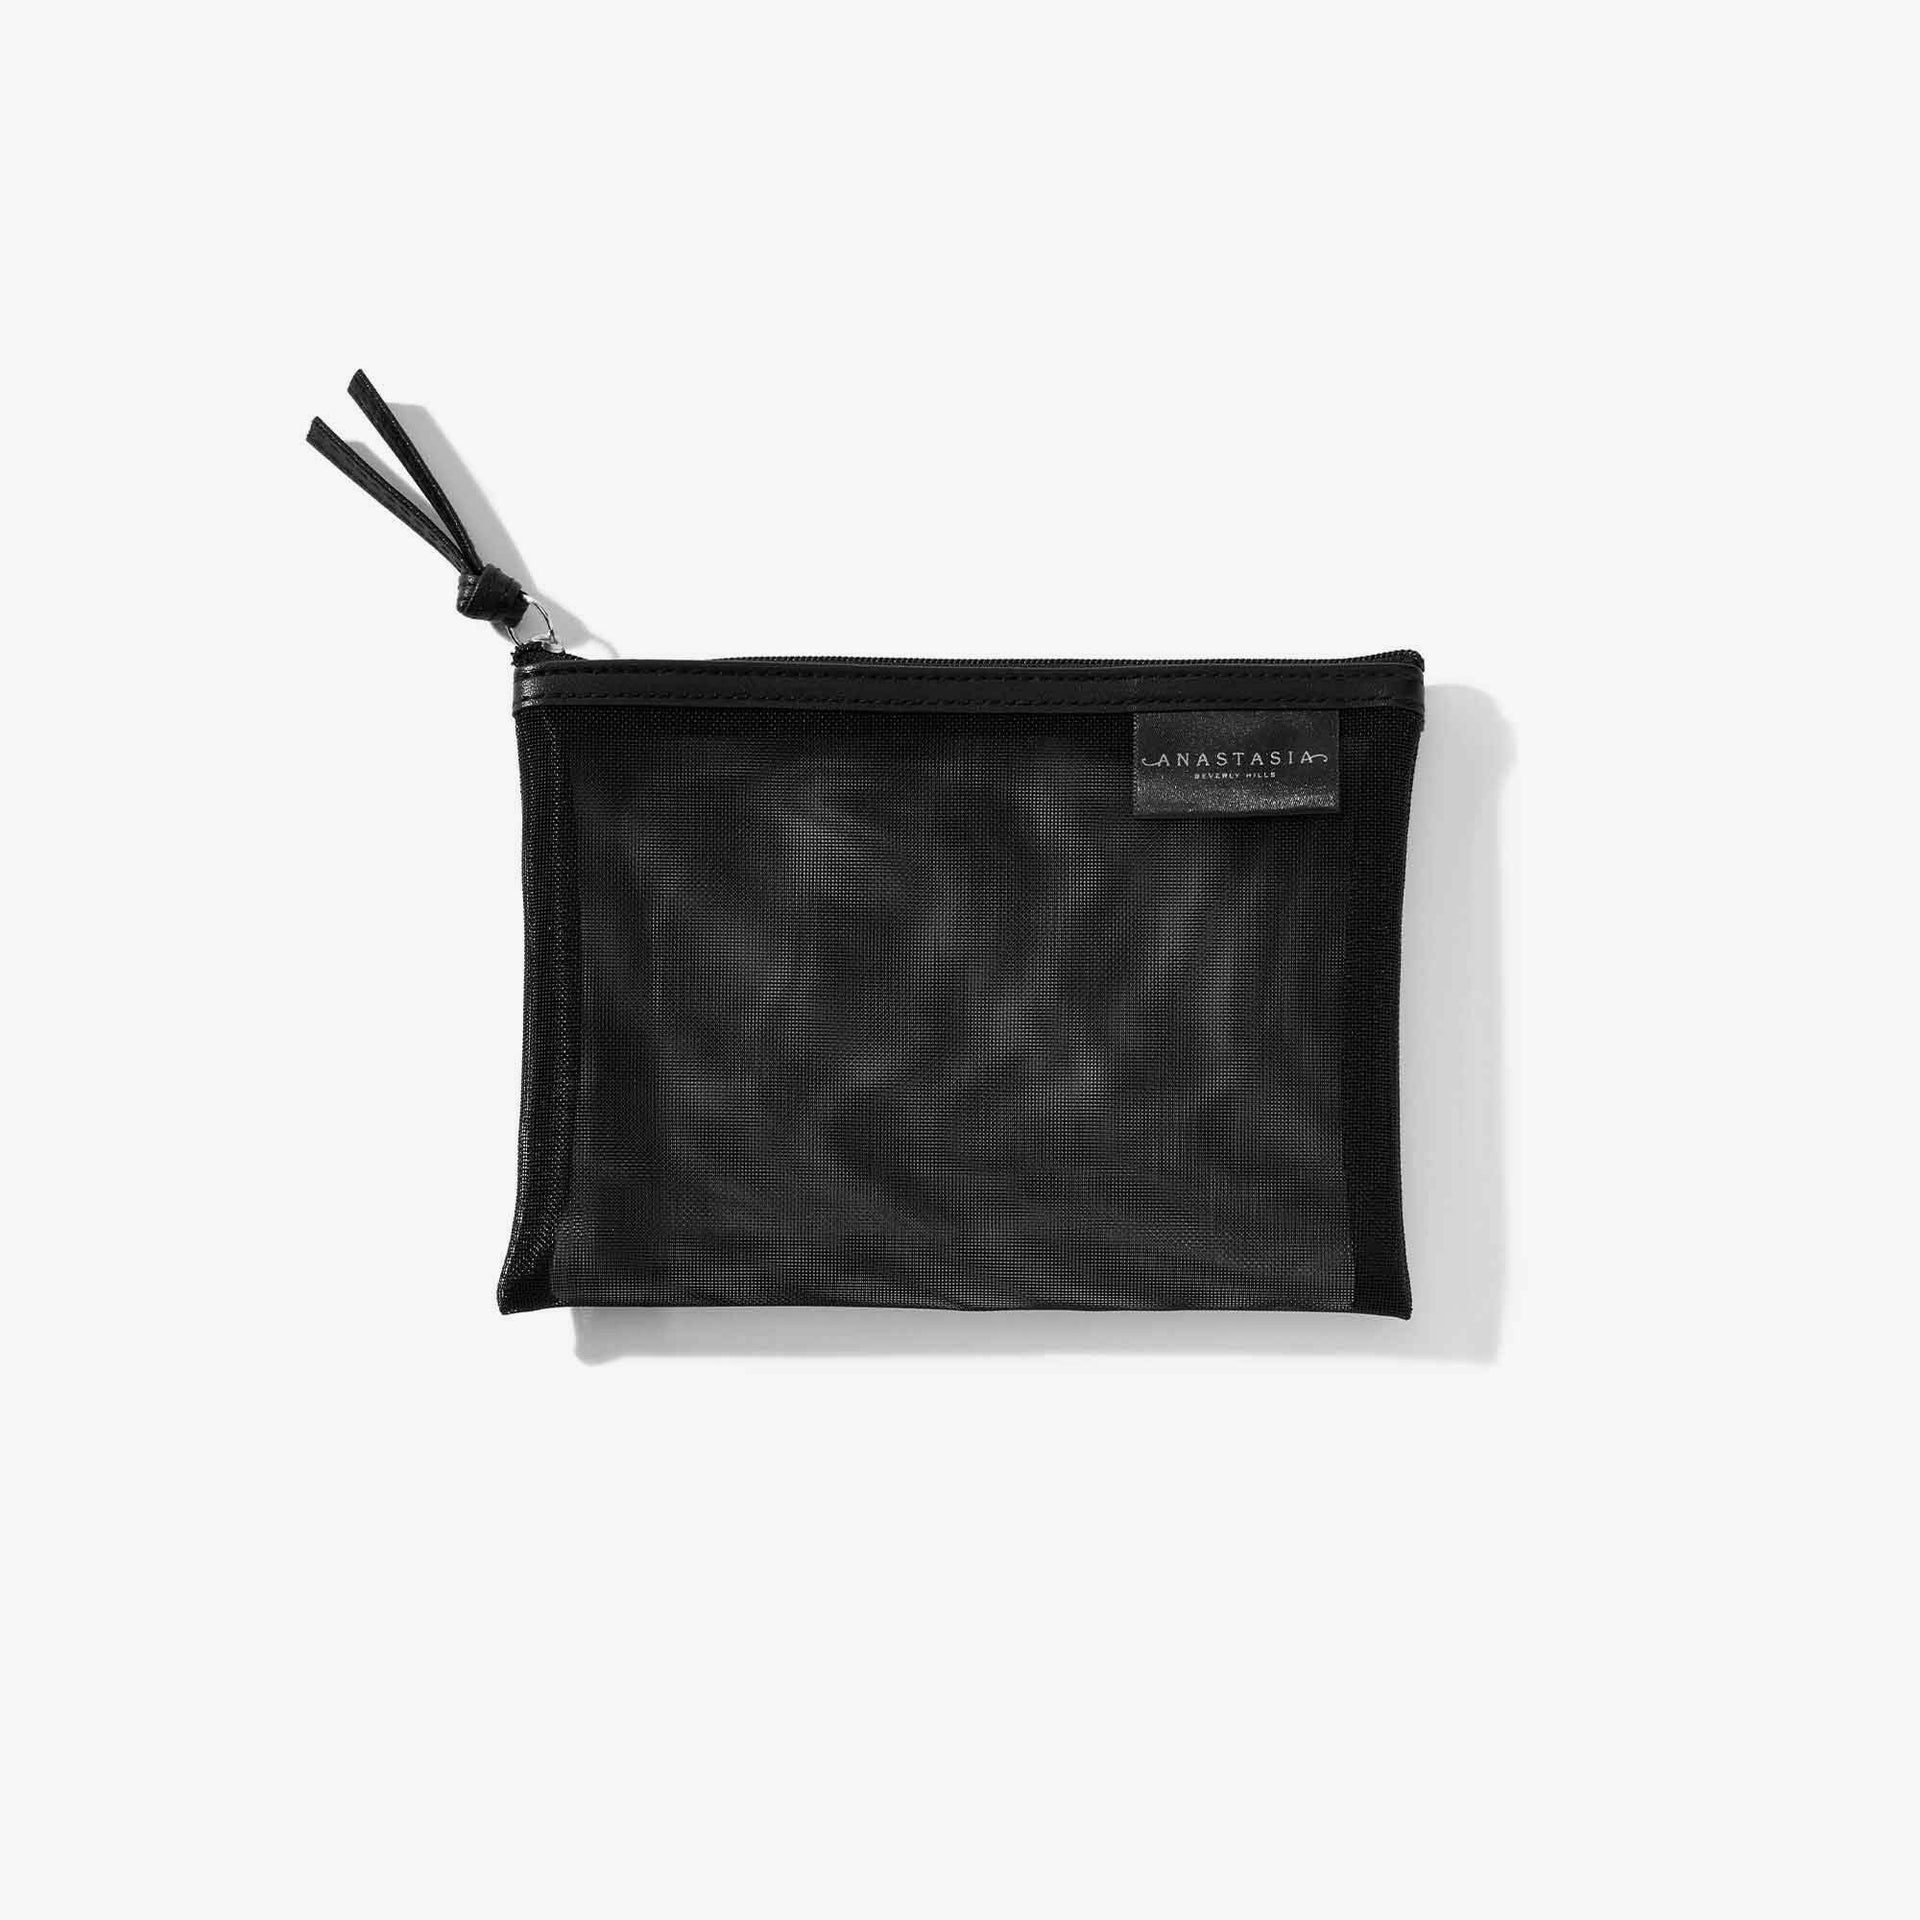
Black Beauty Bag
Black Beauty Bag
Qty: 1

ABH Black Beauty Bag.

Select Default Title :

Pay over time in interest-free installments with Afterpay, Affirm or Shop Pay.

Free shipping on orders over $35 + Free returns
Cruelty Free
Vegan
Golden Ratio

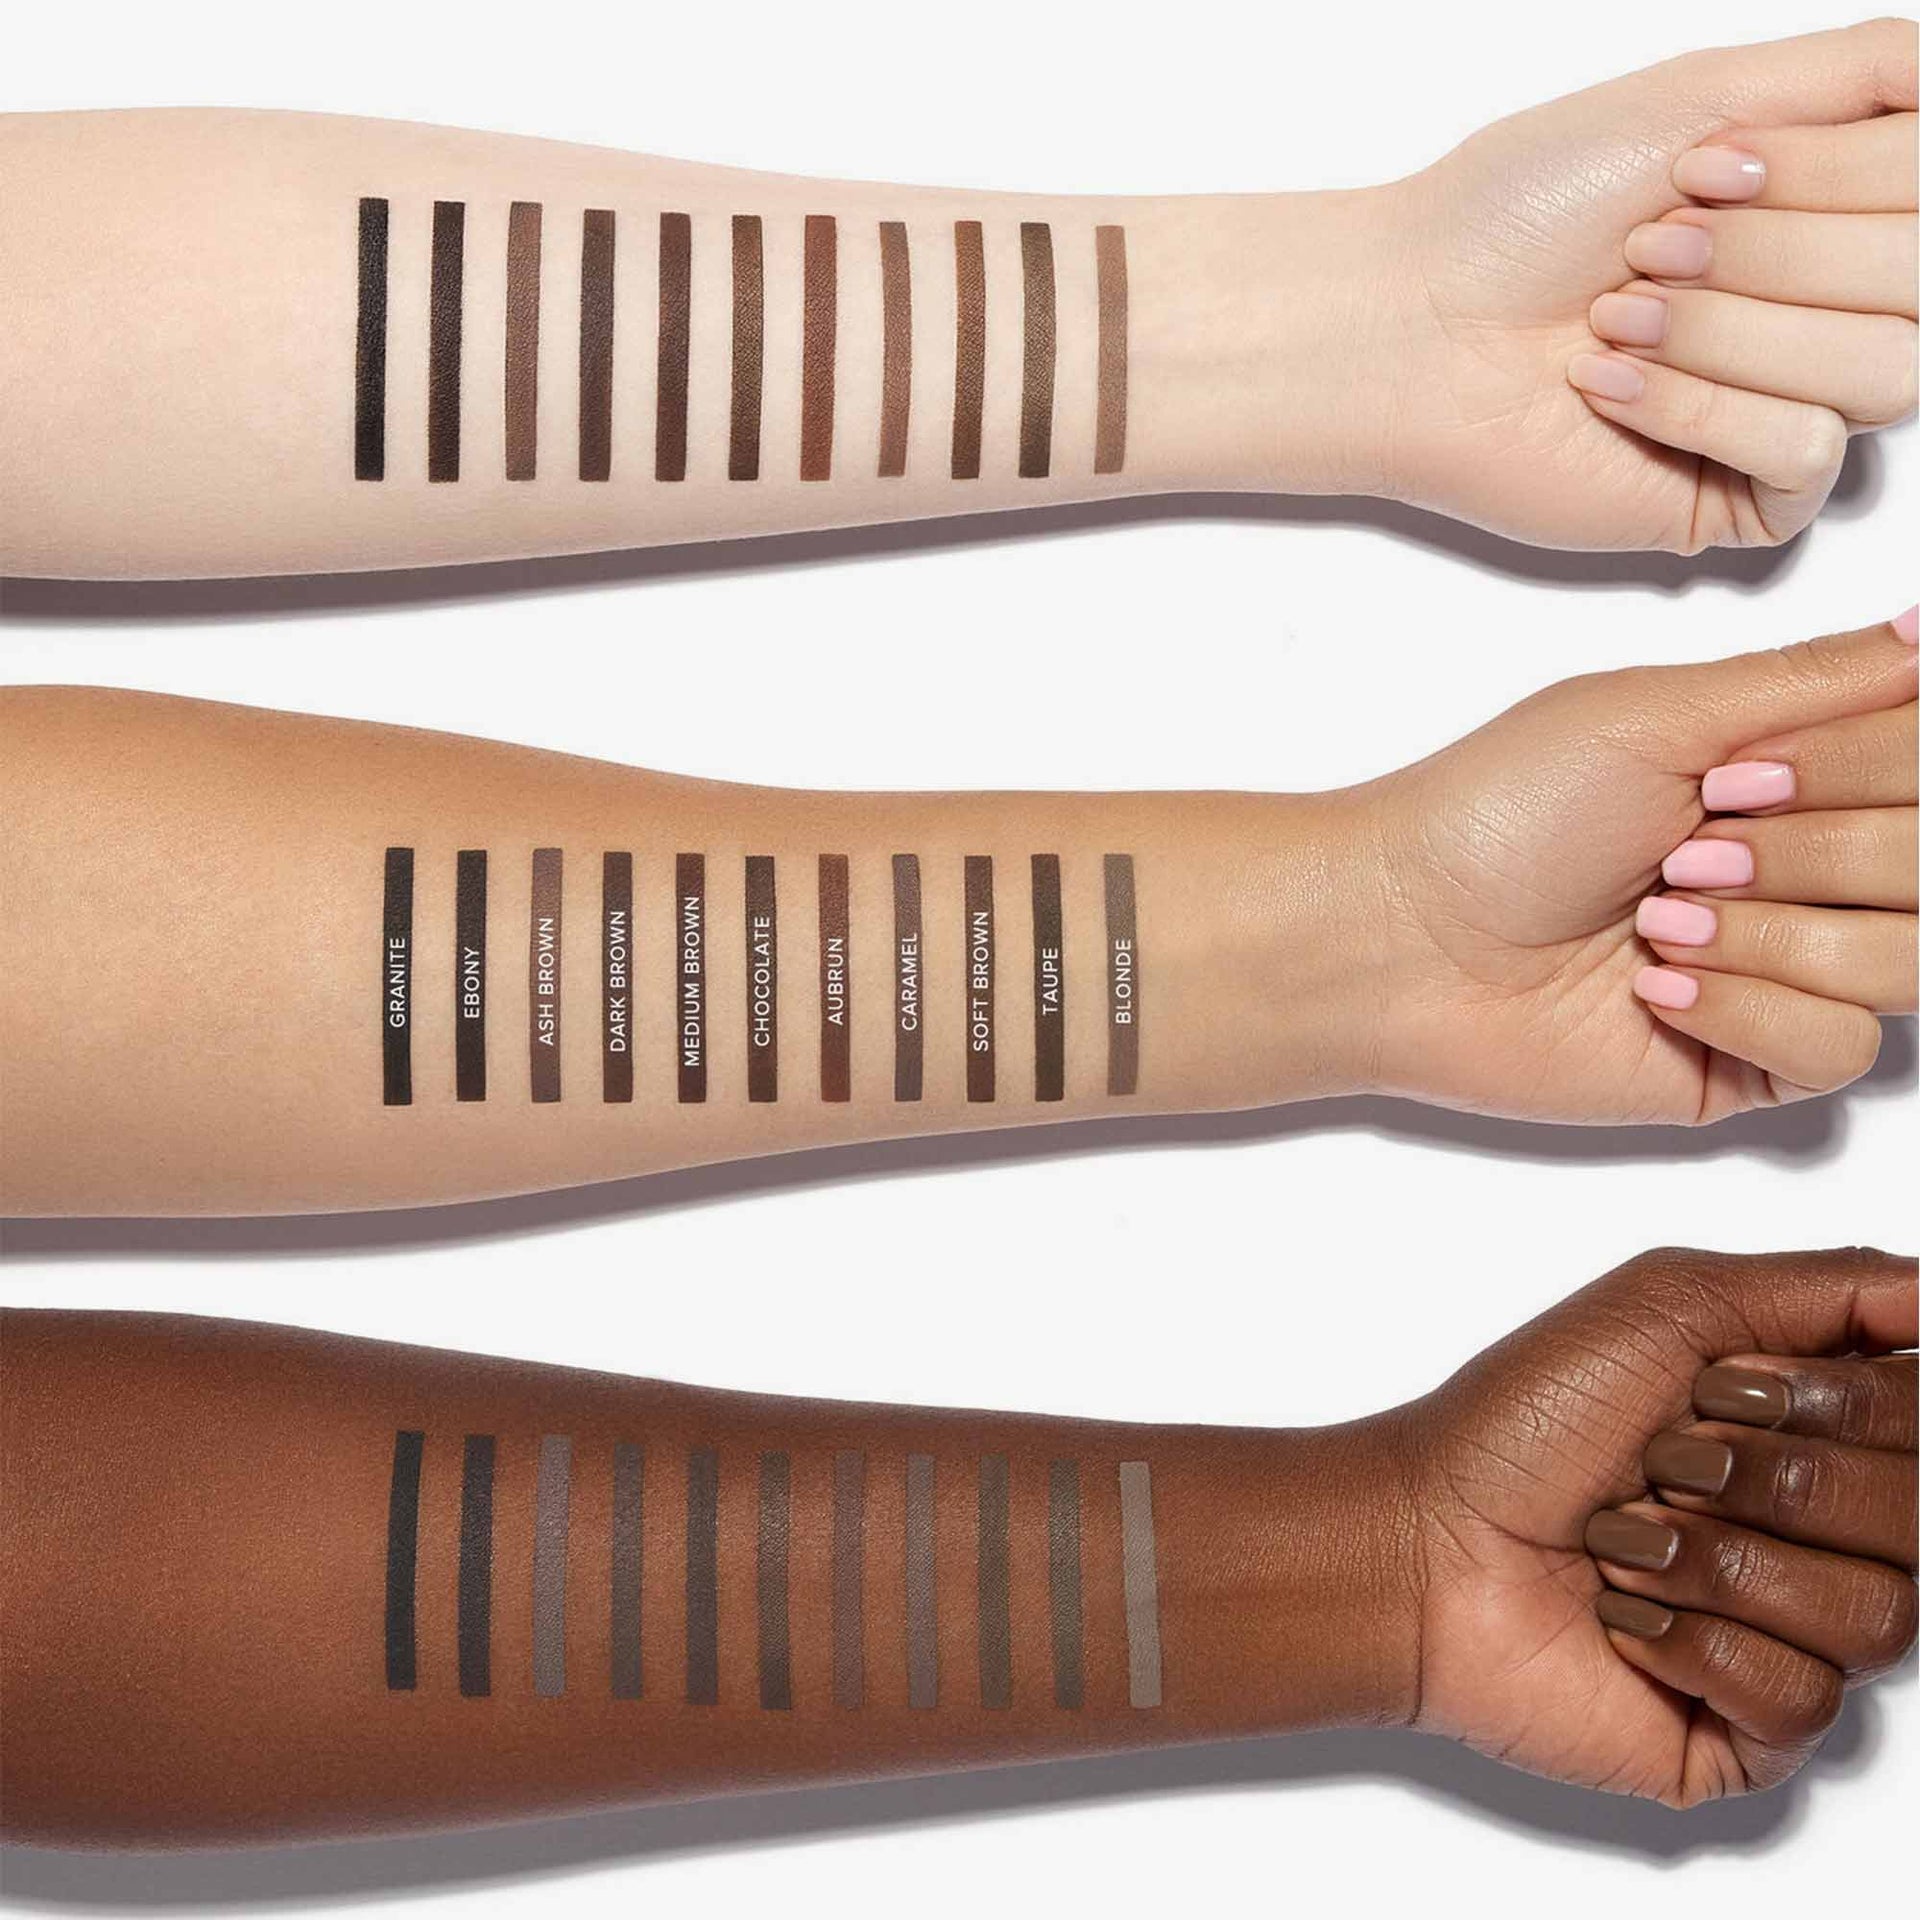
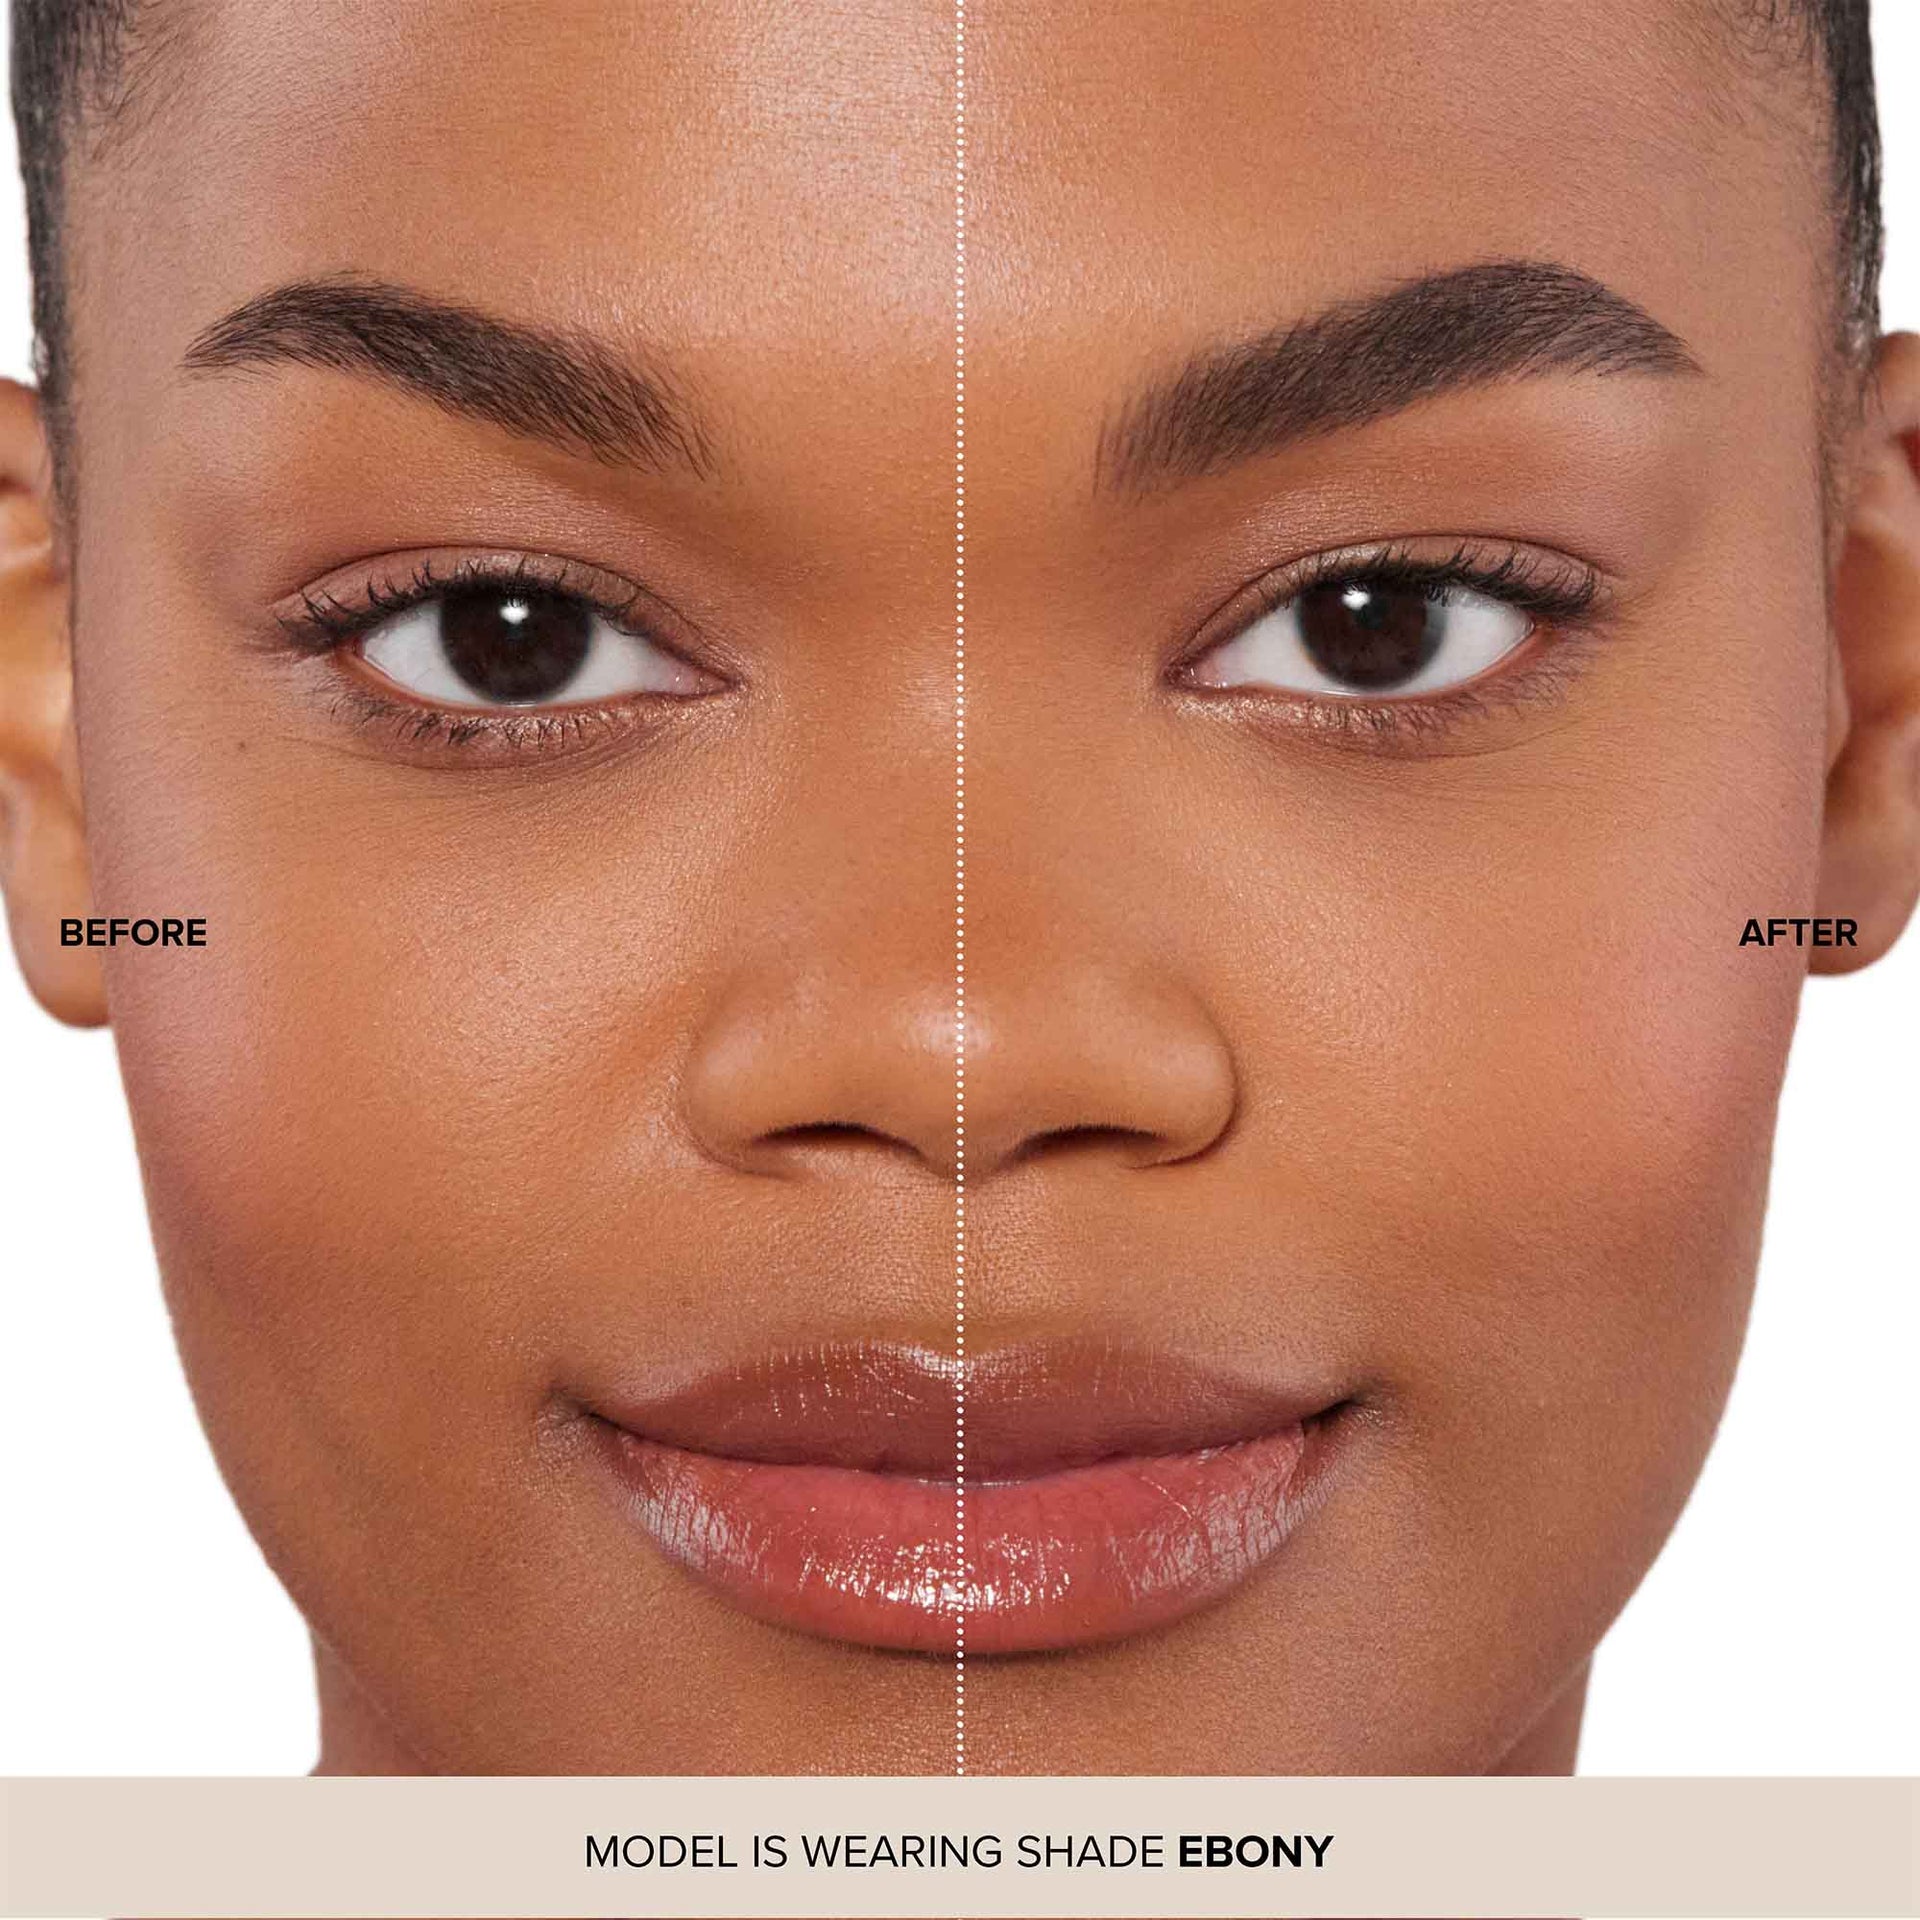
Lift, tame and sculpt brows in place with Brow Freeze®, our extreme-hold styling wax for creating the feathered brows you’ve always wanted. This set includes three deluxe mini waxes and a gift bag. It’s a $39 value for just $30.

Need help finding what brow products are perfect for you? Take our Brow Quiz here.

#1 Brow Brand in the U.S.*
*Source: The NPD Group/U.S. Prestige Beauty Total Measured Market, Eye Brow Makeup Sales, January – December 2022 combined

Size: 0.08 Fl. Oz. | 2.5 g

Mini Brow Freeze® Trio

Articles

Get The Look: Sculpted Brows

Apothecary

Get The Look: Sculpted Brows

Anastasia Beverly Hills understands the importance of impeccably groomed eyebrows; it’s how we made our name! So we know that well-defined, sculpted eyebrows can not only frame your face and enhance your features, they can also add a touch of elegance and sophistication to your style - while giving you a boost of world-beating confidence! But here’s a little secret: you don’t have to be Anastasia herself to achieve the perfect sculpted eyebrow with ultimate definition and shape. It’s something you can do at home - and this guide will show you how. STEP 1: PRIME Brow Freeze® Start by shaping your brows in place with Brow Freeze® styling wax. Brush through the brow using upward continuous motions and gently pressing as the product sets. Press and sculpt unruly hairs into place so they lay flat. Pro tip: You’ll want to use only a small amount of Brow Freeze®, as a little goes a long way!  STEP 2: FILL Brow Powder Duo Next, softly define and fill them in using Brow Powder Duo. You can apply the two shades separately for a natural-looking ombre effect, or blend them together to create a custom shade! Apply the lighter shade through the front of the brow and the deeper shade from the highest point of the brow (arch) to the end of the brow.  If you’re going for the natural-looking ombre, apply the lighter shade to the beginning of each brow (above your nose) and the deeper shade from the arch to the end. For best results, we recommend Brush 7B. It’s a dual-ended tool with a brush for creating precise hairlike strokes and a spoolie for blending to achieve a soft, natural-looking finish.  STEP 3: DETAIL DIPBROW® Pomade DIPBROW® Pomade is the key to this final step. This long-lasting, professional quality product is super-versatile in application and can help you achieve everything from natural-looking hair-like to texture to more bold and dramatic looks. Here, you’re going to add hair-like strokes and definition starting at the top of your brow, working in the direction of your natural hair growth. Blend as you go for a natural finish. Use Brush 12 for best results.  As an additional step, use Pro Pencil to achieve greater definition and highlight the brow bone for a lifted effect. Apply at the base of the brow and sweep from front to end, following your brow shape. Use the flat side of Brush 20 to soften and blend edges, using short, downward strokes.

Read Article
Get The Look: Ombré Eyebrows

Apothecary

Get The Look: Ombré Eyebrows

Ombré brows have taken the beauty world by storm! This trendy eyebrow look features a subtle gradient effect, starting with a lighter shade at the front of the brow, darkening toward the end of the brow. This effect lends a natural appearance to your brows, as traditional brow makeup often creates a more uniform look. The result is a softer, more blended look that complements your facial features. So how can you achieve this natural-looking ombré effect? ABH is here to help you create your perfect brow. STEP 1: PRIME Brow Freeze® Start by shaping your brows in place with Brow Freeze® styling wax. Brush through the brow using upward continuous motions and gently pressing as the product sets. Press and sculpt unruly hairs into place so they lay flat. Pro tip: You’ll want to use only a small amount of Brow Freeze®, as a little goes a long way!  STEP 2: FILL Brow Powder Duo Softly fill and define brows using our two-shade Brow Powder Duo and Brush 7B. Apply the lighter shade to the beginning of each brow (above your nose) and the deeper shade from the arch to the end. Blend as you go using the spoolie brush for a soft, natural-looking finish. STEP 3: FINISH Clear Brow Gel At this point your brows should have a nice ombré effect from lighter to deeper. If you want to highlight and define your brow, grab a Highlighting Duo Pencil. Apply the shimmer end from the arch to the end, then apply the matte end to the whole brow working from beginning to end. Blend with Brush 20. Finally set your brows and their now-perfect color with Clear Brow Gel. This will hold your brow hairs in place all day and prevent smudging or fading. Apply using short, upward motions and finish by gently blending any harsh lines with a spoolie brush for a seamless, natural look. Voila!

Read Article

Get The Look: Signature Brows

Apothecary

Get The Look: Signature Brows

When it comes to achieving perfect brows, Anastasia Beverly Hills is the name you can trust. As the #1 brand in brows, we’re the go-to choice for beauty beginners and makeup professionals alike.  And no matter what your skill level, or whether your brows are sparse and over-tweezed, or shapeless and undefined, the ABH commitment is the same – we want you to achieve the brows you were meant to have! For perfect signature brows that make a statement, here are the steps to follow and the products to have. STEP 1: PREP & PRIME Brow Freeze® Start by shaping your brows in place with Brow Freeze® styling wax. Brush through the brow using upward continuous motions and gently pressing as the product sets. Press and sculpt unruly hairs into place so they lay flat. Pro tip: You’ll want to use only a small amount of Brow Freeze®, as a little goes a long way!  STEP 2: FILL Brow Powder Duo After your brows are set, the next step is to softly fill them in. For this, we recommend using Brow Powder Duo and Brush 7B. You can apply the two shades separately for a natural-looking ombre effect, or blend them together to create a custom shade! Apply the lighter shade through the front of the brow, and the deeper shade from the highest point of the brow (arch) to the end of the brow. Blend as you go with the spoolie brush for a soft, natural-looking finish.  STEP 3: DETAIL Brow Wiz® Now let’s add definition and detail using our Brow Wiz® eyebrow pencil. First, brush brow hairs in place using the spoolie brush. Using light pressure, apply hair-like strokes in sparse areas, working in the direction of hair growth. Add extra-definition and detail throughout the brow as desired. Blend as you go using the spoolie brush for a natural look.  STEP 4: HIGHLIGHT Pro Pencil If your brow needs some additional definition or highlighting, our Pro Pencil is a versatile multi-tasking tool. Here we’ll use it to achieve greater definition and highlight the brow bone for a lifted effect. To apply, start at the base of the brow and sweep from front to end, following your brow shape. Use the flat side of Brush 20 to soften and blend edges, using short, downward strokes. STEP 5: FINISH Clear Brow Gel Finally, use Clear Brow Gel to keep your new signature brows in place all day. This colorless, lightweight gel holds brow hairs in place and prevents smudging or fading. Apply using short, upward motions and finish by gently blending any harsh lines with a spoolie brush for a seamless, natural look.

Read Article
Get The Look: Laminated Brows

Apothecary

Get The Look: Laminated Brows

  What’s one of the hottest trends going right now? Brow lamination is an extremely popular, semi-permanent cosmetic procedure that straightens and sets eyebrows to create a fuller, more defined look. It’s sometimes called an “eyebrow perm.”  But did you know that you can achieve much the same effect for a night out with products from Anastasia Beverly Hills? The laminated brow look isn’t difficult to master or expensive to maintain – anyone can do it! All you need is to follow three simple steps and use these product recommendations. STEP 1: FILL Brow Powder Duo Use Brow Powder Duo and Brush 7B to softly fill and define your eyebrows. You can apply the two shades separately for a natural-looking ombre effect, or blend them together to create a custom shade! Apply the lighter shade in the front of the brow, and the deeper shade from the highest point of the brow (arch) to the end of the brow. Blend with the spoolie brush as you go for a soft, natural-looking finish.  For best results, consider prepping with Brow Primer before applying Brow Powder Duo. One swipe of this colorless wax pencil will adhere the powder to the skin and hair for a seamless application.   STEP 2: DETAIL Brow Pen Next, let’s build dimension and fullness using Brow Pen, a superfine-tipped detailing pen that creates natural-looking brows. For best results, shake it before using, then use light pressure as you apply hair-like strokes in your sparse areas. Start by applying Brow Pen at the highest point of the brow and work toward the end of the brow, then lightly etch through the front. If your brow needs some additional definition or highlighting, our Pro Pencil is a versatile multi-tasking tool. To apply, start at the base of the brow and sweep from front to end, following your brow shape. Use the flat side of Brush 20 to soften and blend edges, using short, downward strokes. STEP 3: FINISH Brow Freeze® Gel Finally, let’s laminate and lock those brows in place! Brow Freeze® Gel is an innovative wax-gel hybrid that shapes, sculpts and sets brows with extreme hold. It can be used by itself on the go, but here we’re going to use it as the finishing touch for long-lasting results. For extreme, extra-long hold, we recommend Brow Freeze® styling wax.

Read Article

Watch

Applying Brow Freeze®

Applying Brow Freeze®

Play
Applying Brow Freeze®

Applying Brow Freeze®

Play
Arrow - Left
Arrow - Right

Explore the
Perfect Pairings

Reviews