


When it comes to achieving perfect brows, Anastasia Beverly Hills is the name you can trust. As the #1 brand in brows, we’re the go-to choice for beauty beginners and makeup professionals alike.
And no matter what your skill level, or whether your brows are sparse and over-tweezed, or shapeless and undefined, the ABH commitment is the same – we want you to achieve the brows you were meant to have! For perfect signature brows that make a statement, here are the steps to follow and the products to have.

STEP 1: PREP & PRIME
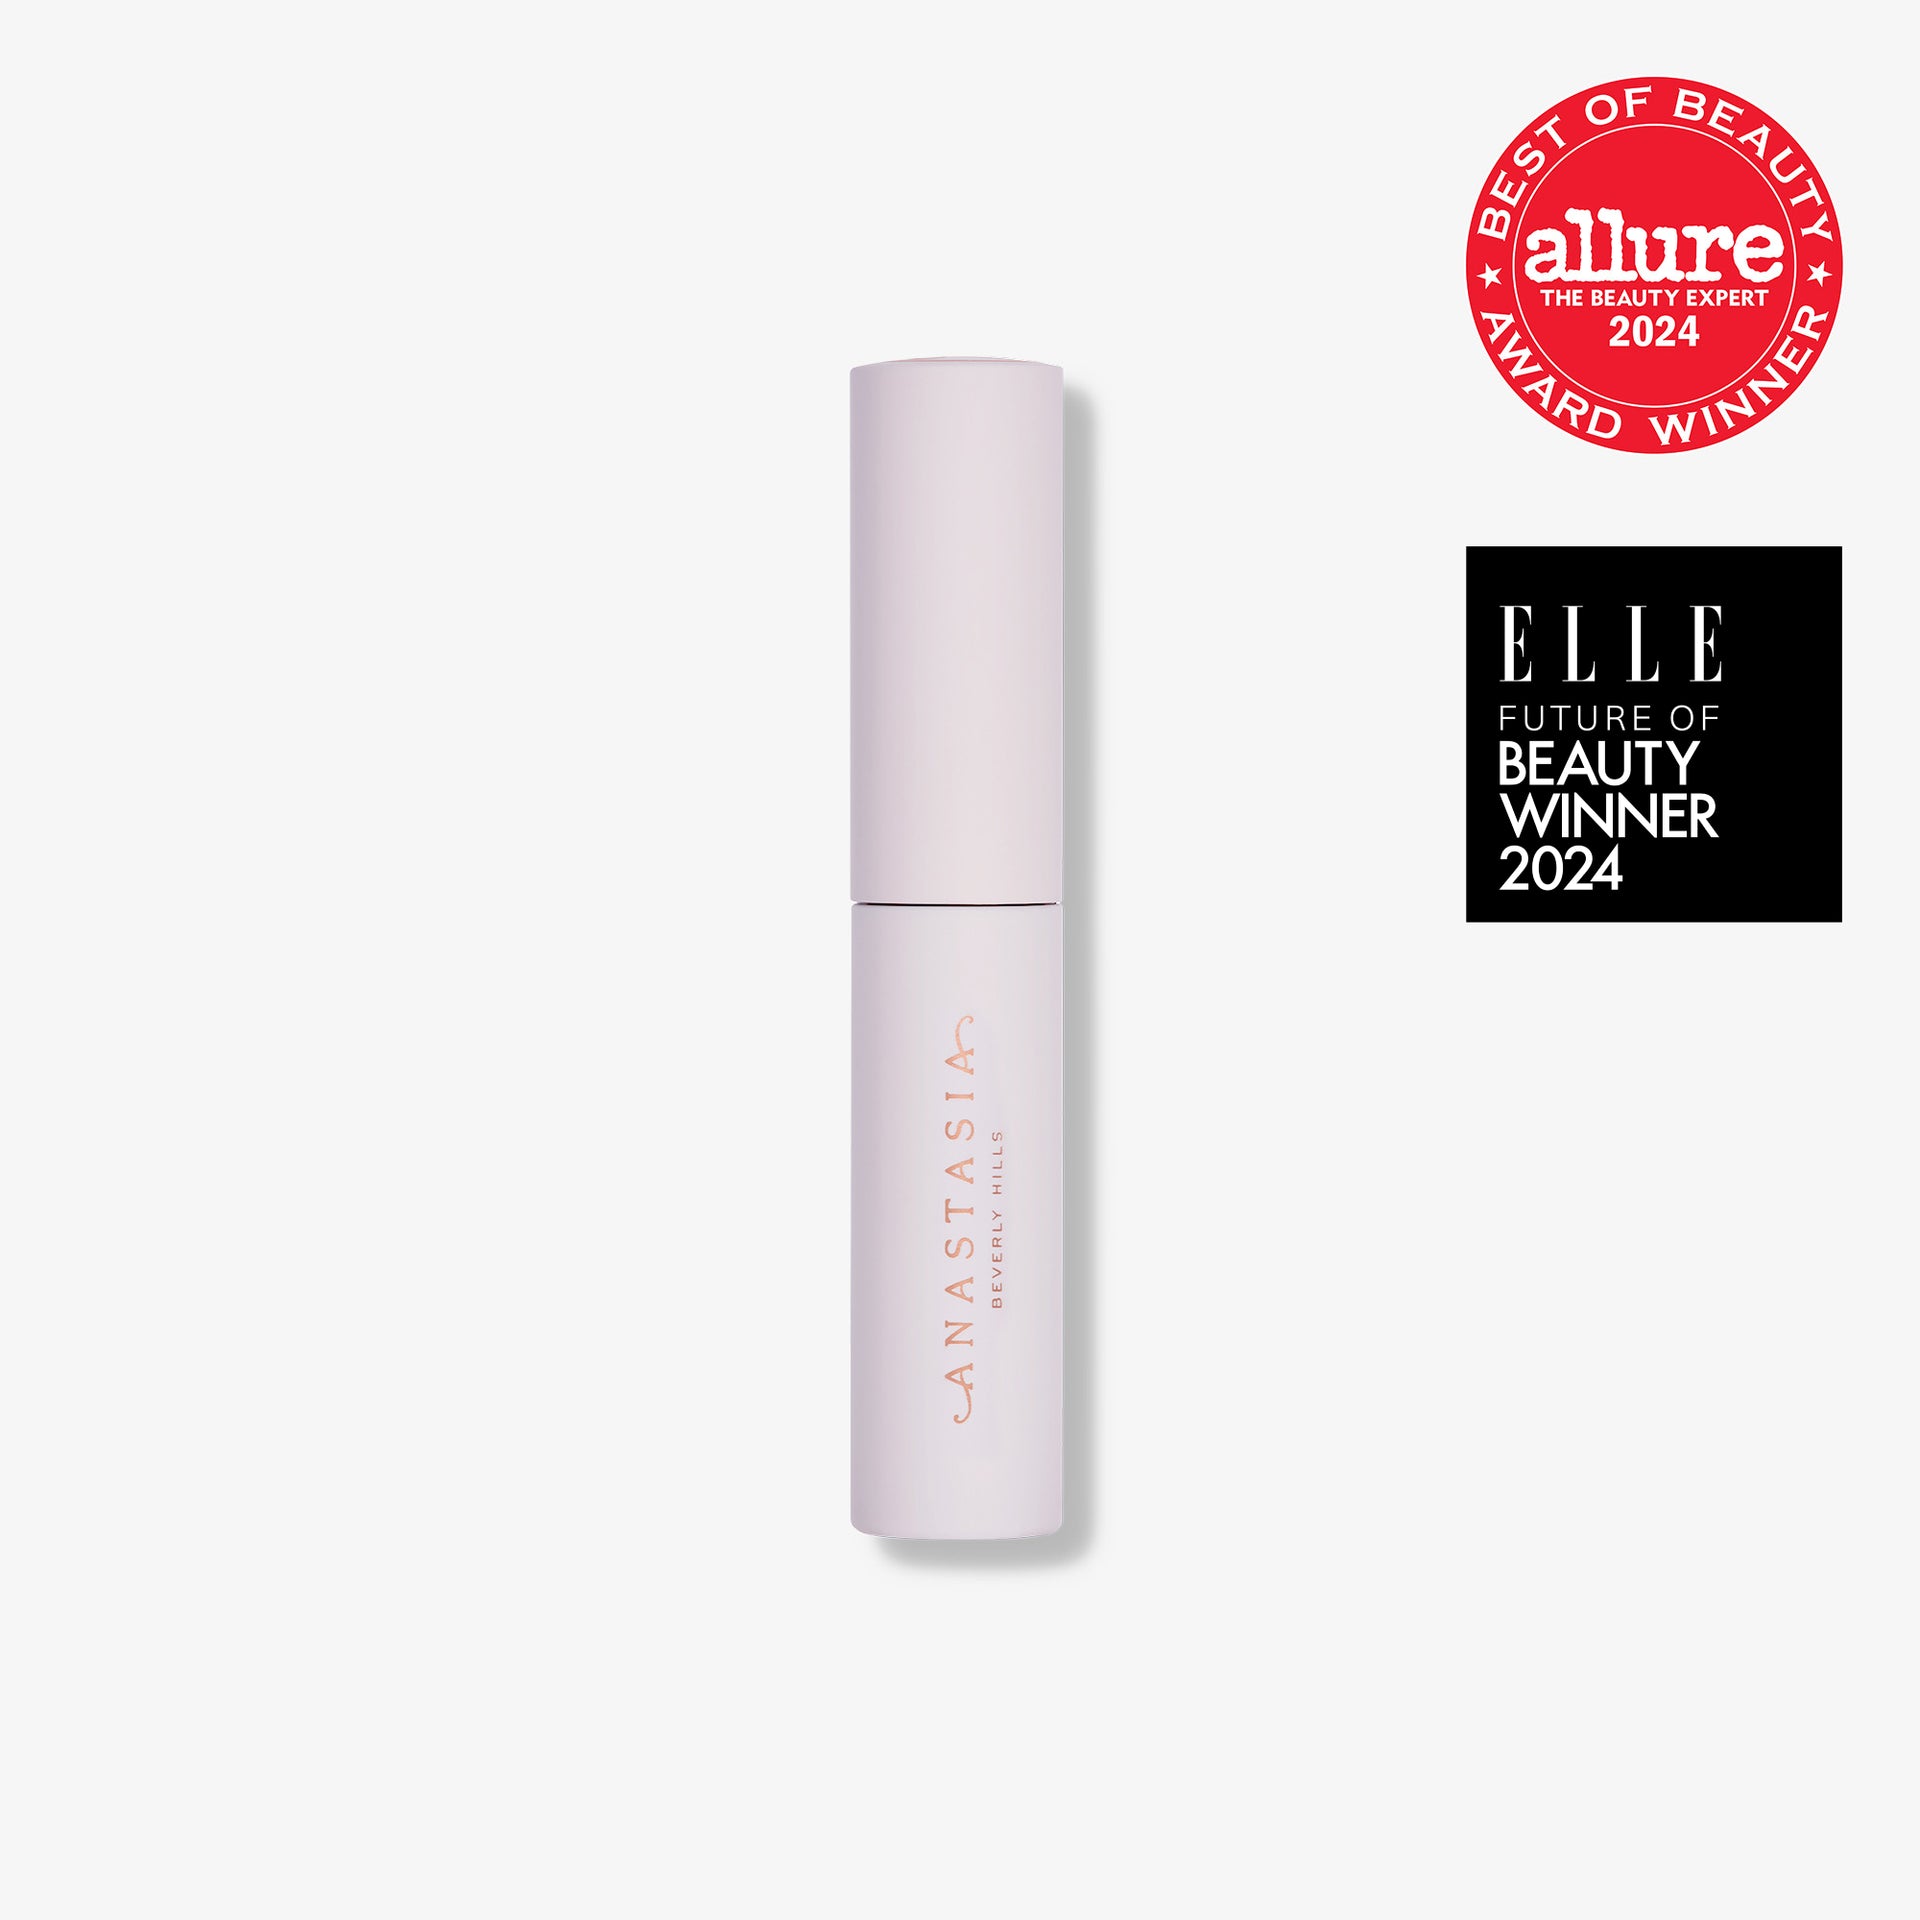
Brow Freeze®
Start by shaping your brows in place with Brow Freeze® styling wax. Brush through the brow using upward continuous motions and gently pressing as the product sets. Press and sculpt unruly hairs into place so they lay flat. Pro tip: You’ll want to use only a small amount of Brow Freeze®, as a little goes a long way!

STEP 2: FILL
Brow Powder Duo
After your brows are set, the next step is to softly fill them in. For this, we recommend using Brow Powder Duo and Brush 7B. You can apply the two shades separately for a natural-looking ombre effect, or blend them together to create a custom shade! Apply the lighter shade through the front of the brow, and the deeper shade from the highest point of the brow (arch) to the end of the brow. Blend as you go with the spoolie brush for a soft, natural-looking finish.

STEP 3: DETAIL
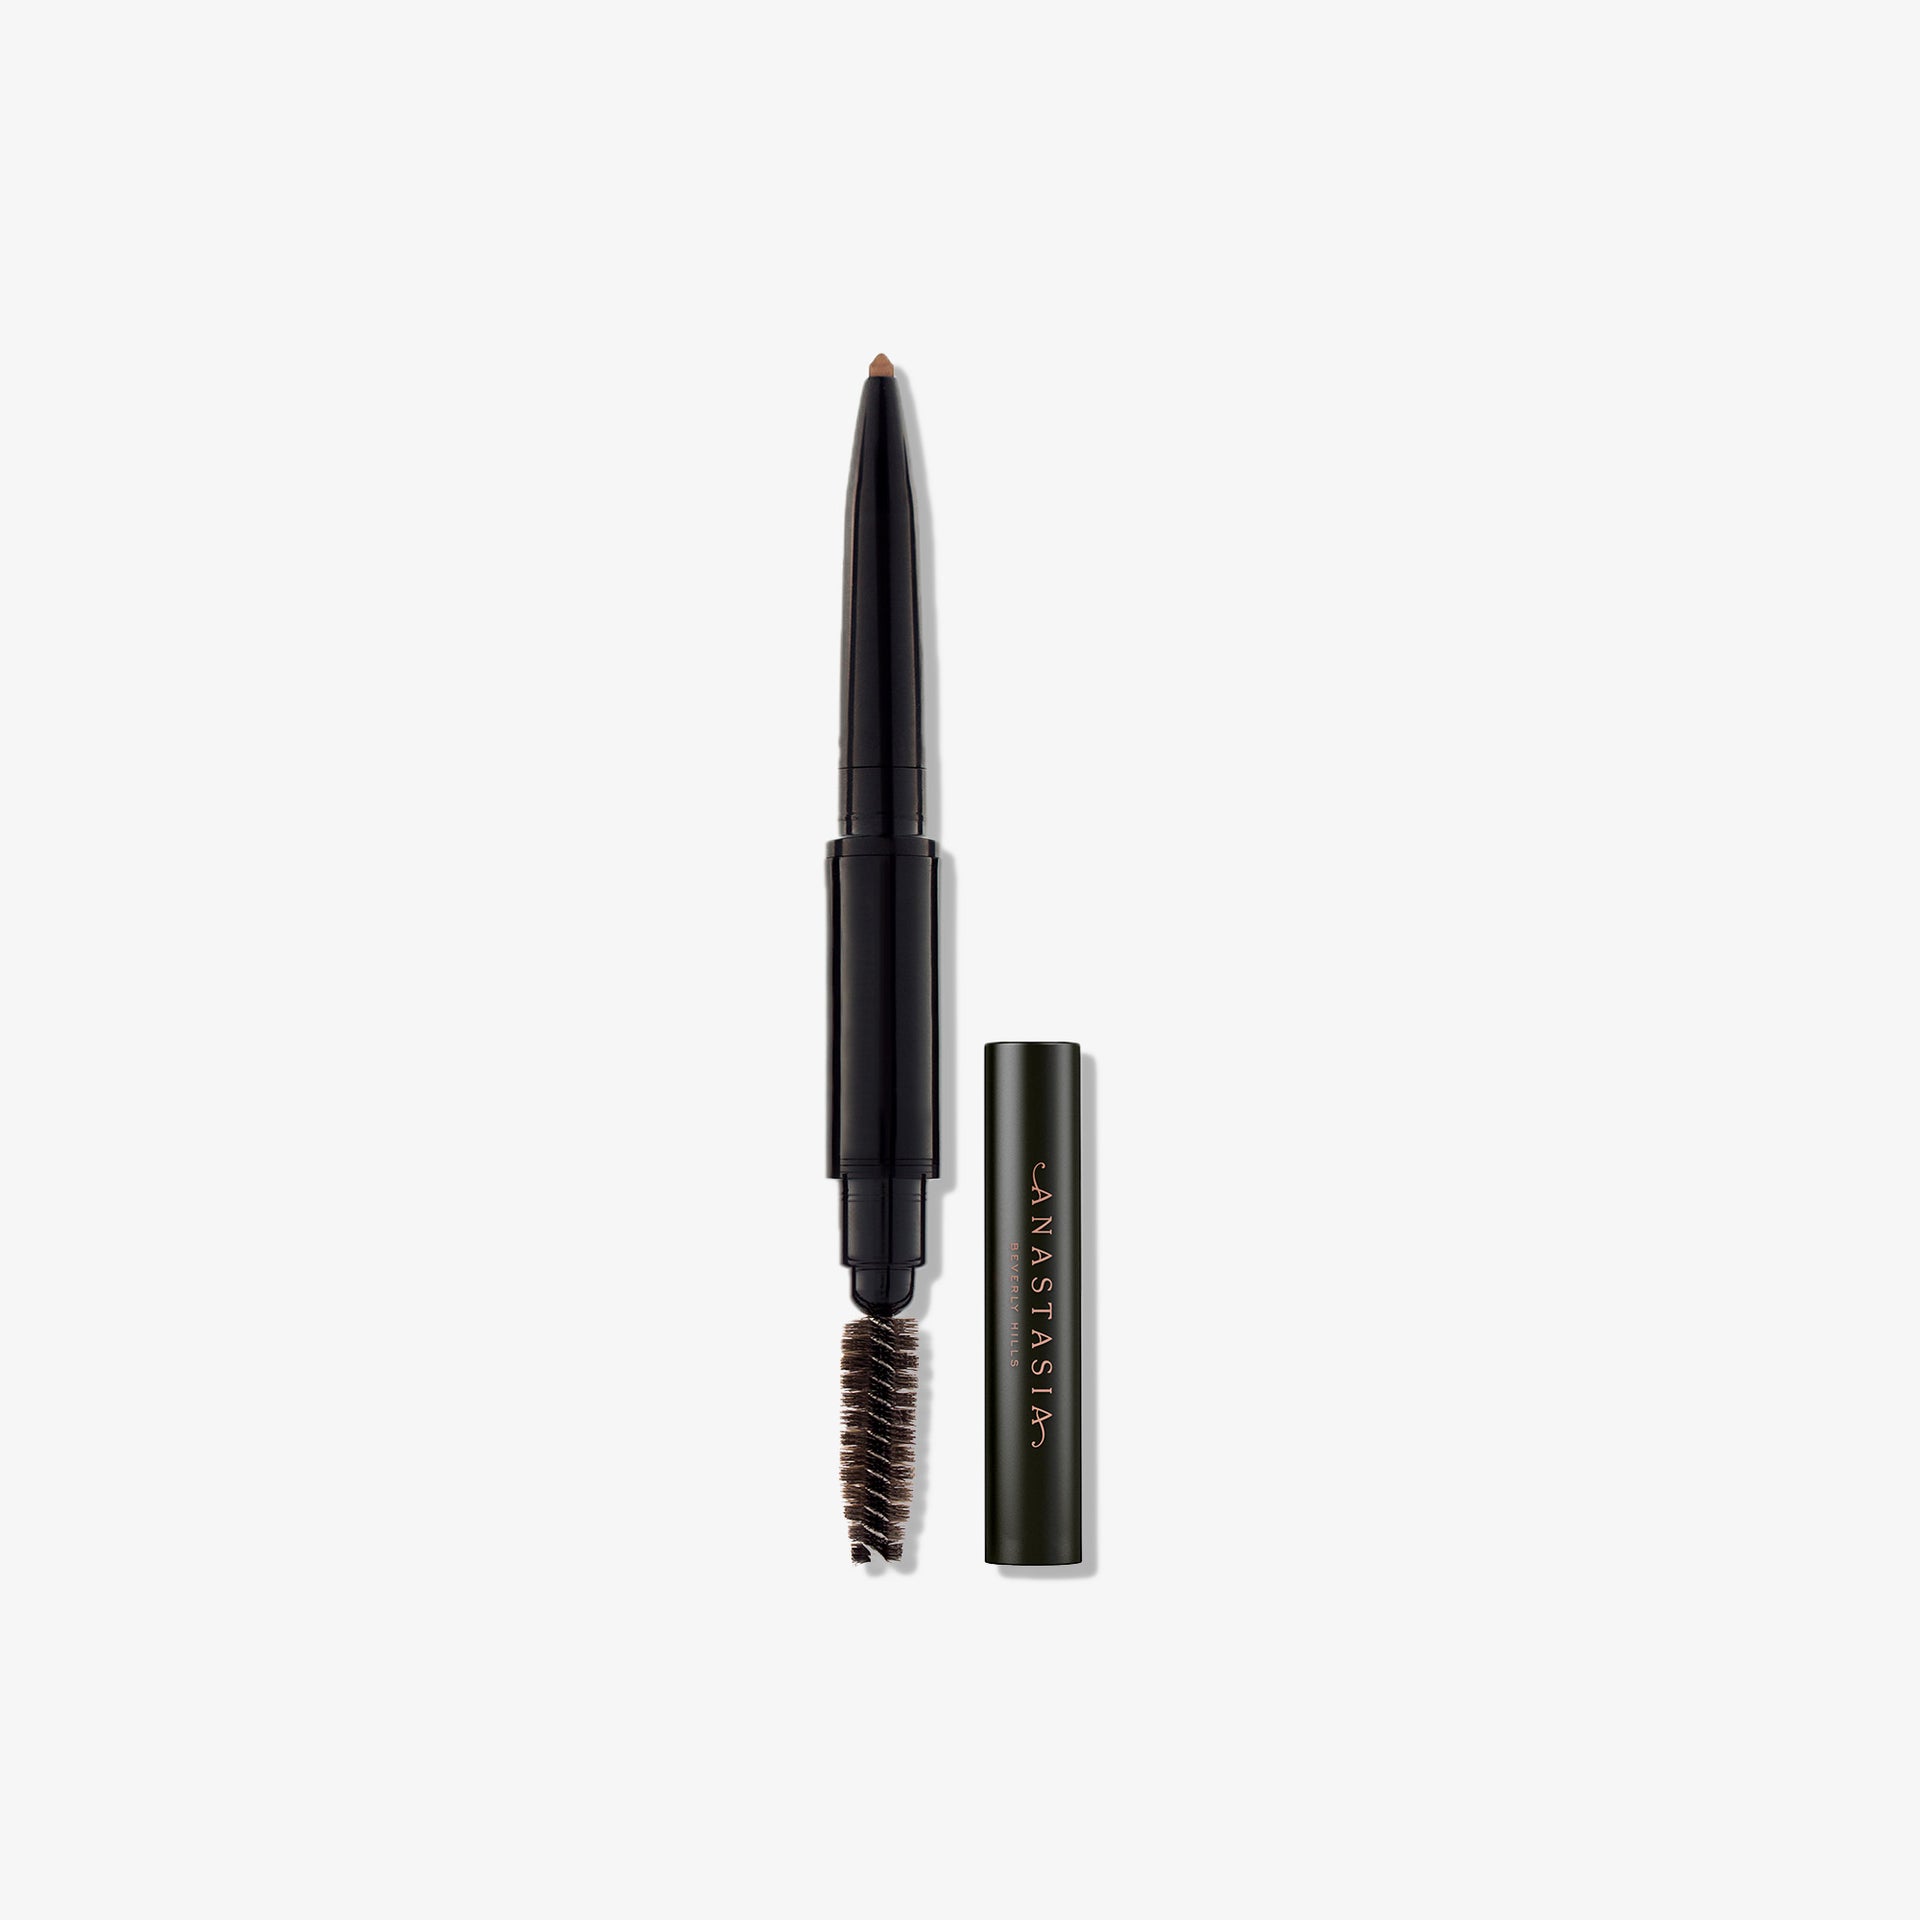
Brow Wiz®
Now let’s add definition and detail using our Brow Wiz® eyebrow pencil. First, brush brow hairs in place using the spoolie brush. Using light pressure, apply hair-like strokes in sparse areas, working in the direction of hair growth. Add extra-definition and detail throughout the brow as desired. Blend as you go using the spoolie brush for a natural look.

STEP 4: HIGHLIGHT
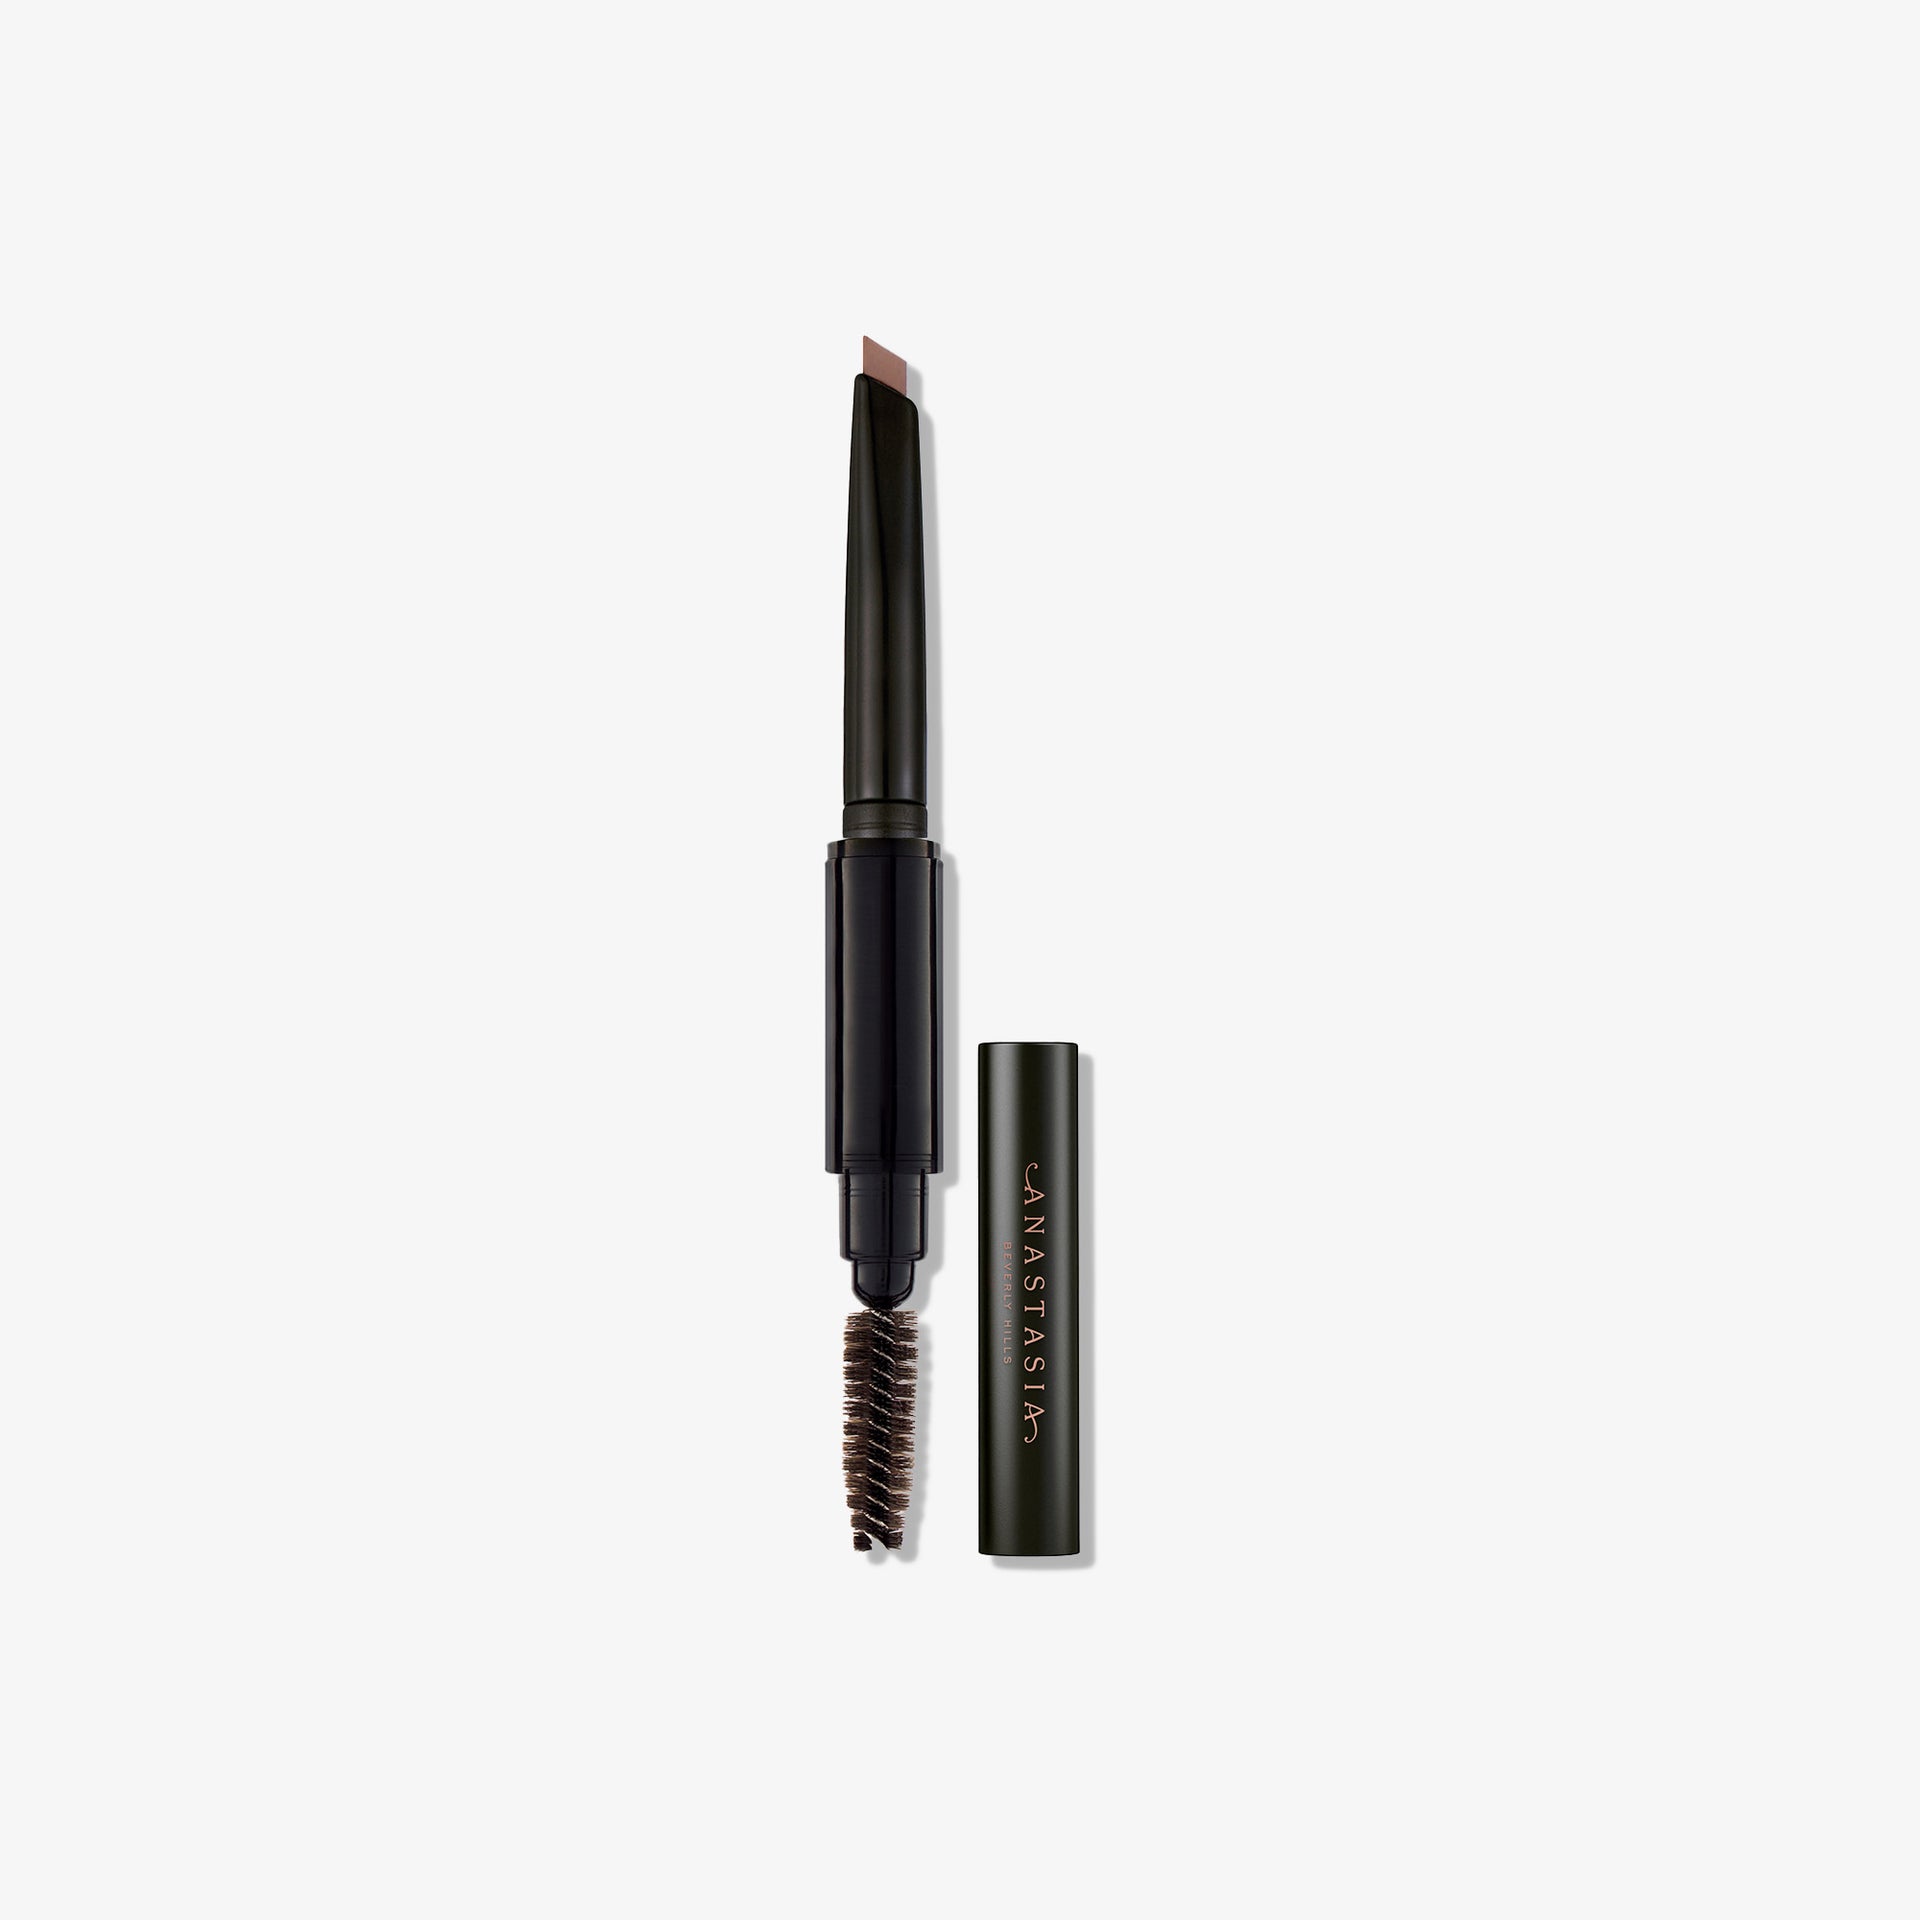
Pro Pencil
If your brow needs some additional definition or highlighting, our Pro Pencil is a versatile multi-tasking tool. Here we’ll use it to achieve greater definition and highlight the brow bone for a lifted effect. To apply, start at the base of the brow and sweep from front to end, following your brow shape. Use the flat side of Brush 20 to soften and blend edges, using short, downward strokes.

STEP 5: FINISH
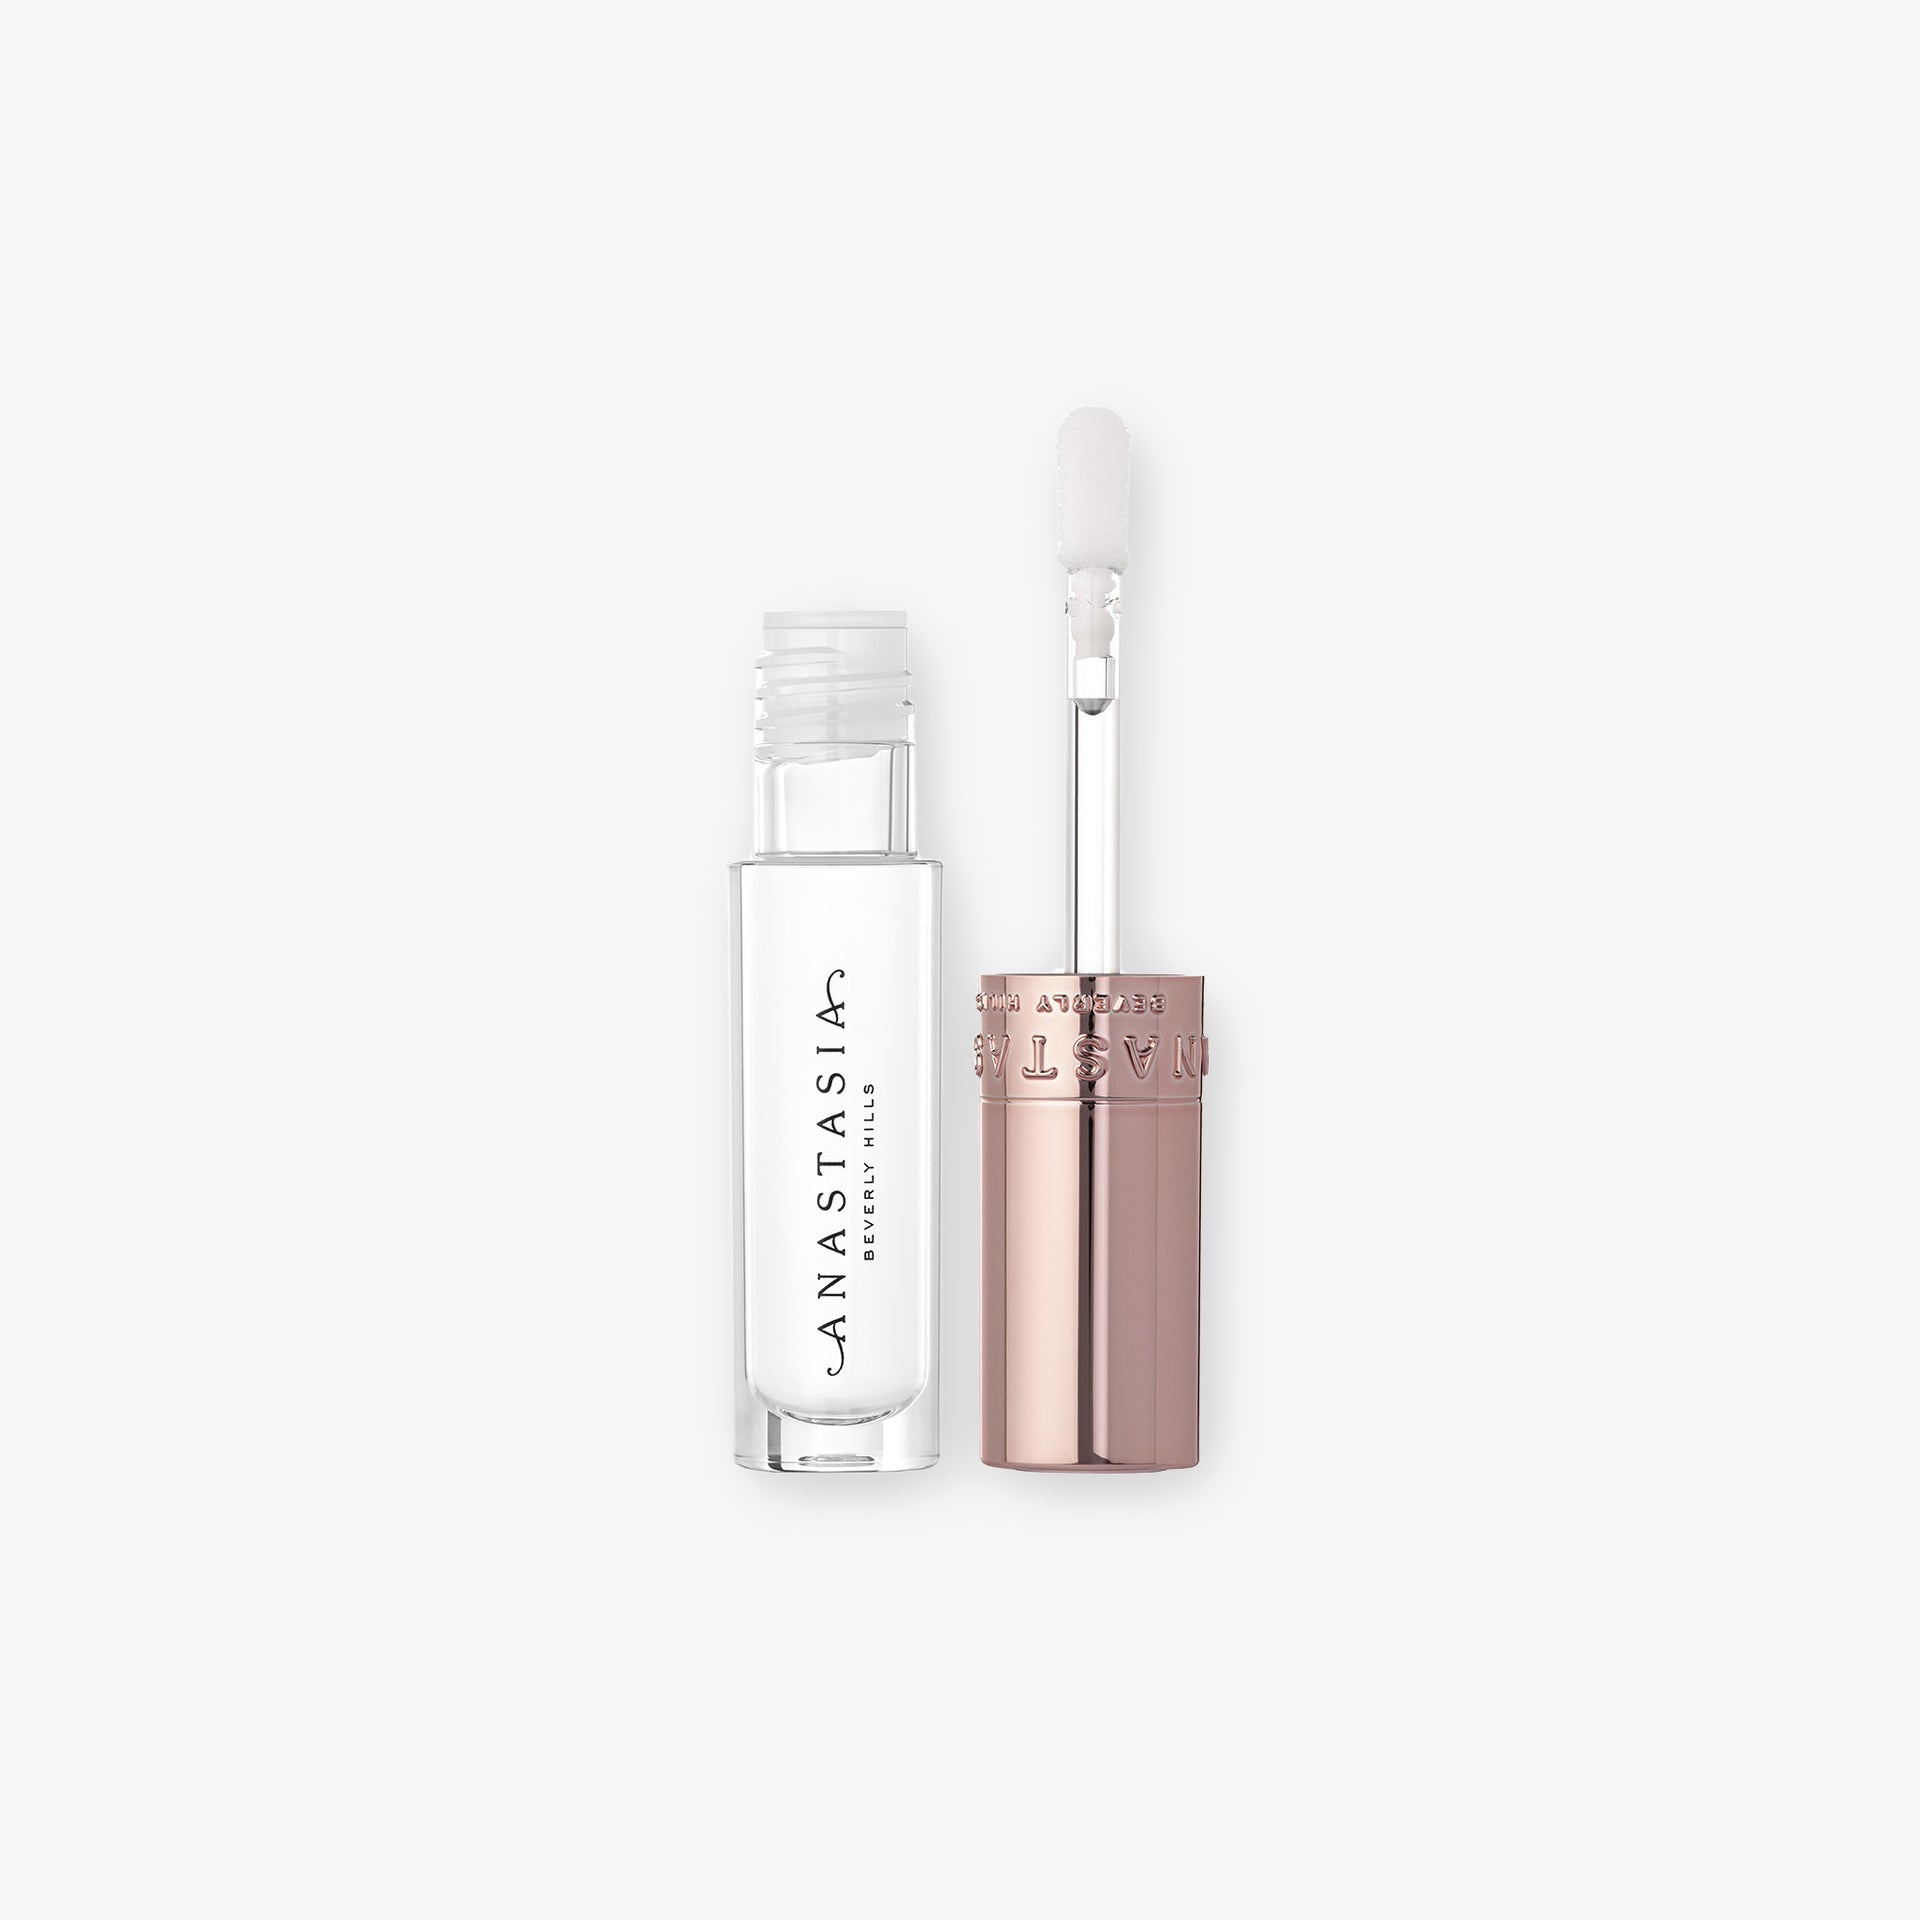
Clear Brow Gel
Finally, use Clear Brow Gel to keep your new signature brows in place all day. This colorless, lightweight gel holds brow hairs in place and prevents smudging or fading. Apply using short, upward motions and finish by gently blending any harsh lines with a spoolie brush for a seamless, natural look.