Brow
Rediscover Your Brow Routine
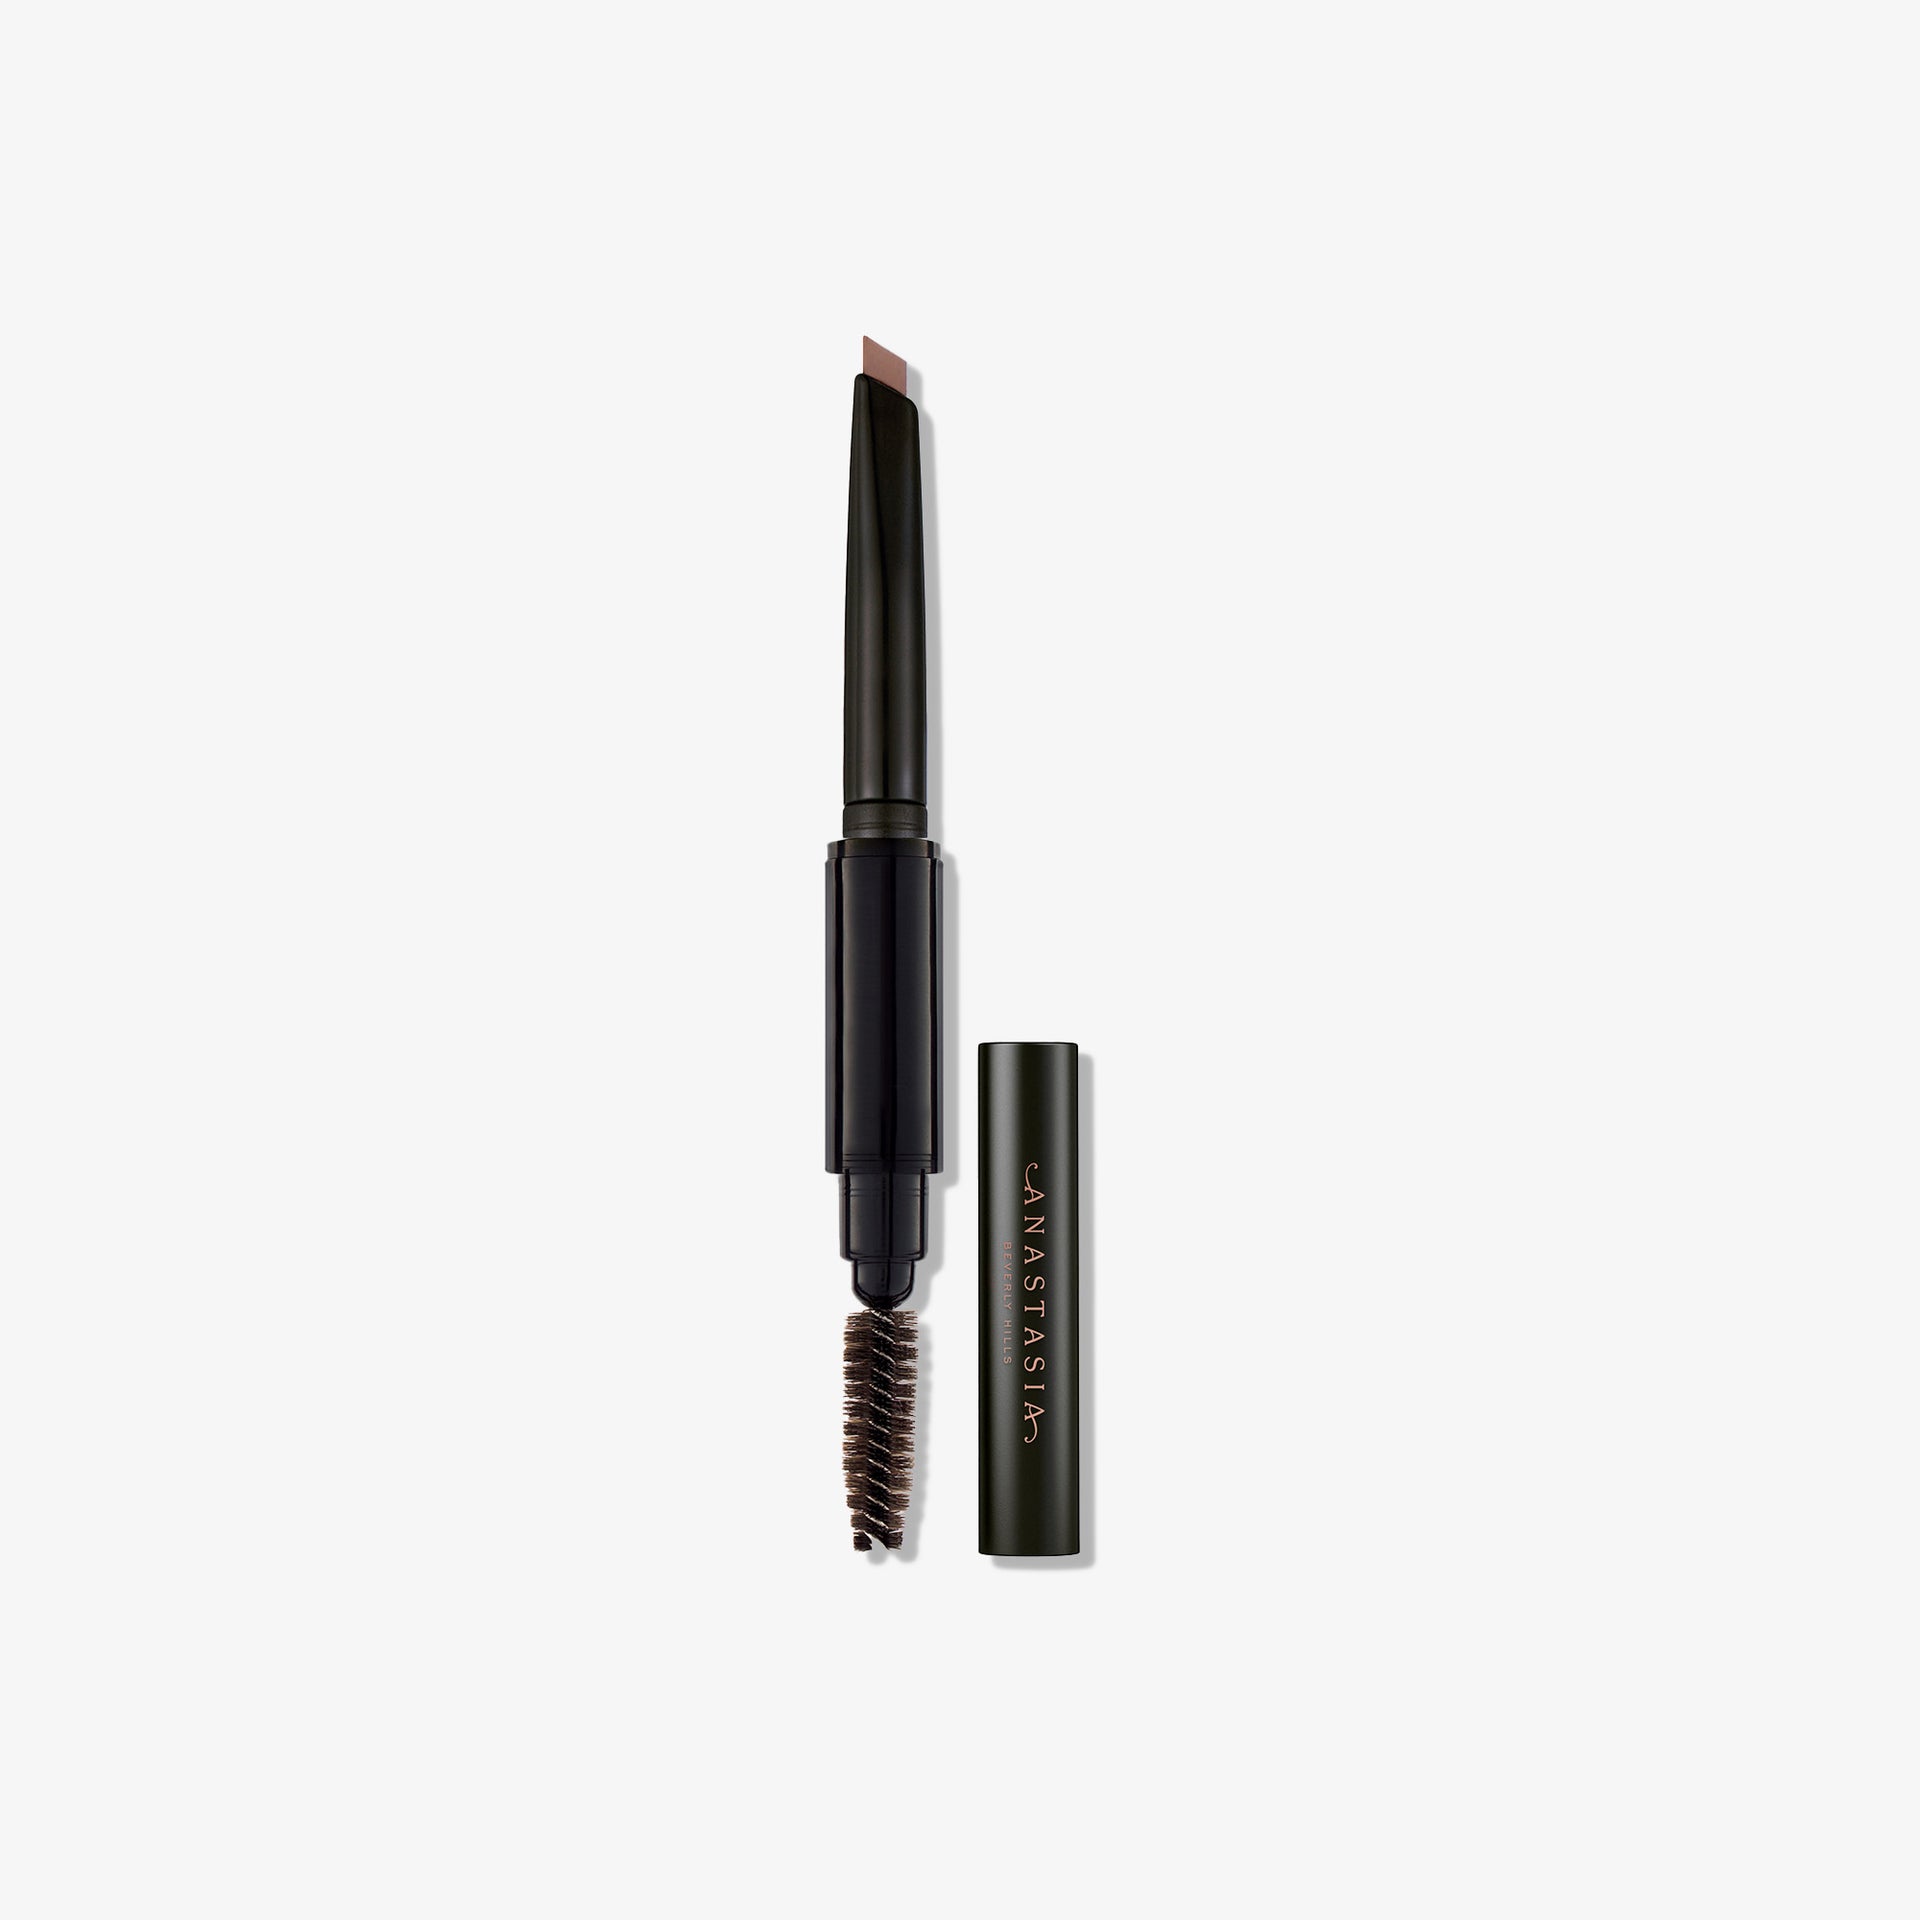
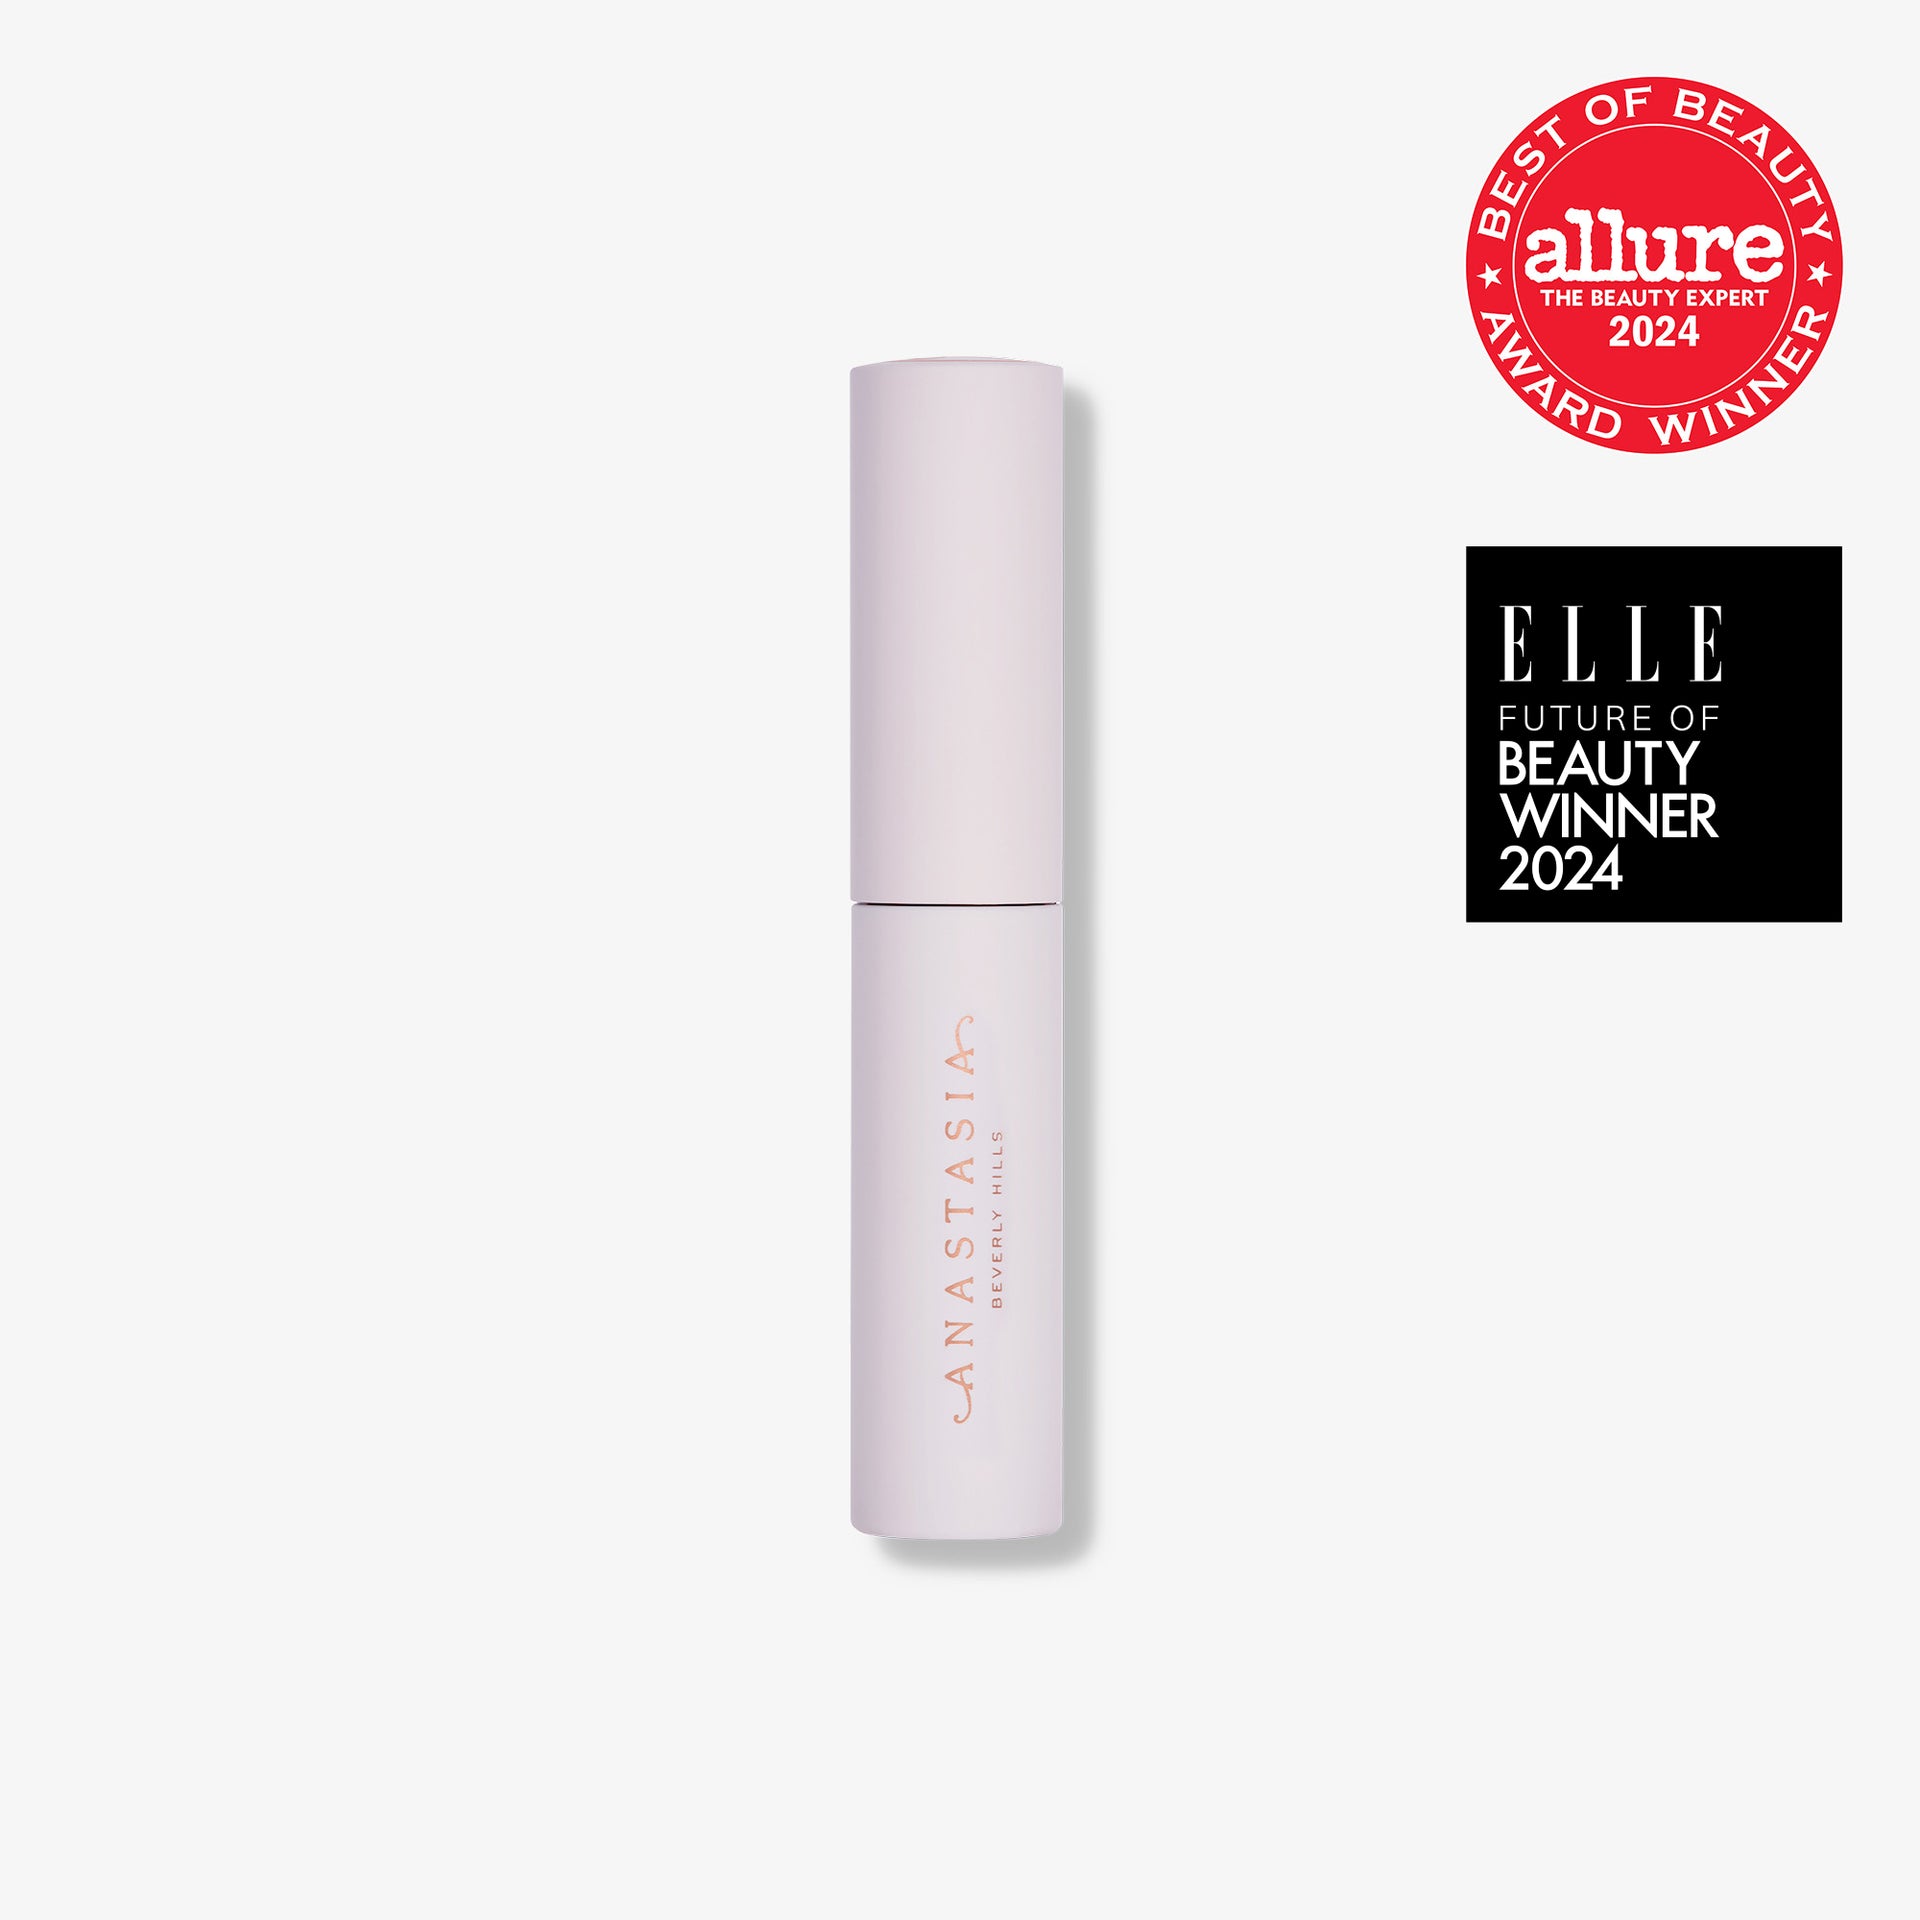
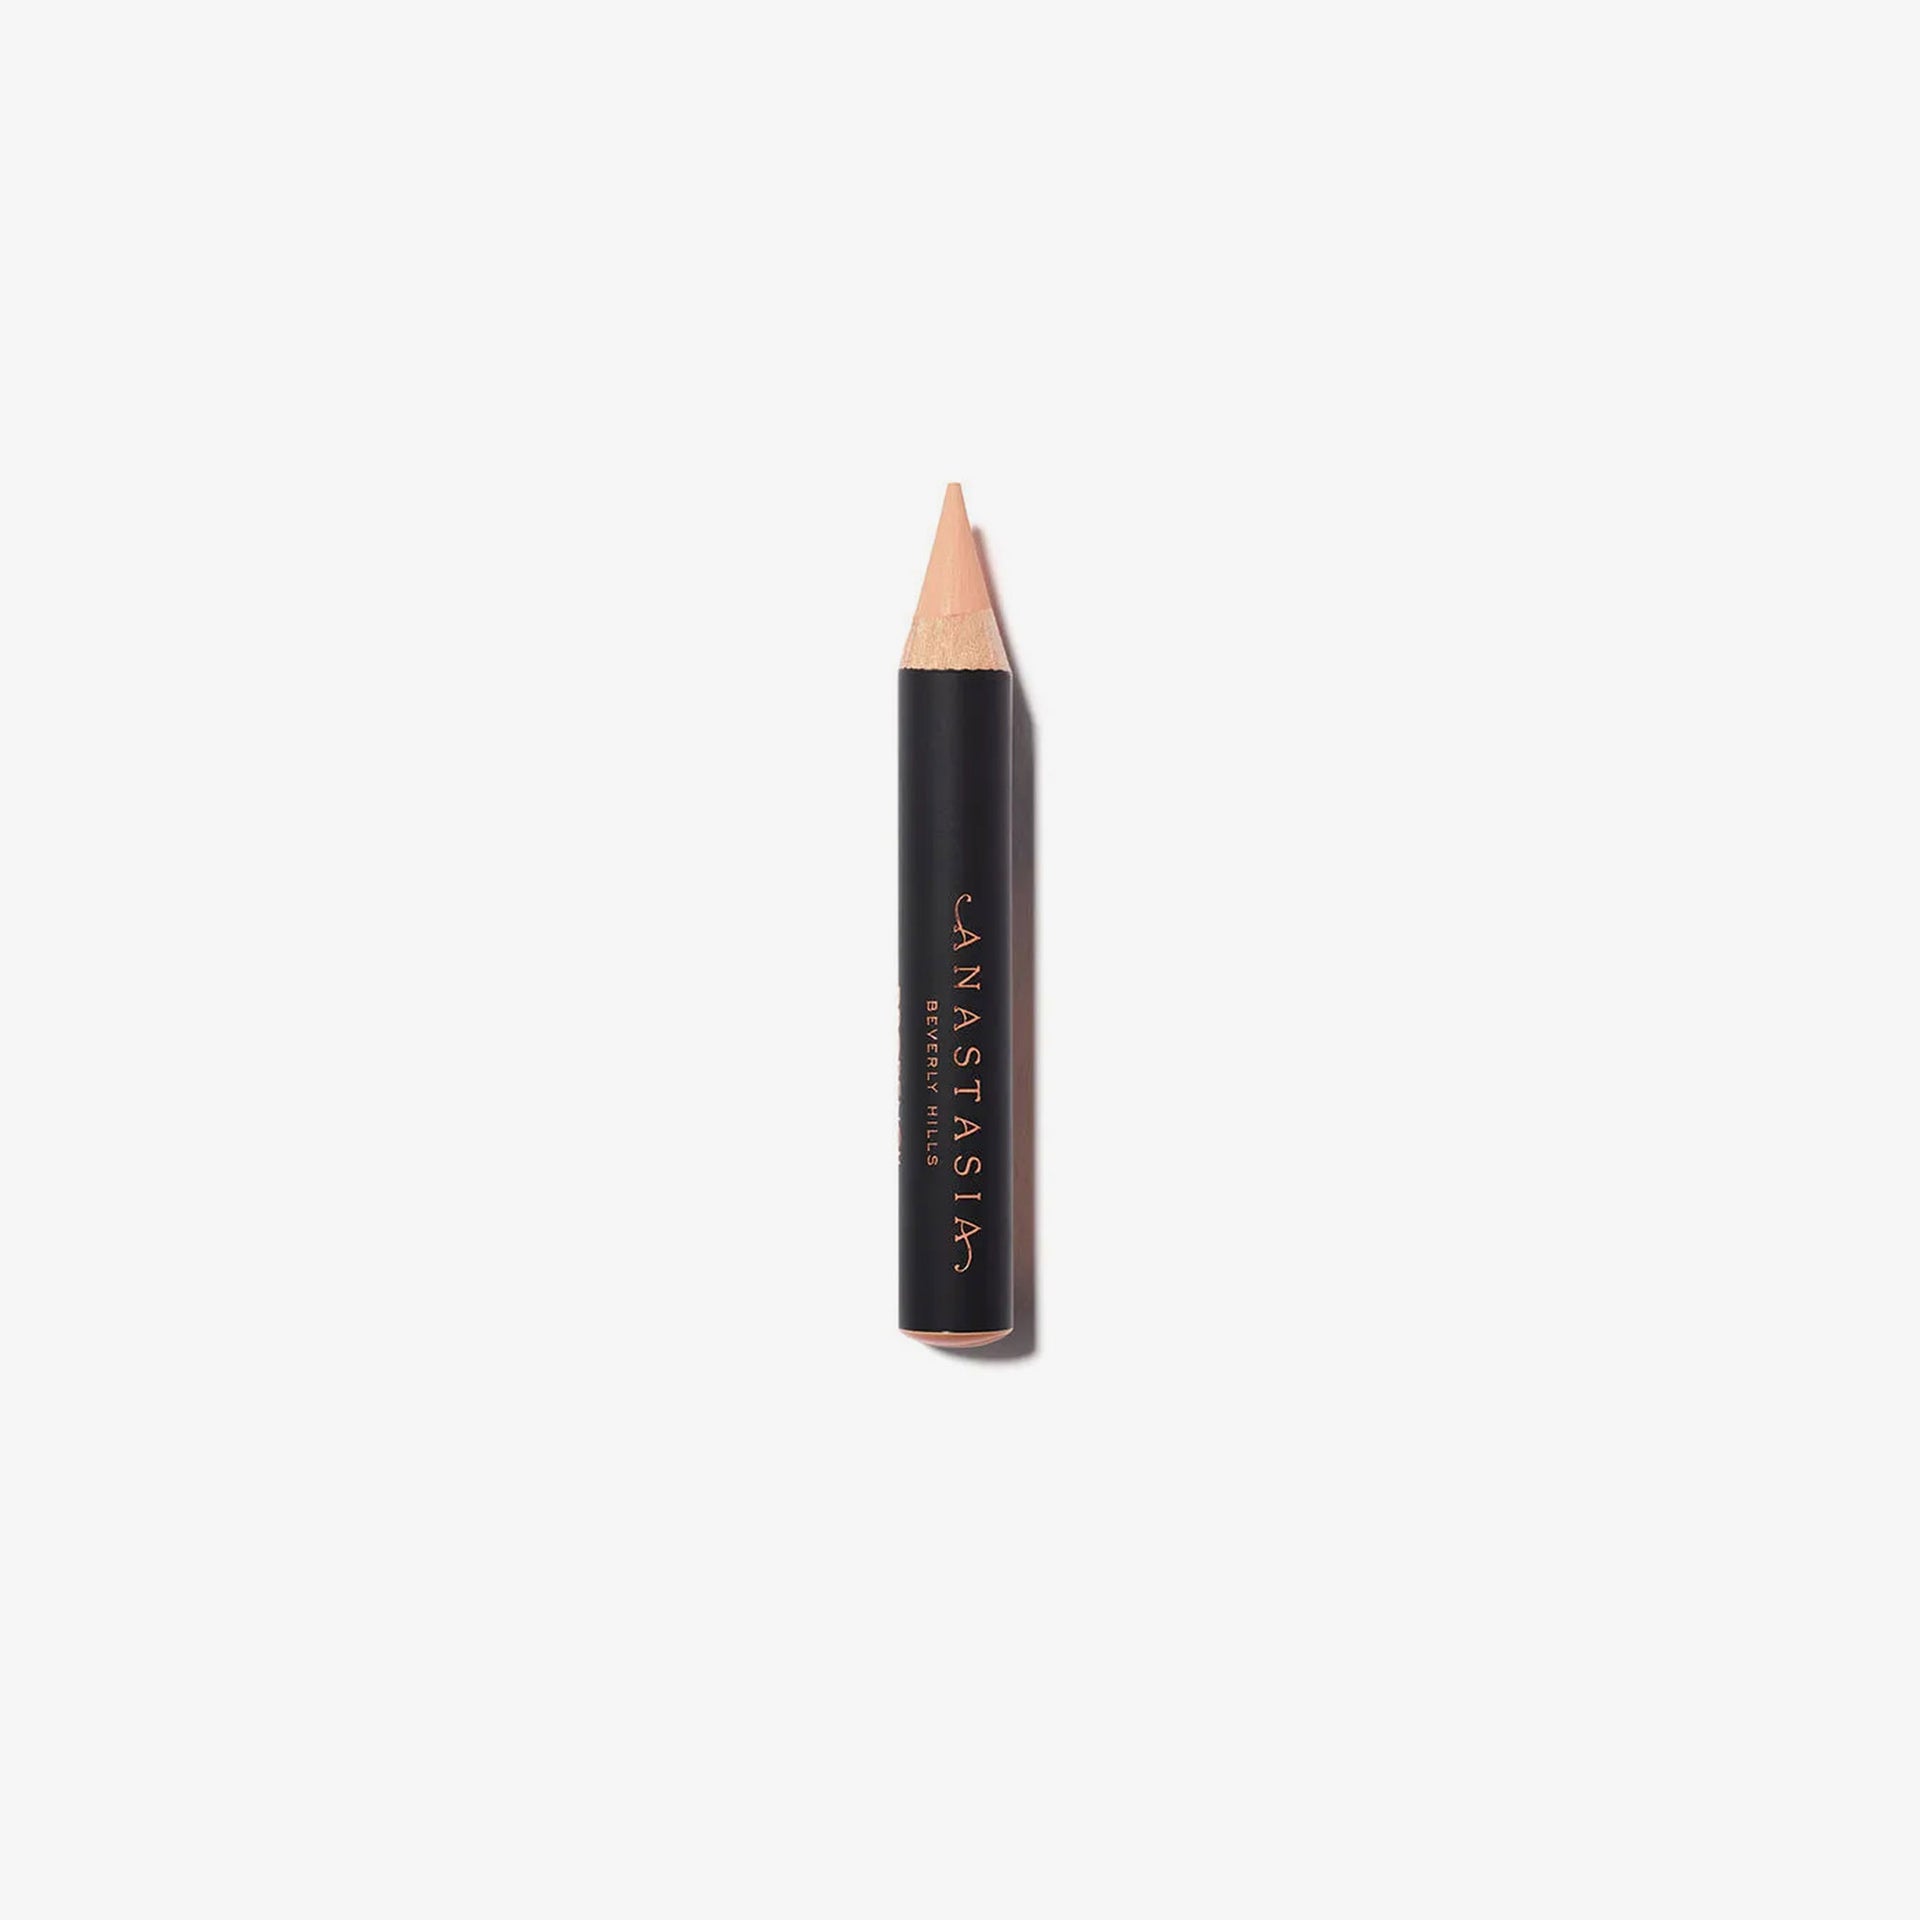
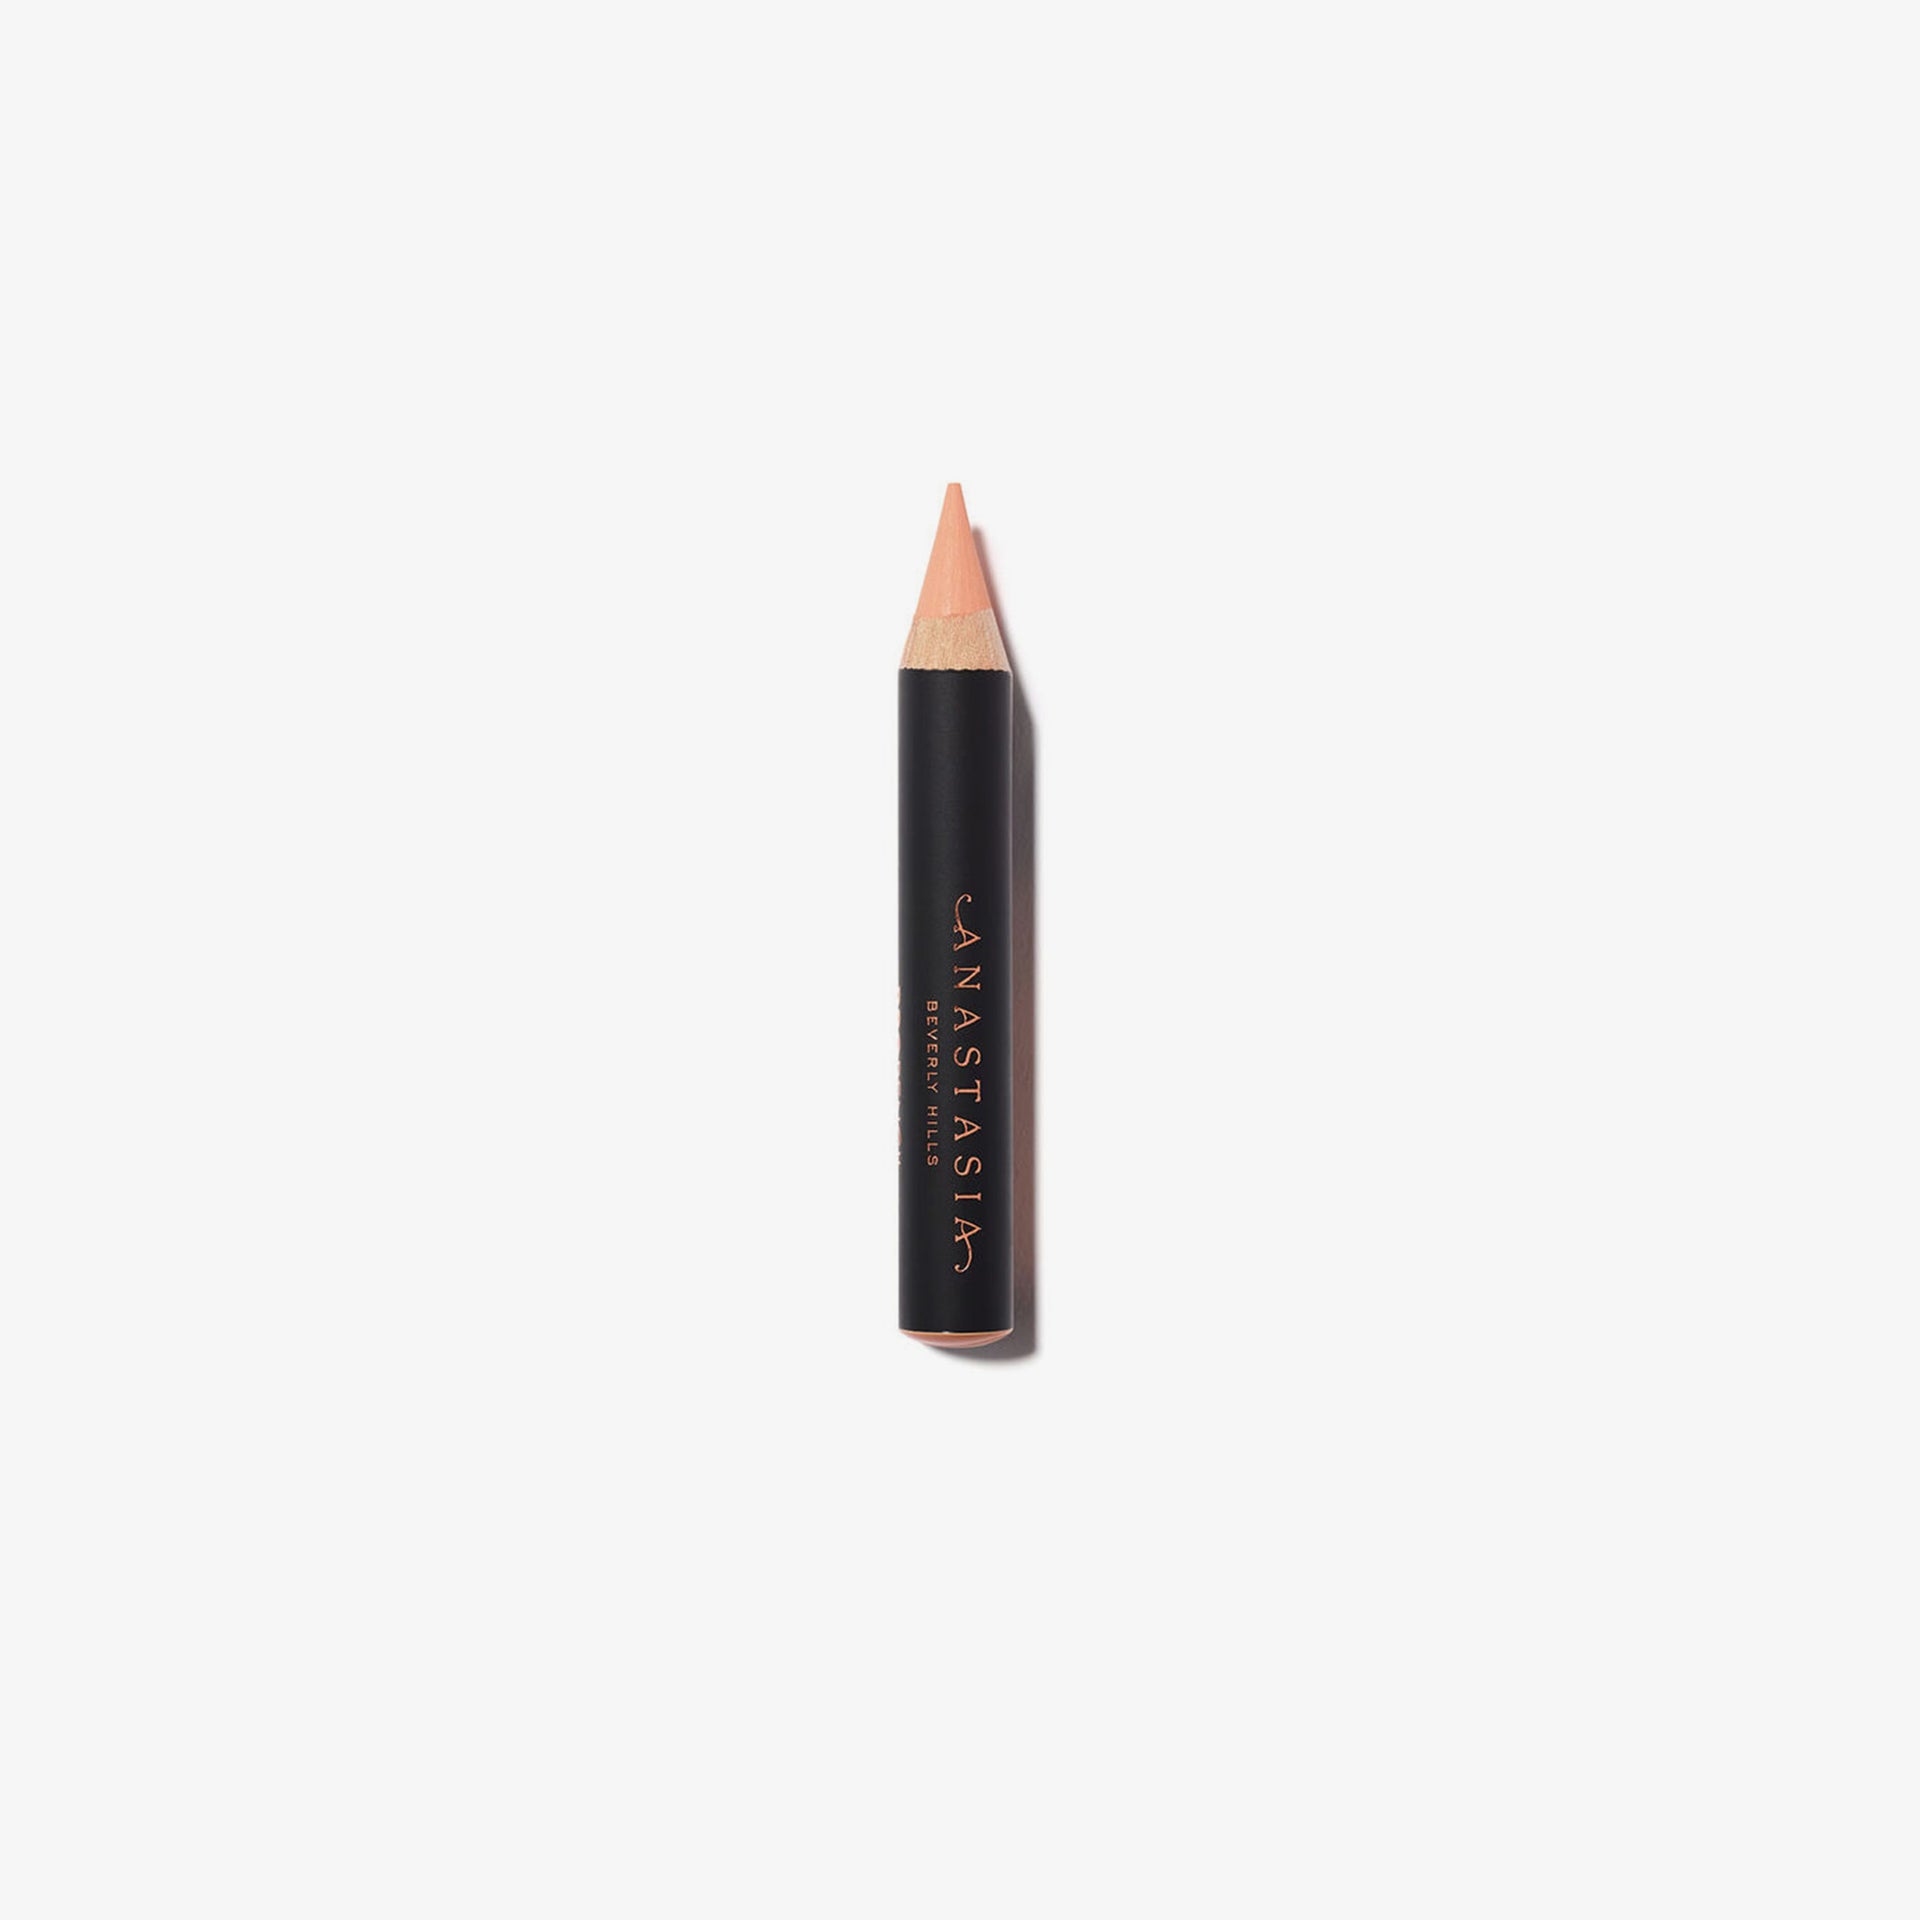
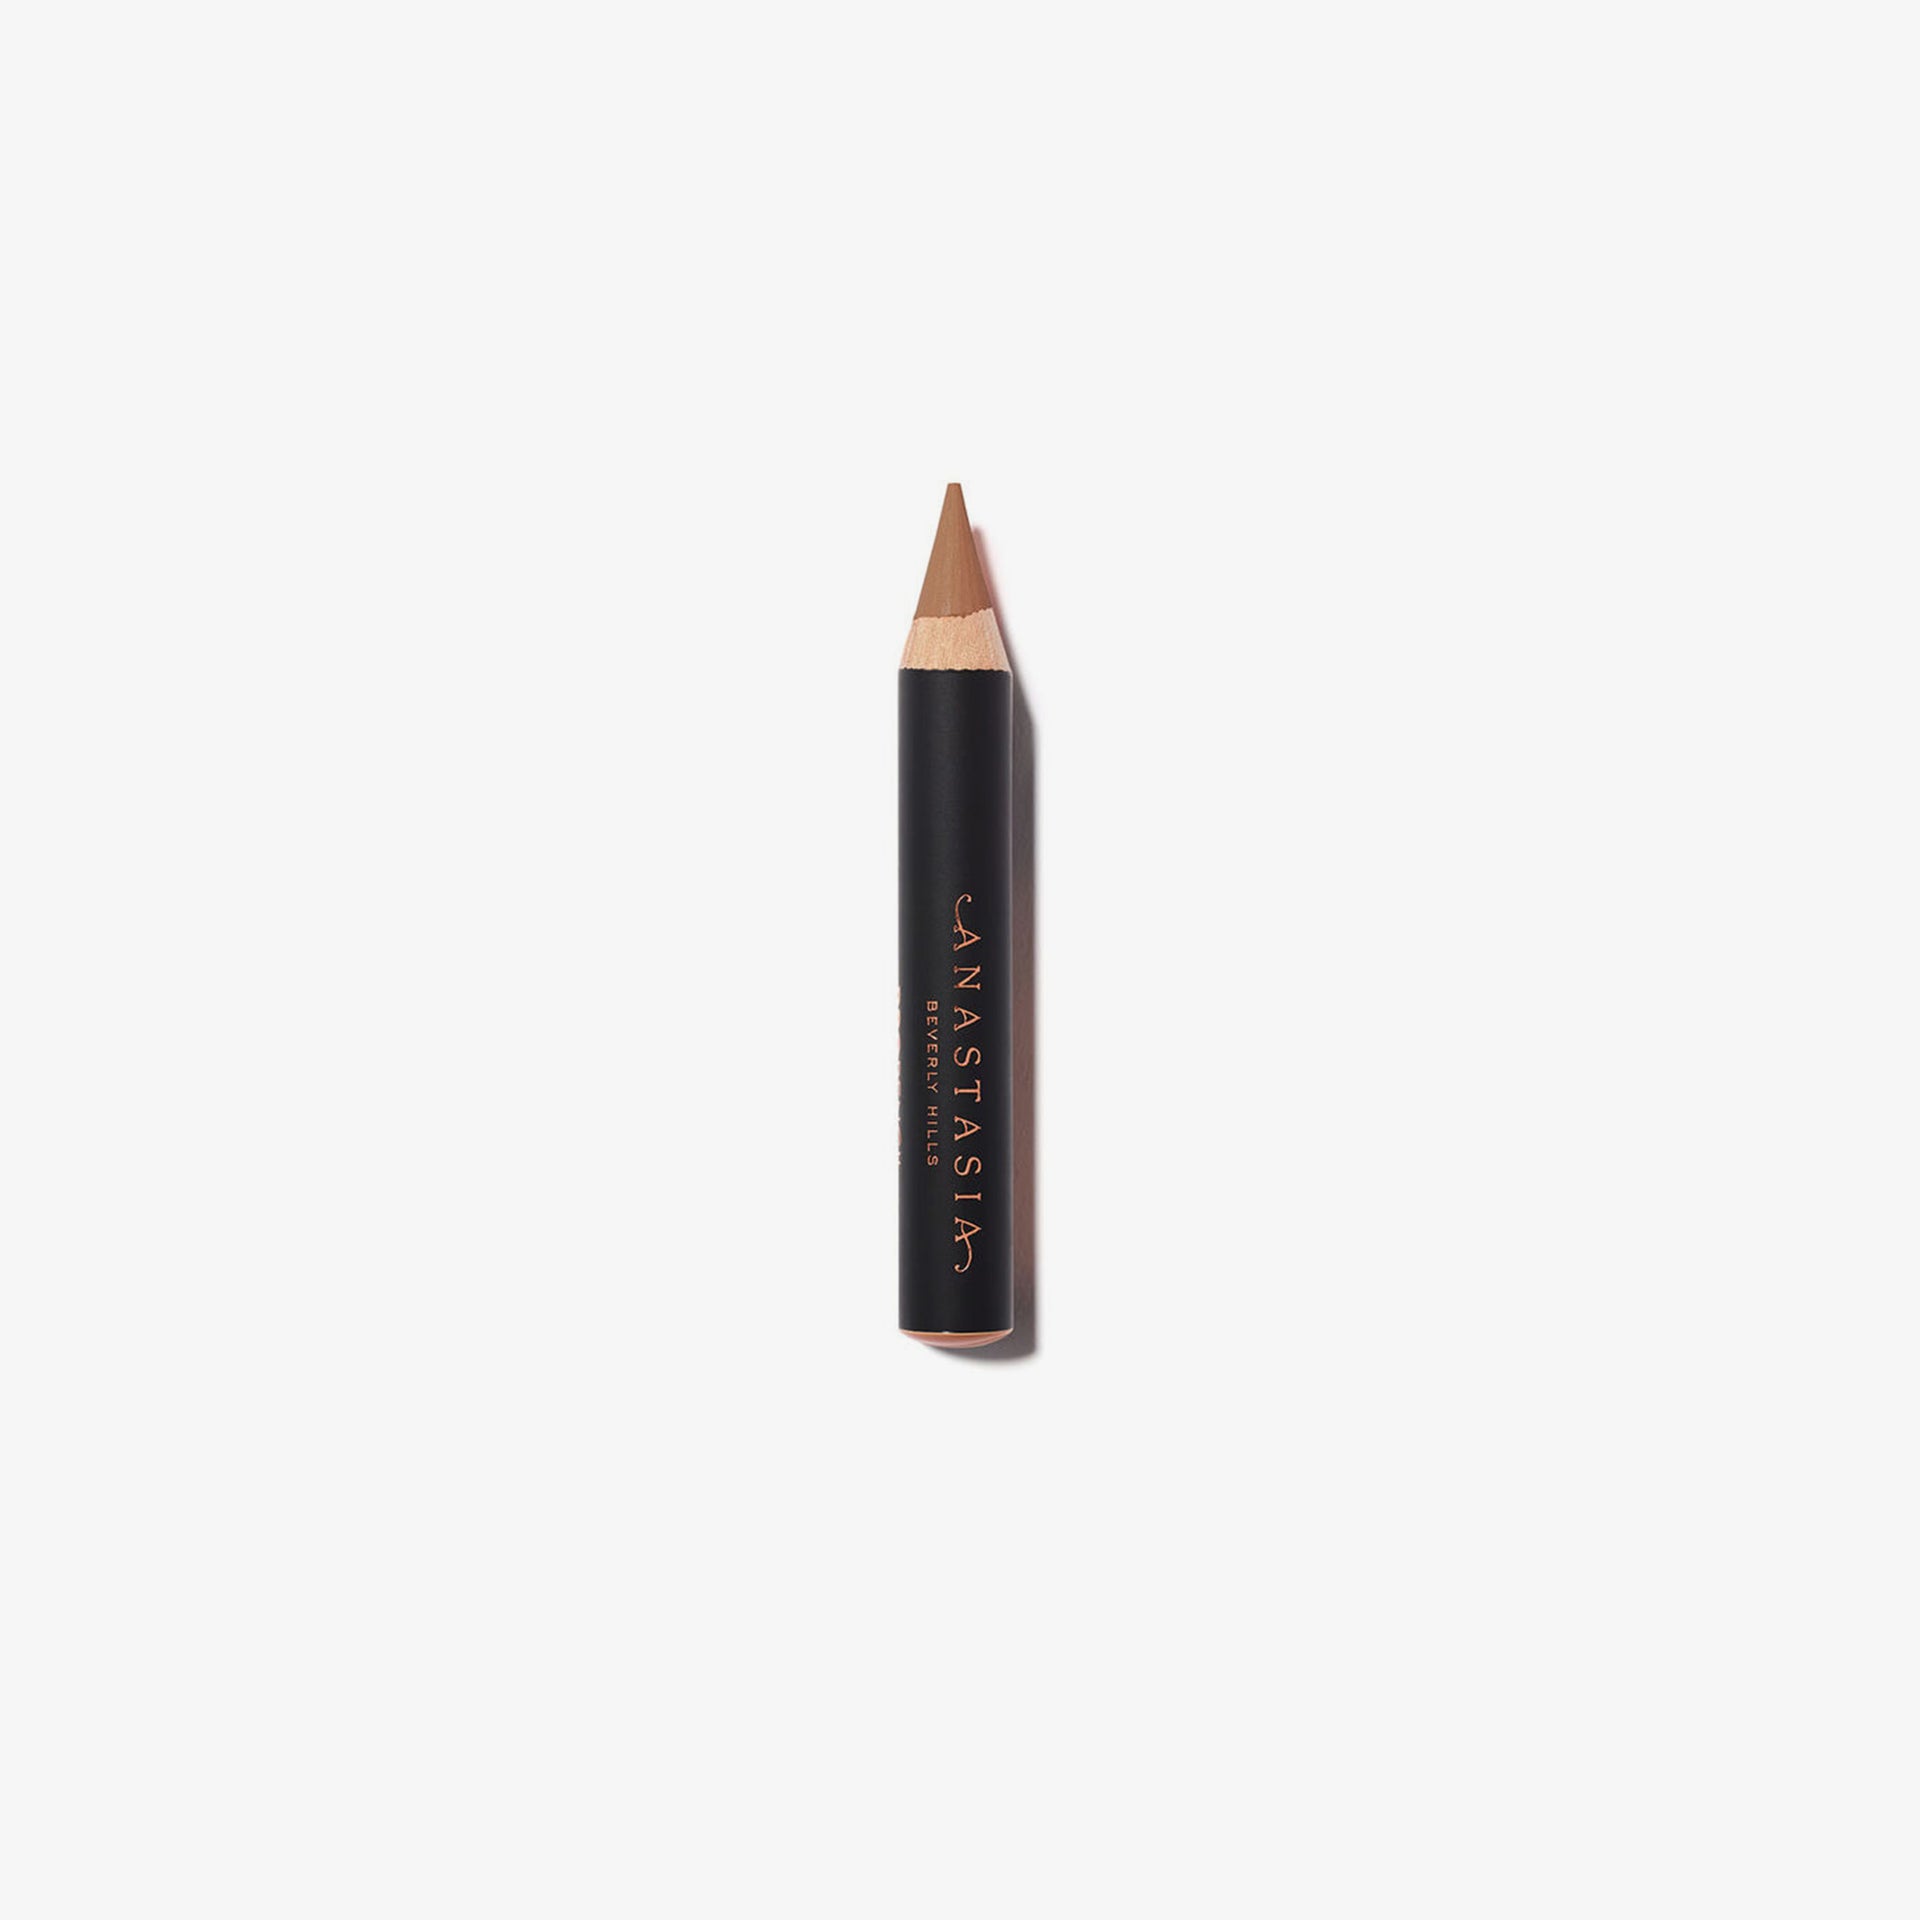
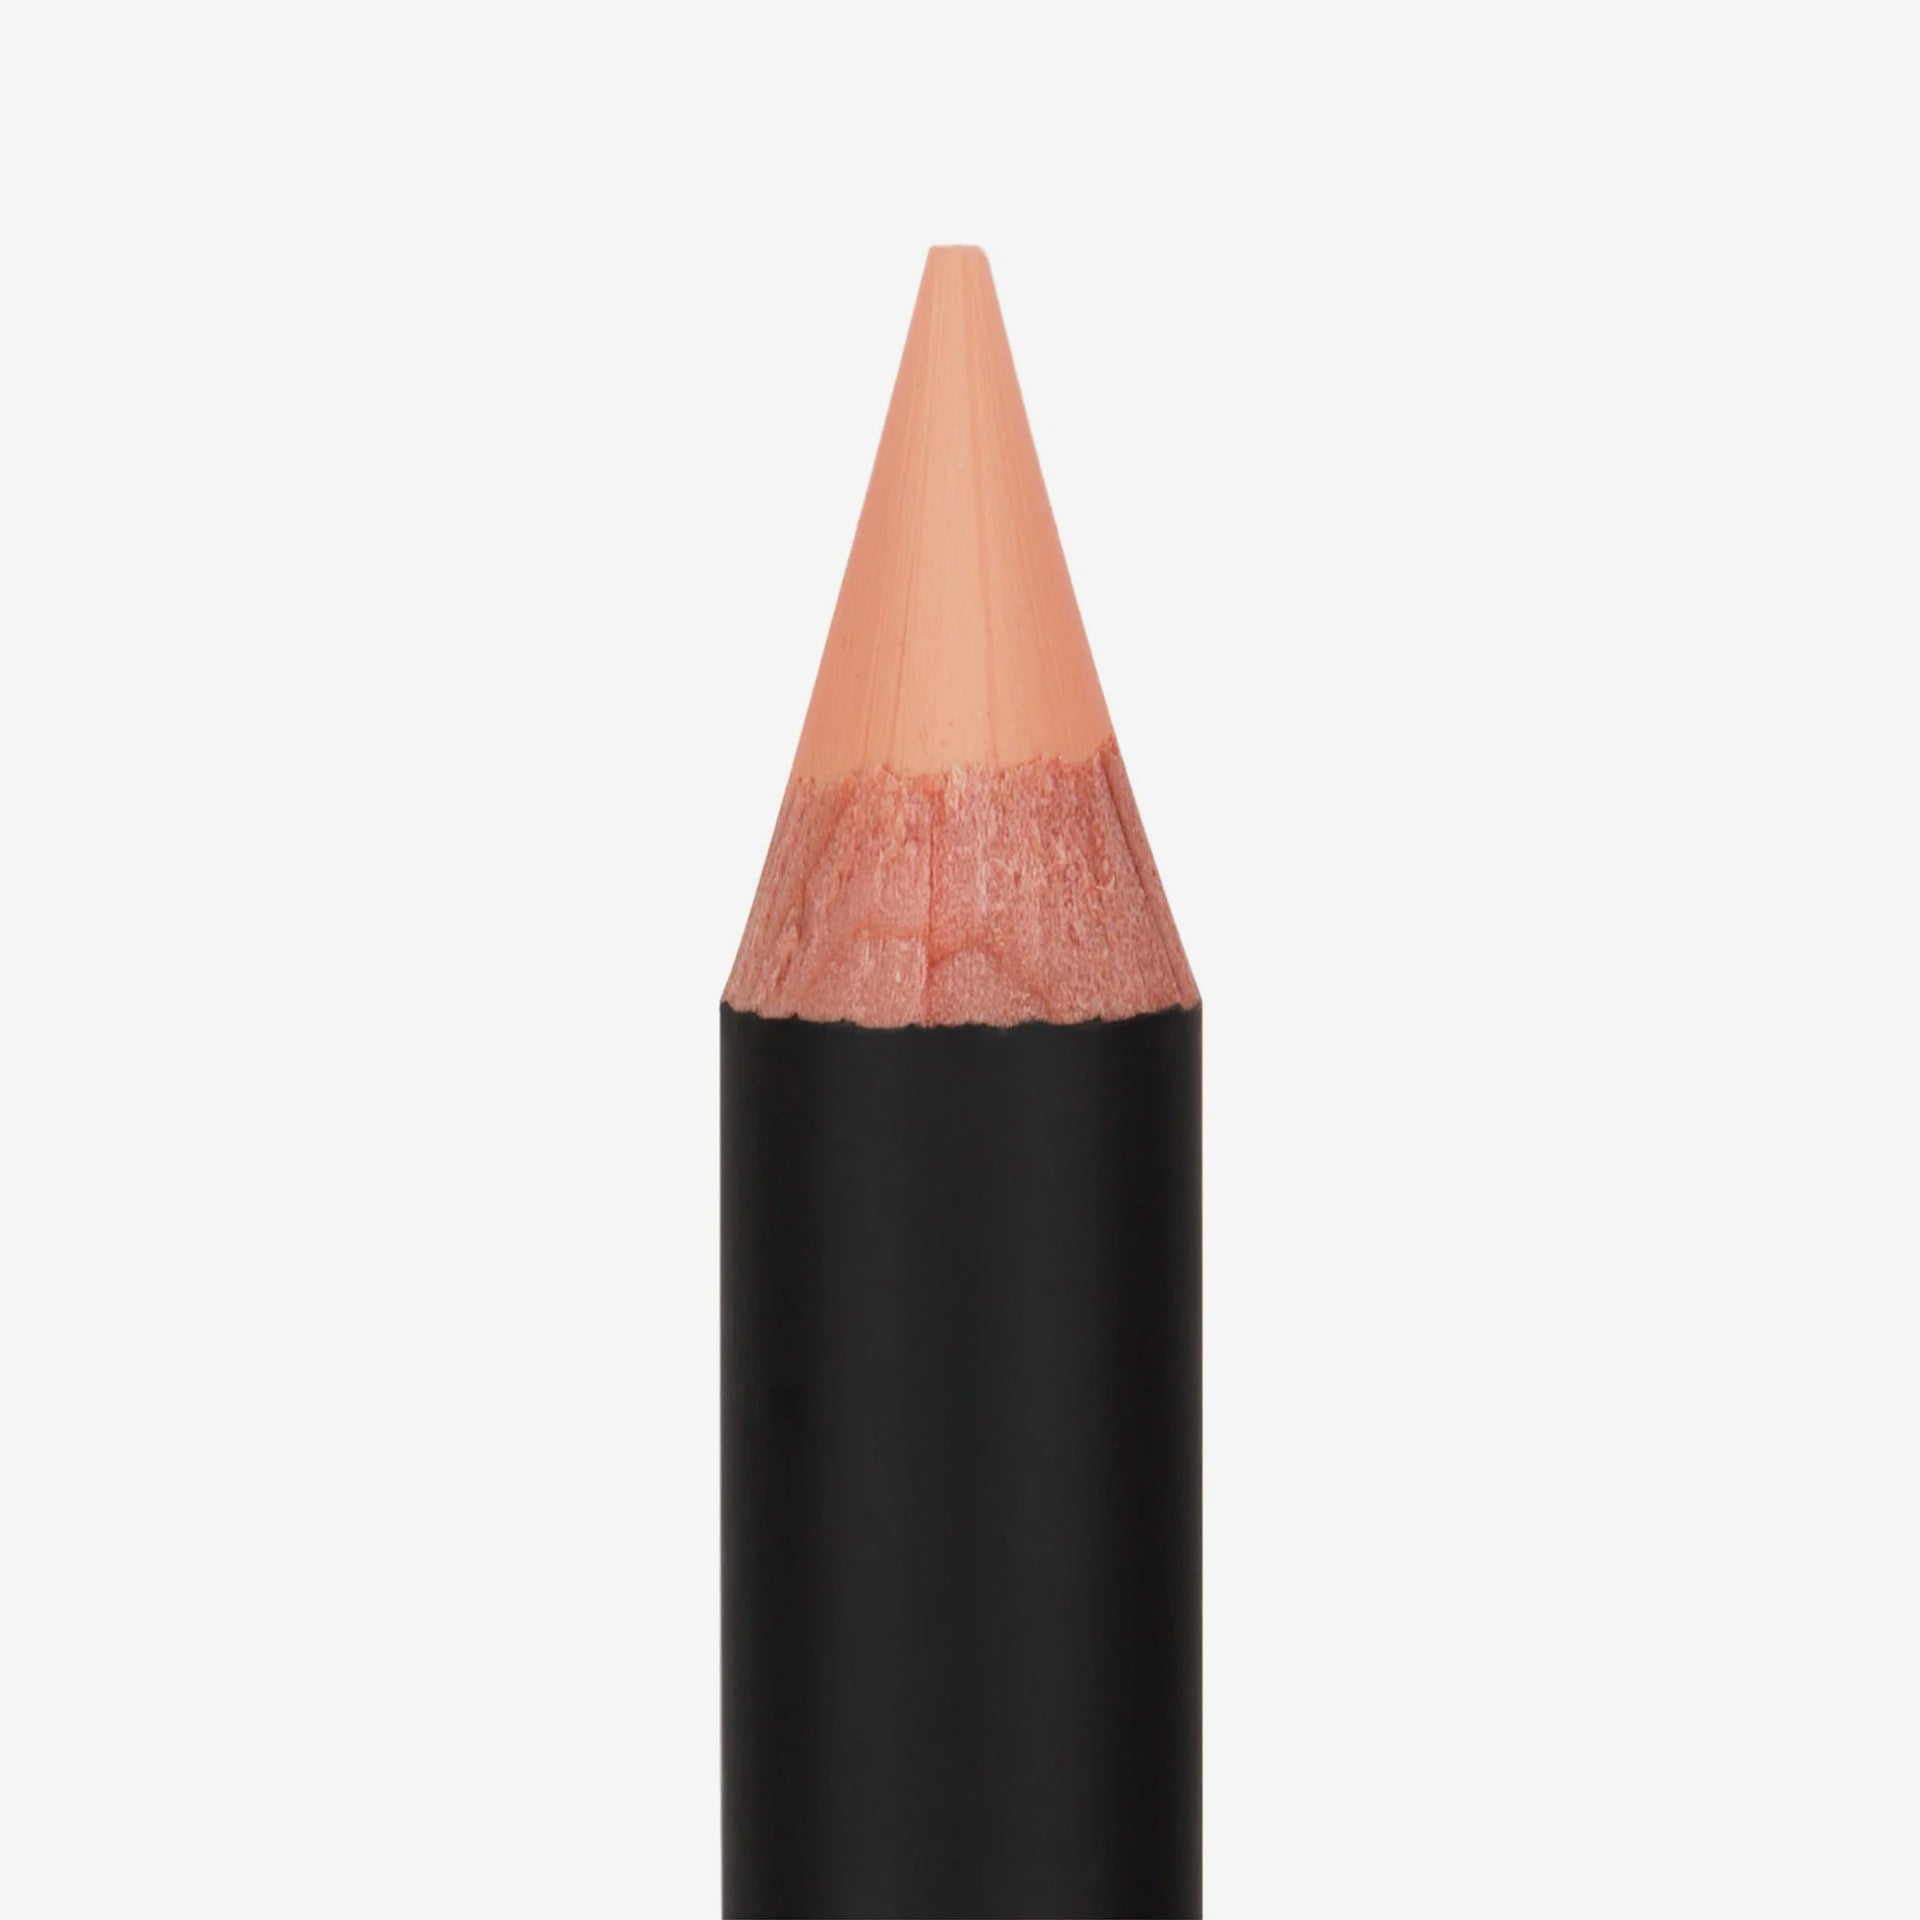
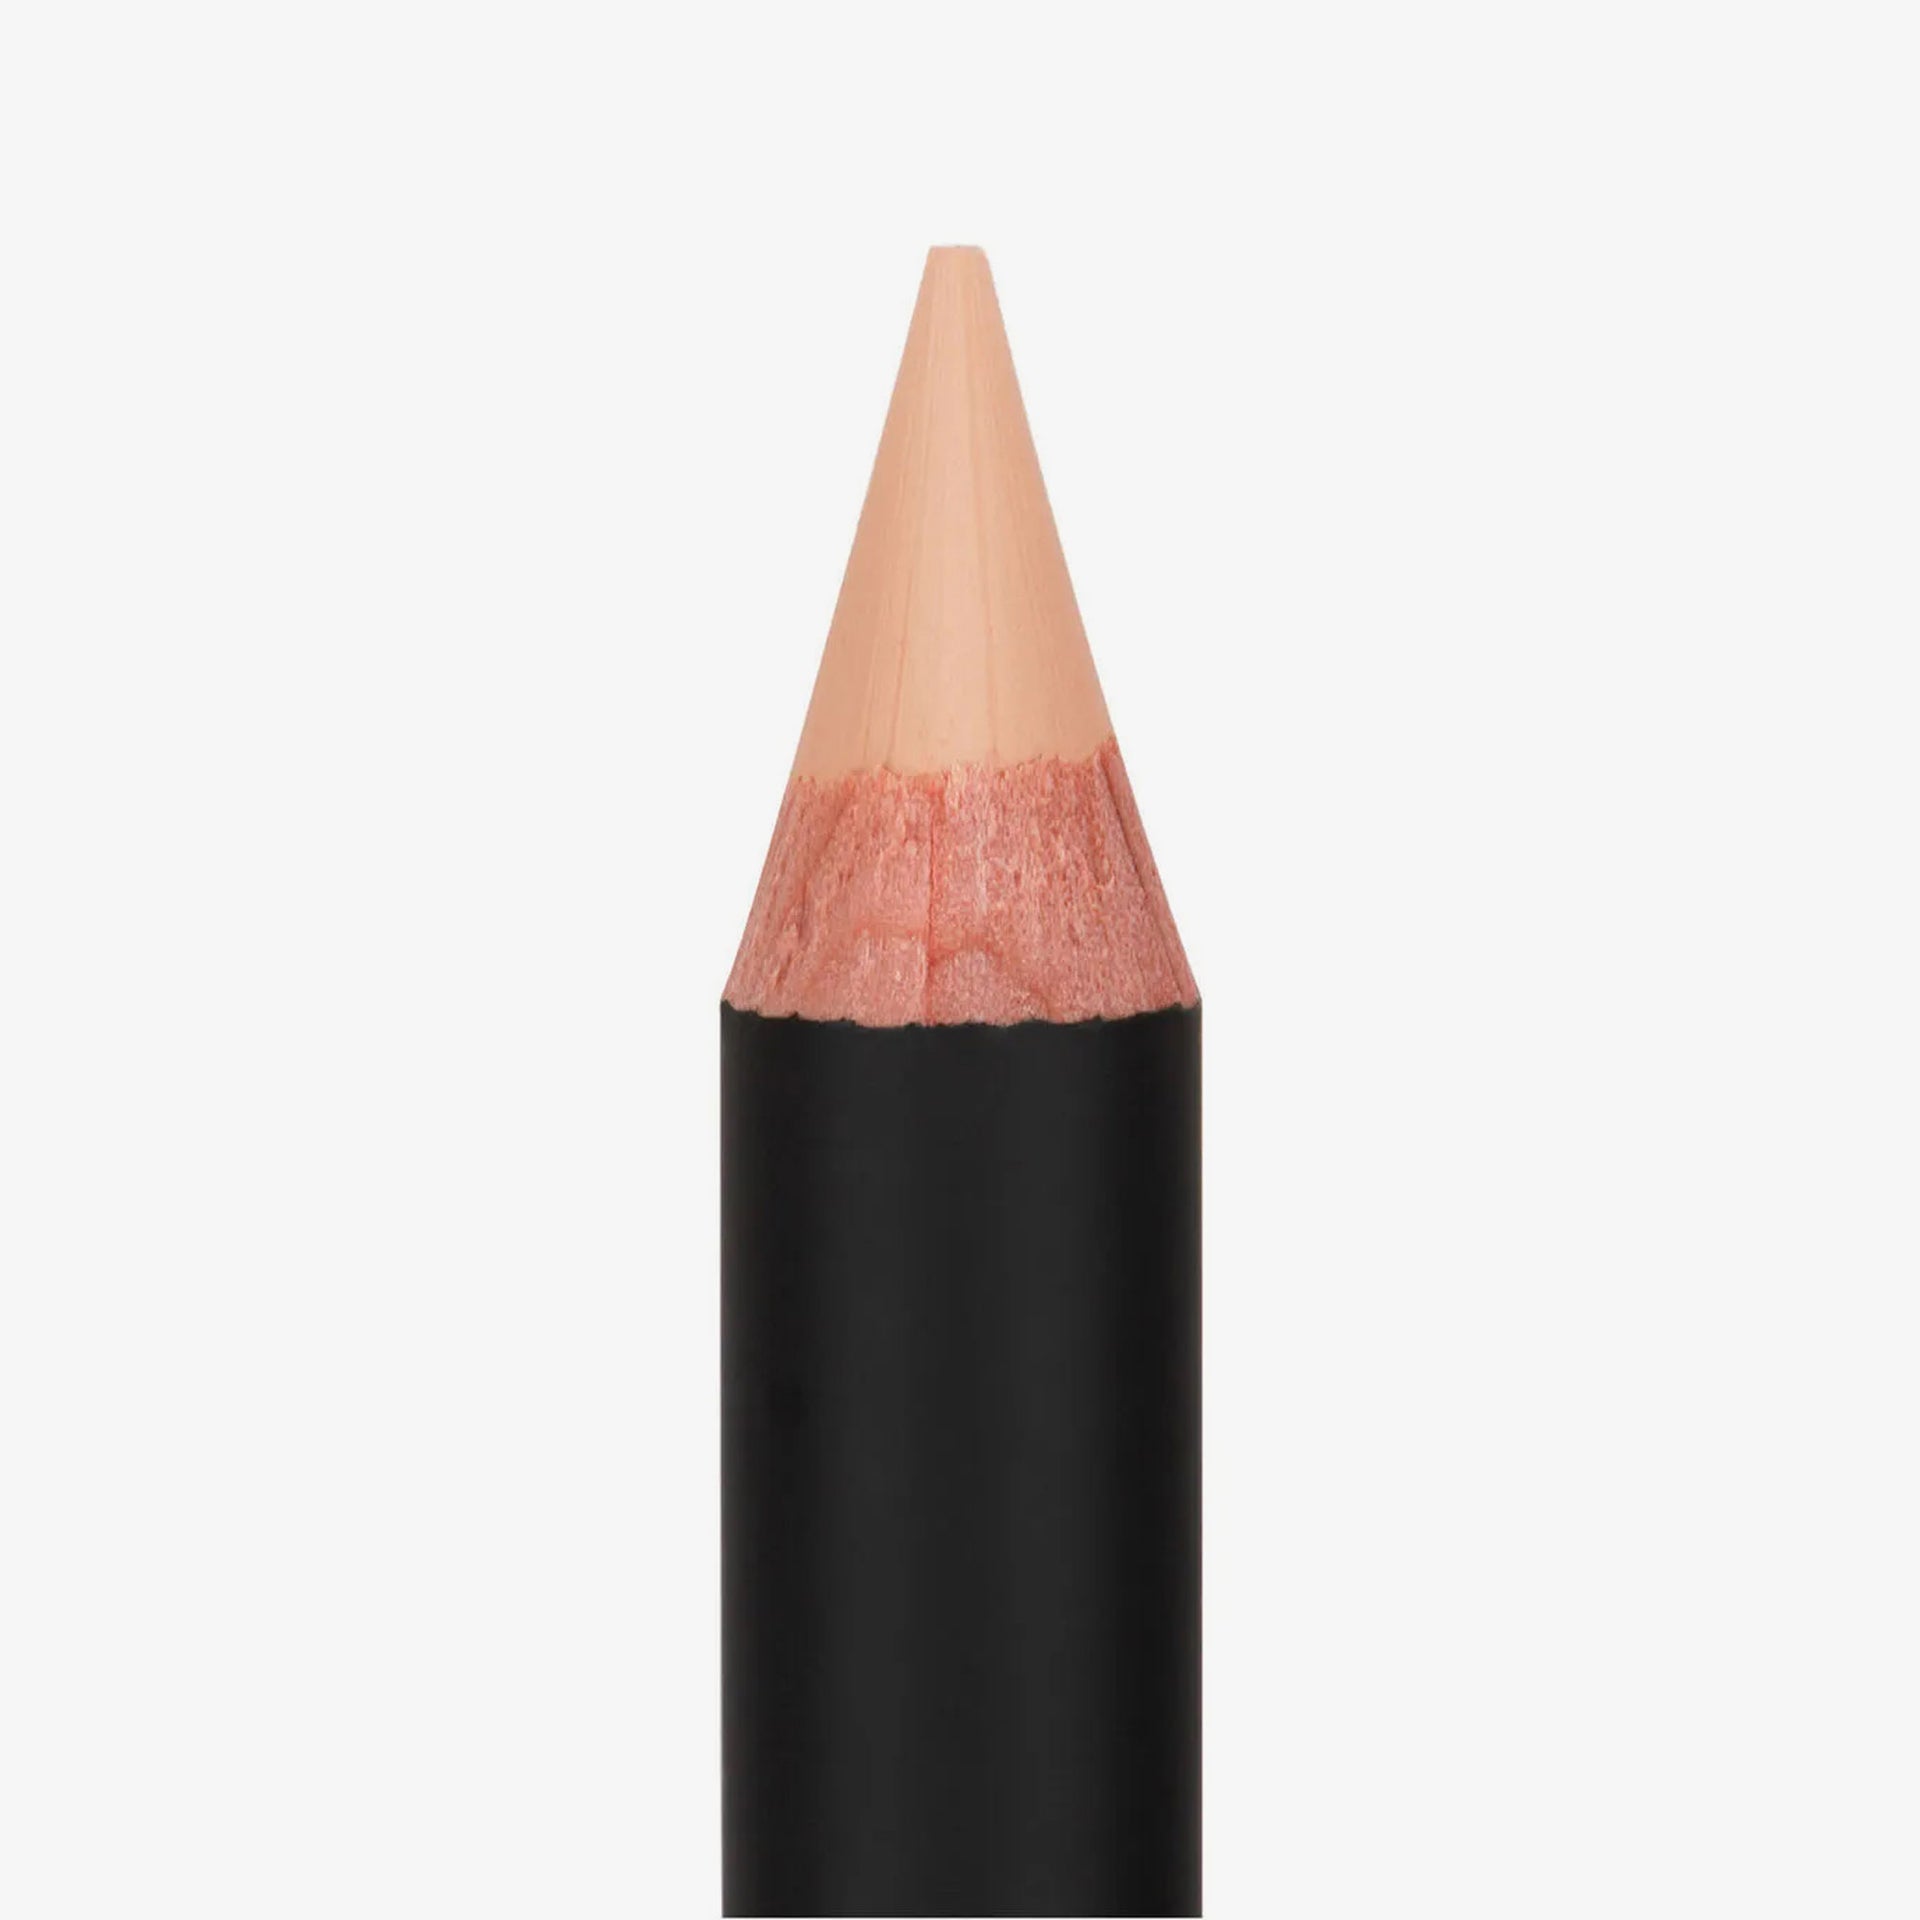
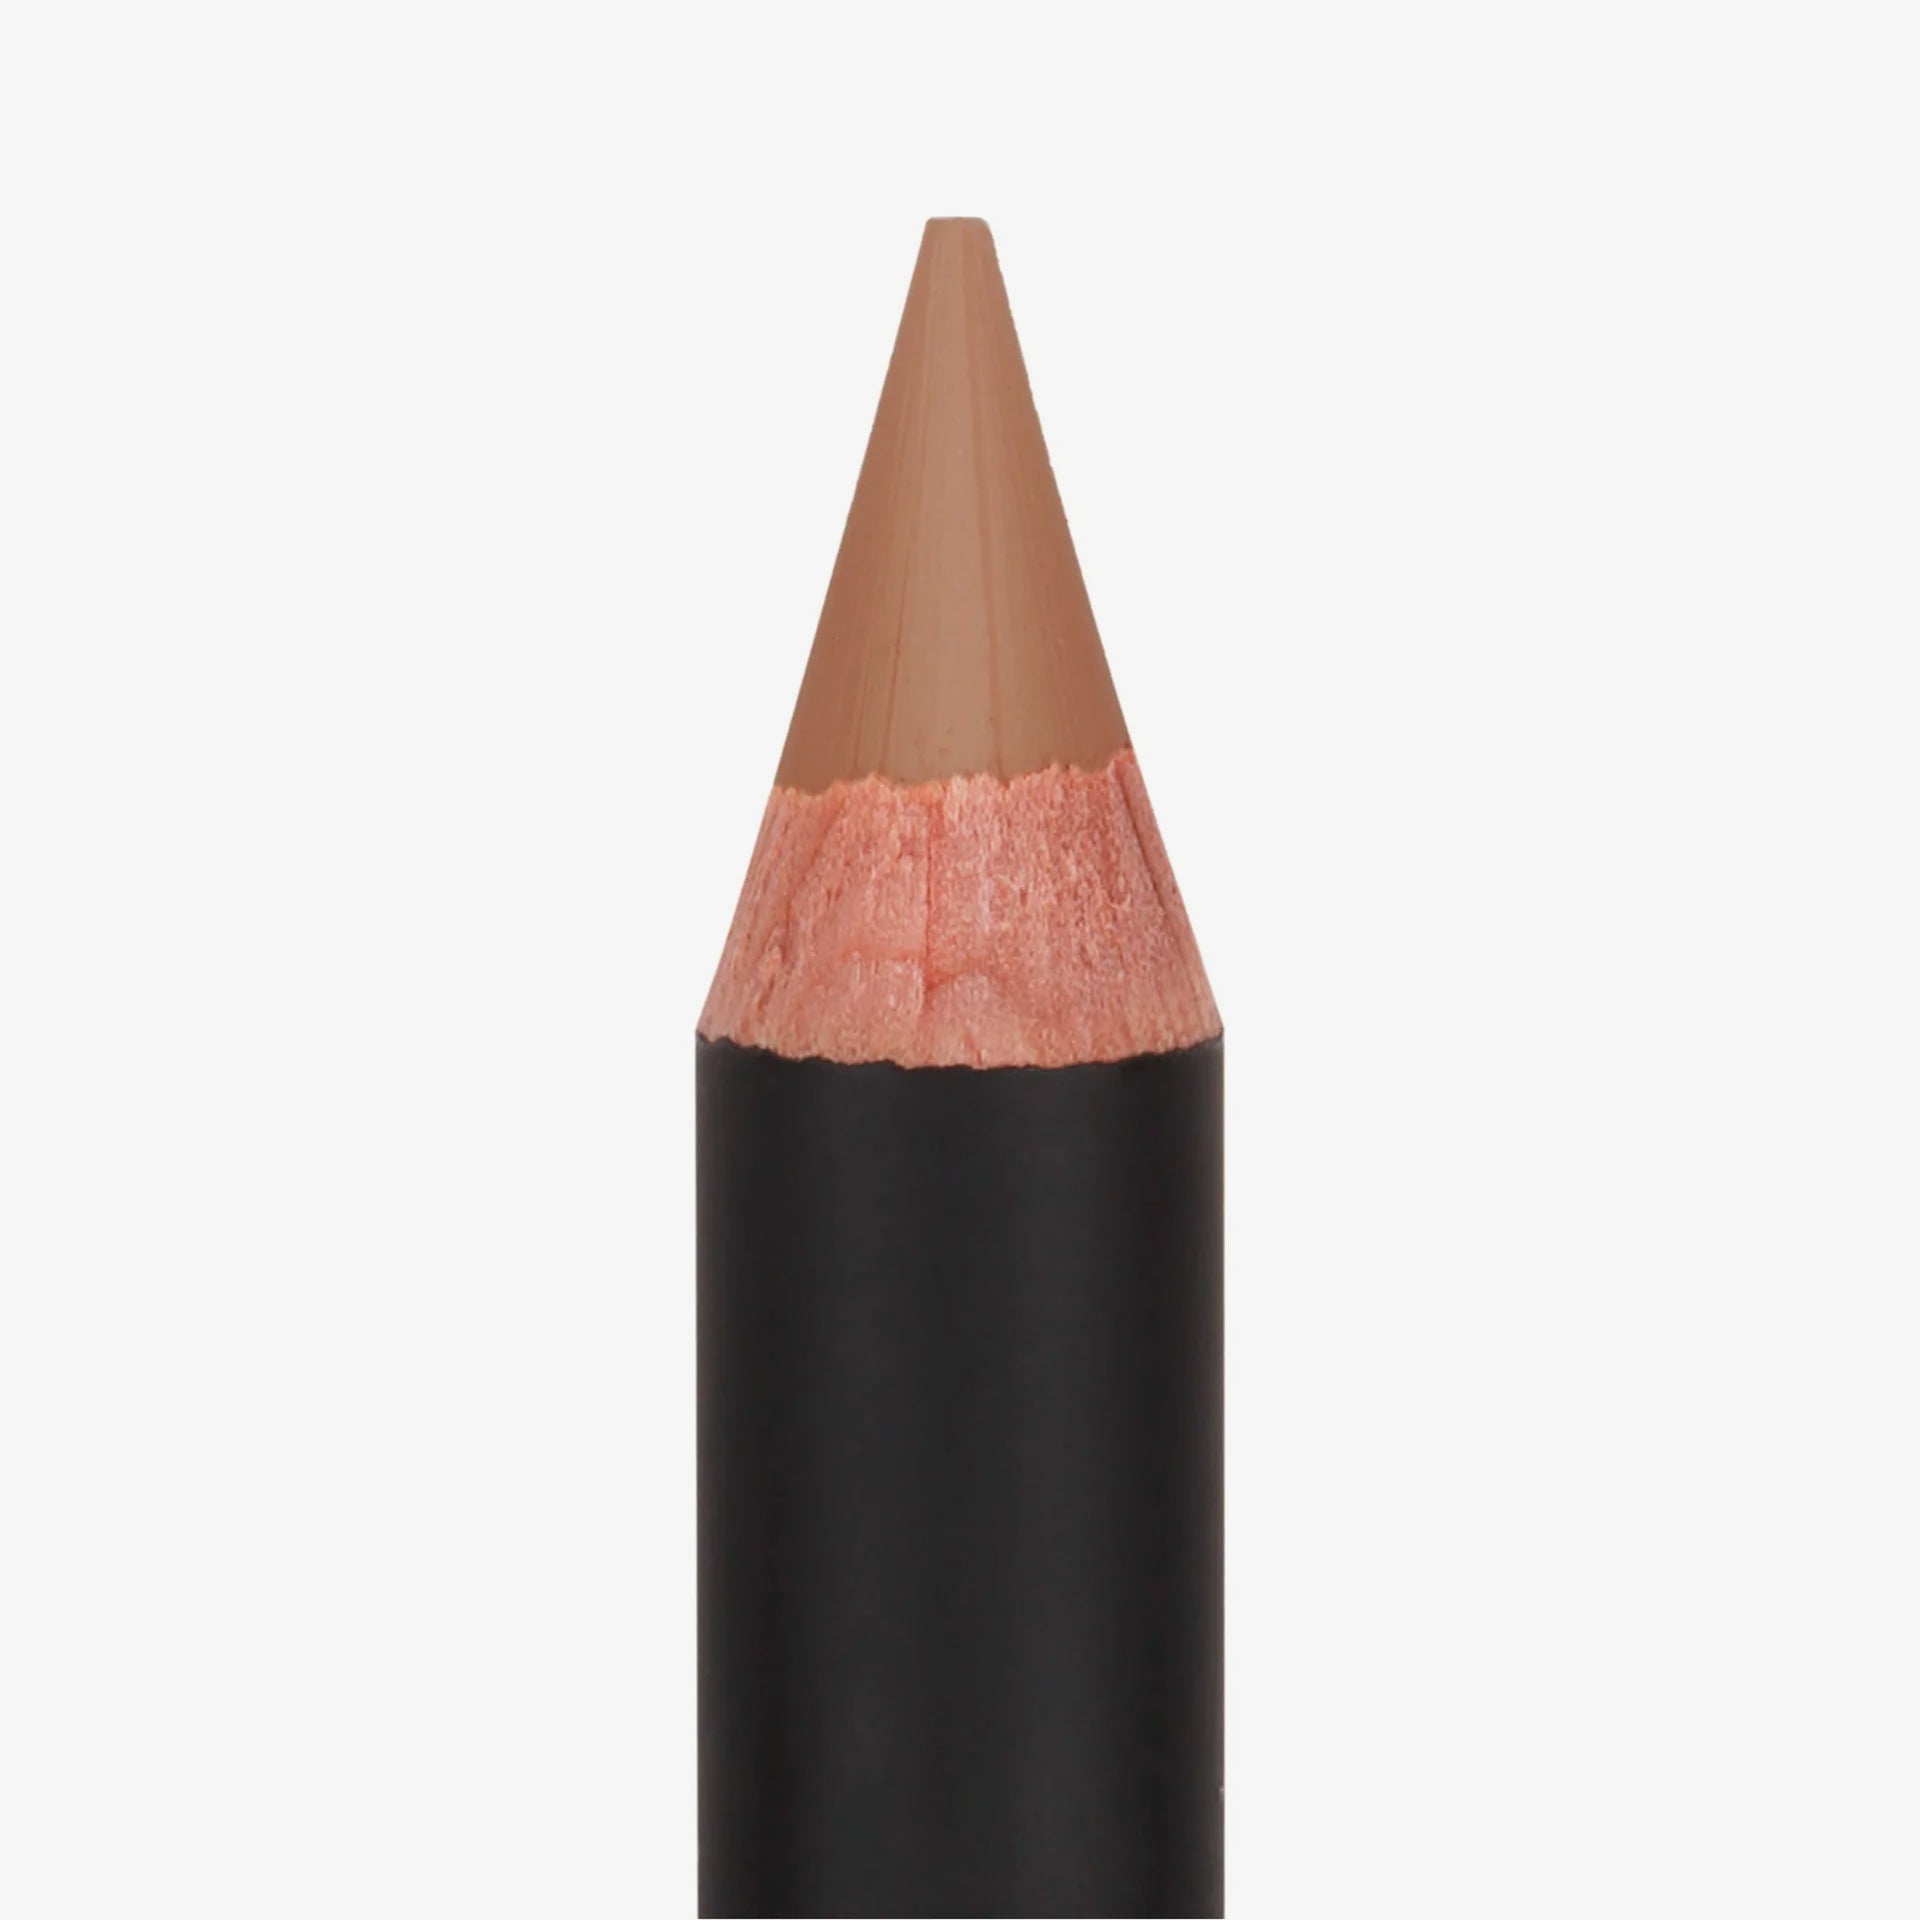
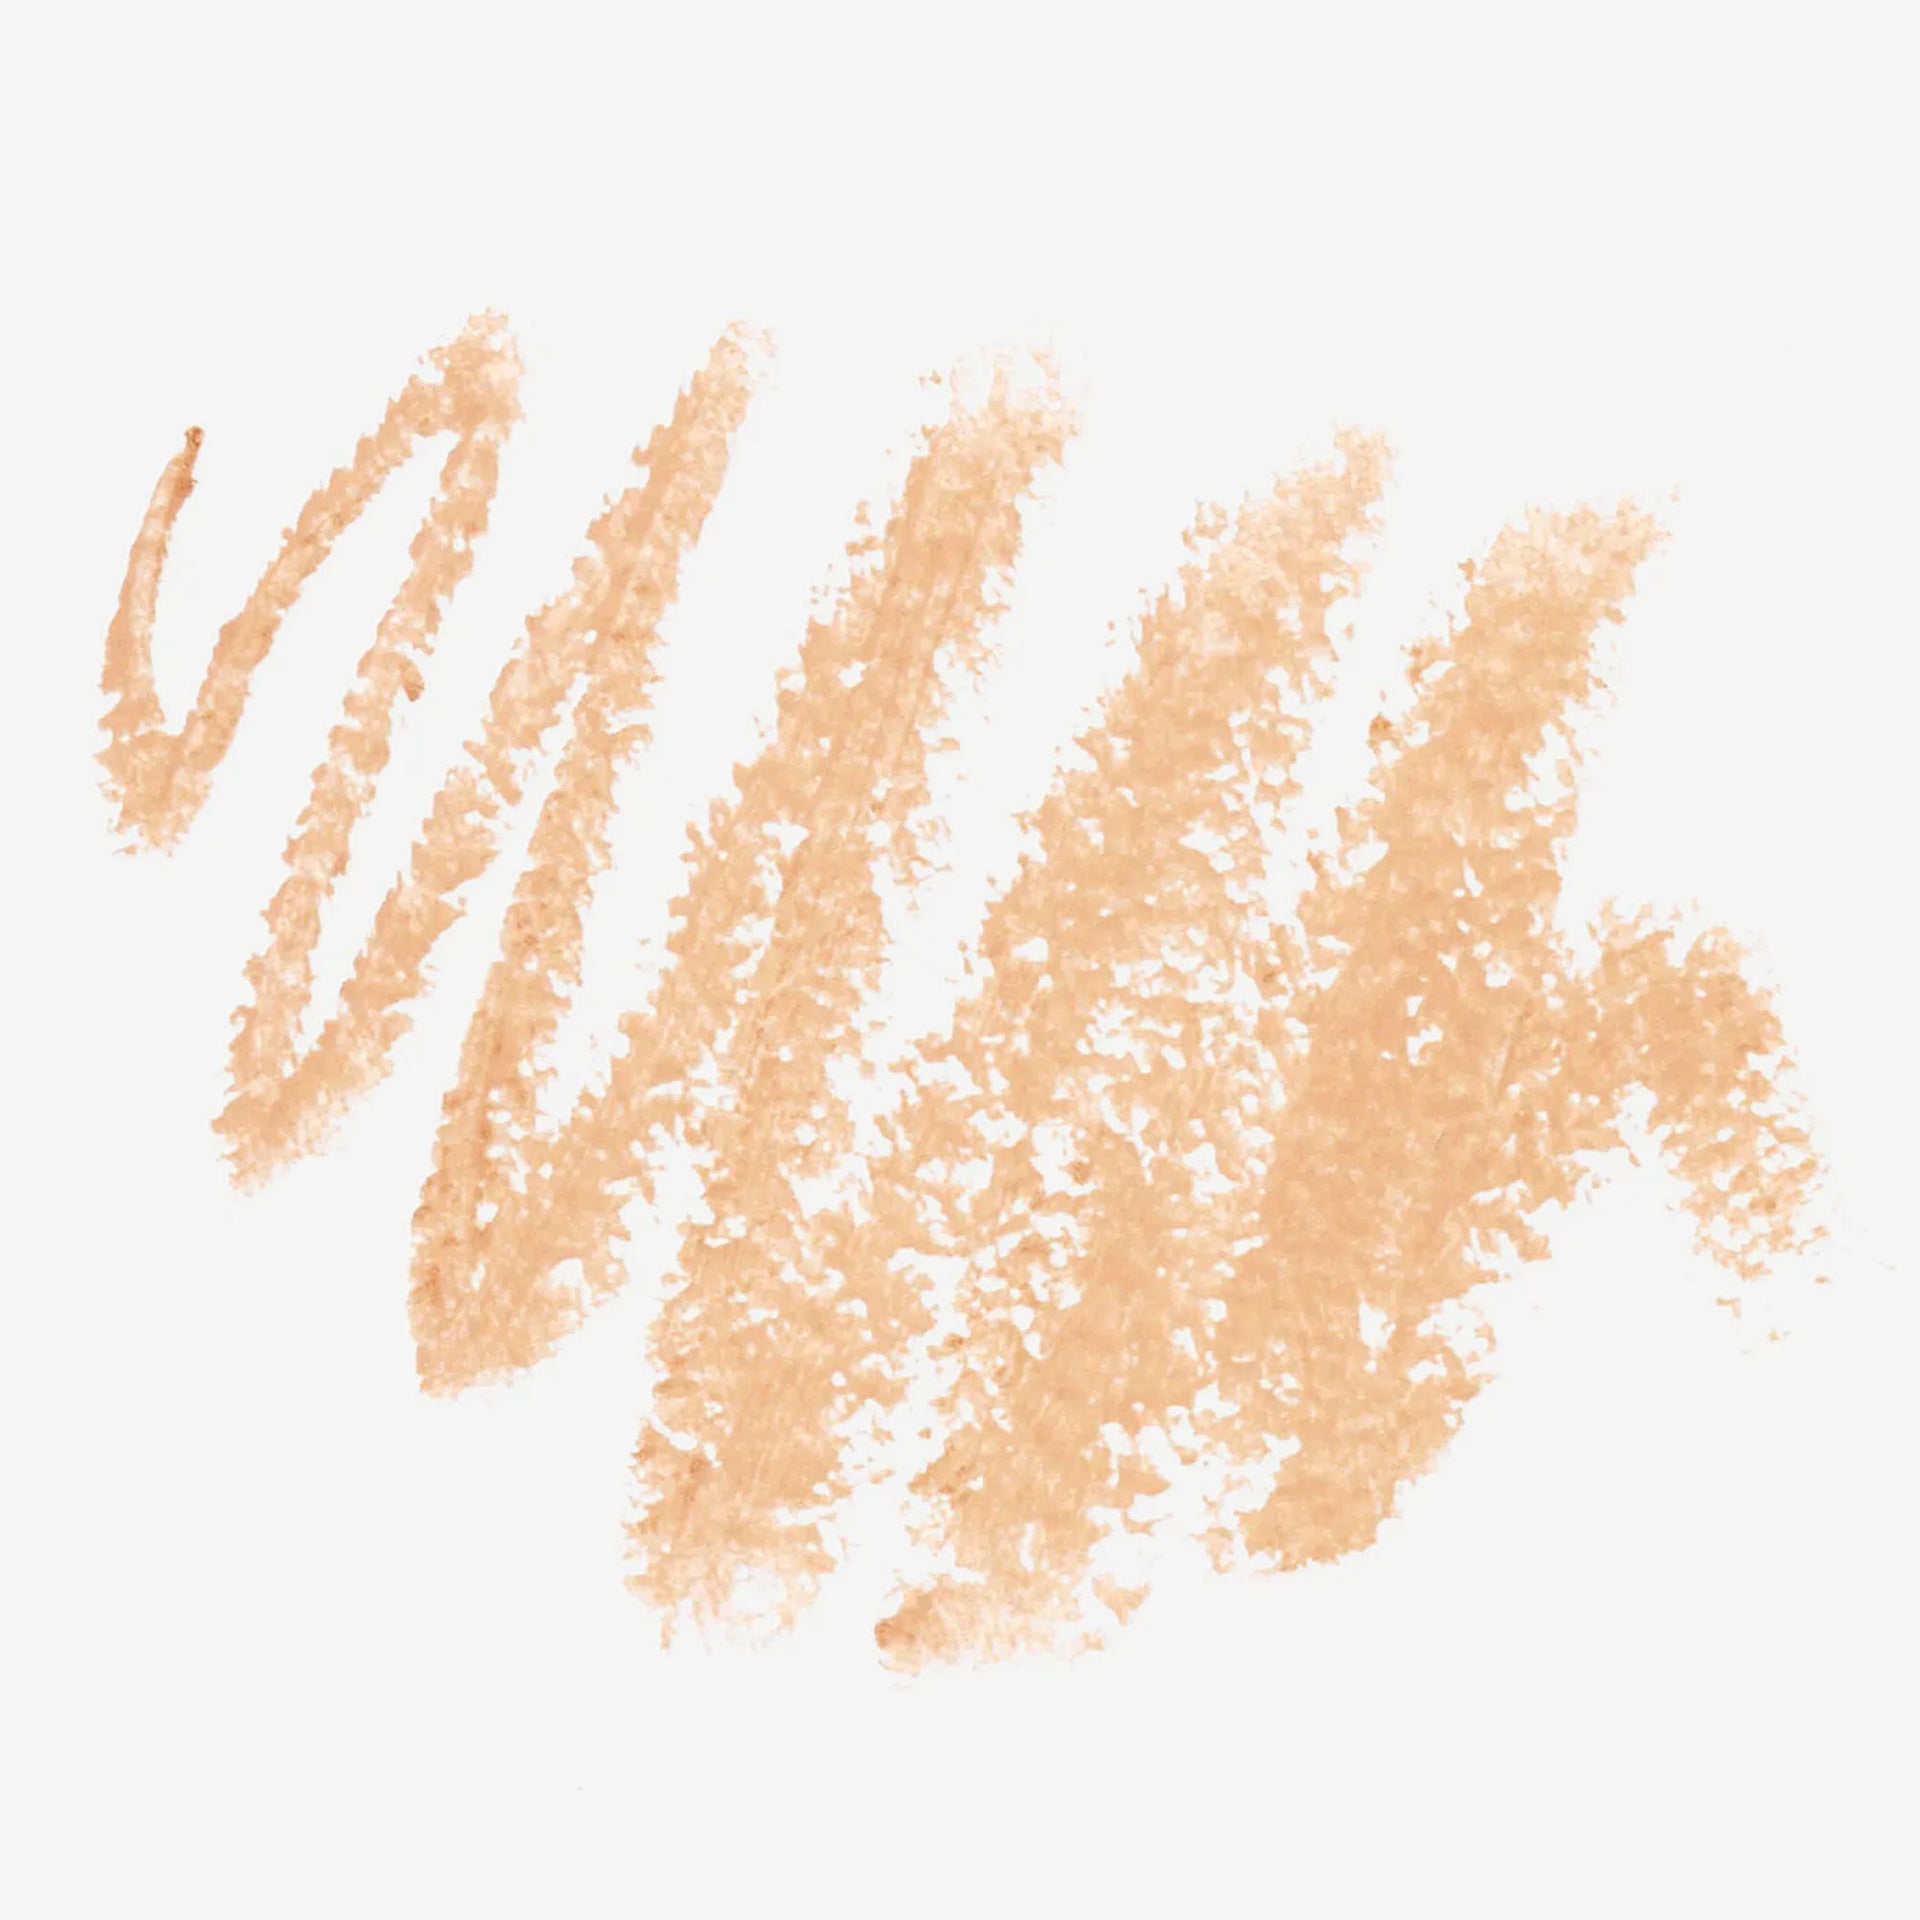
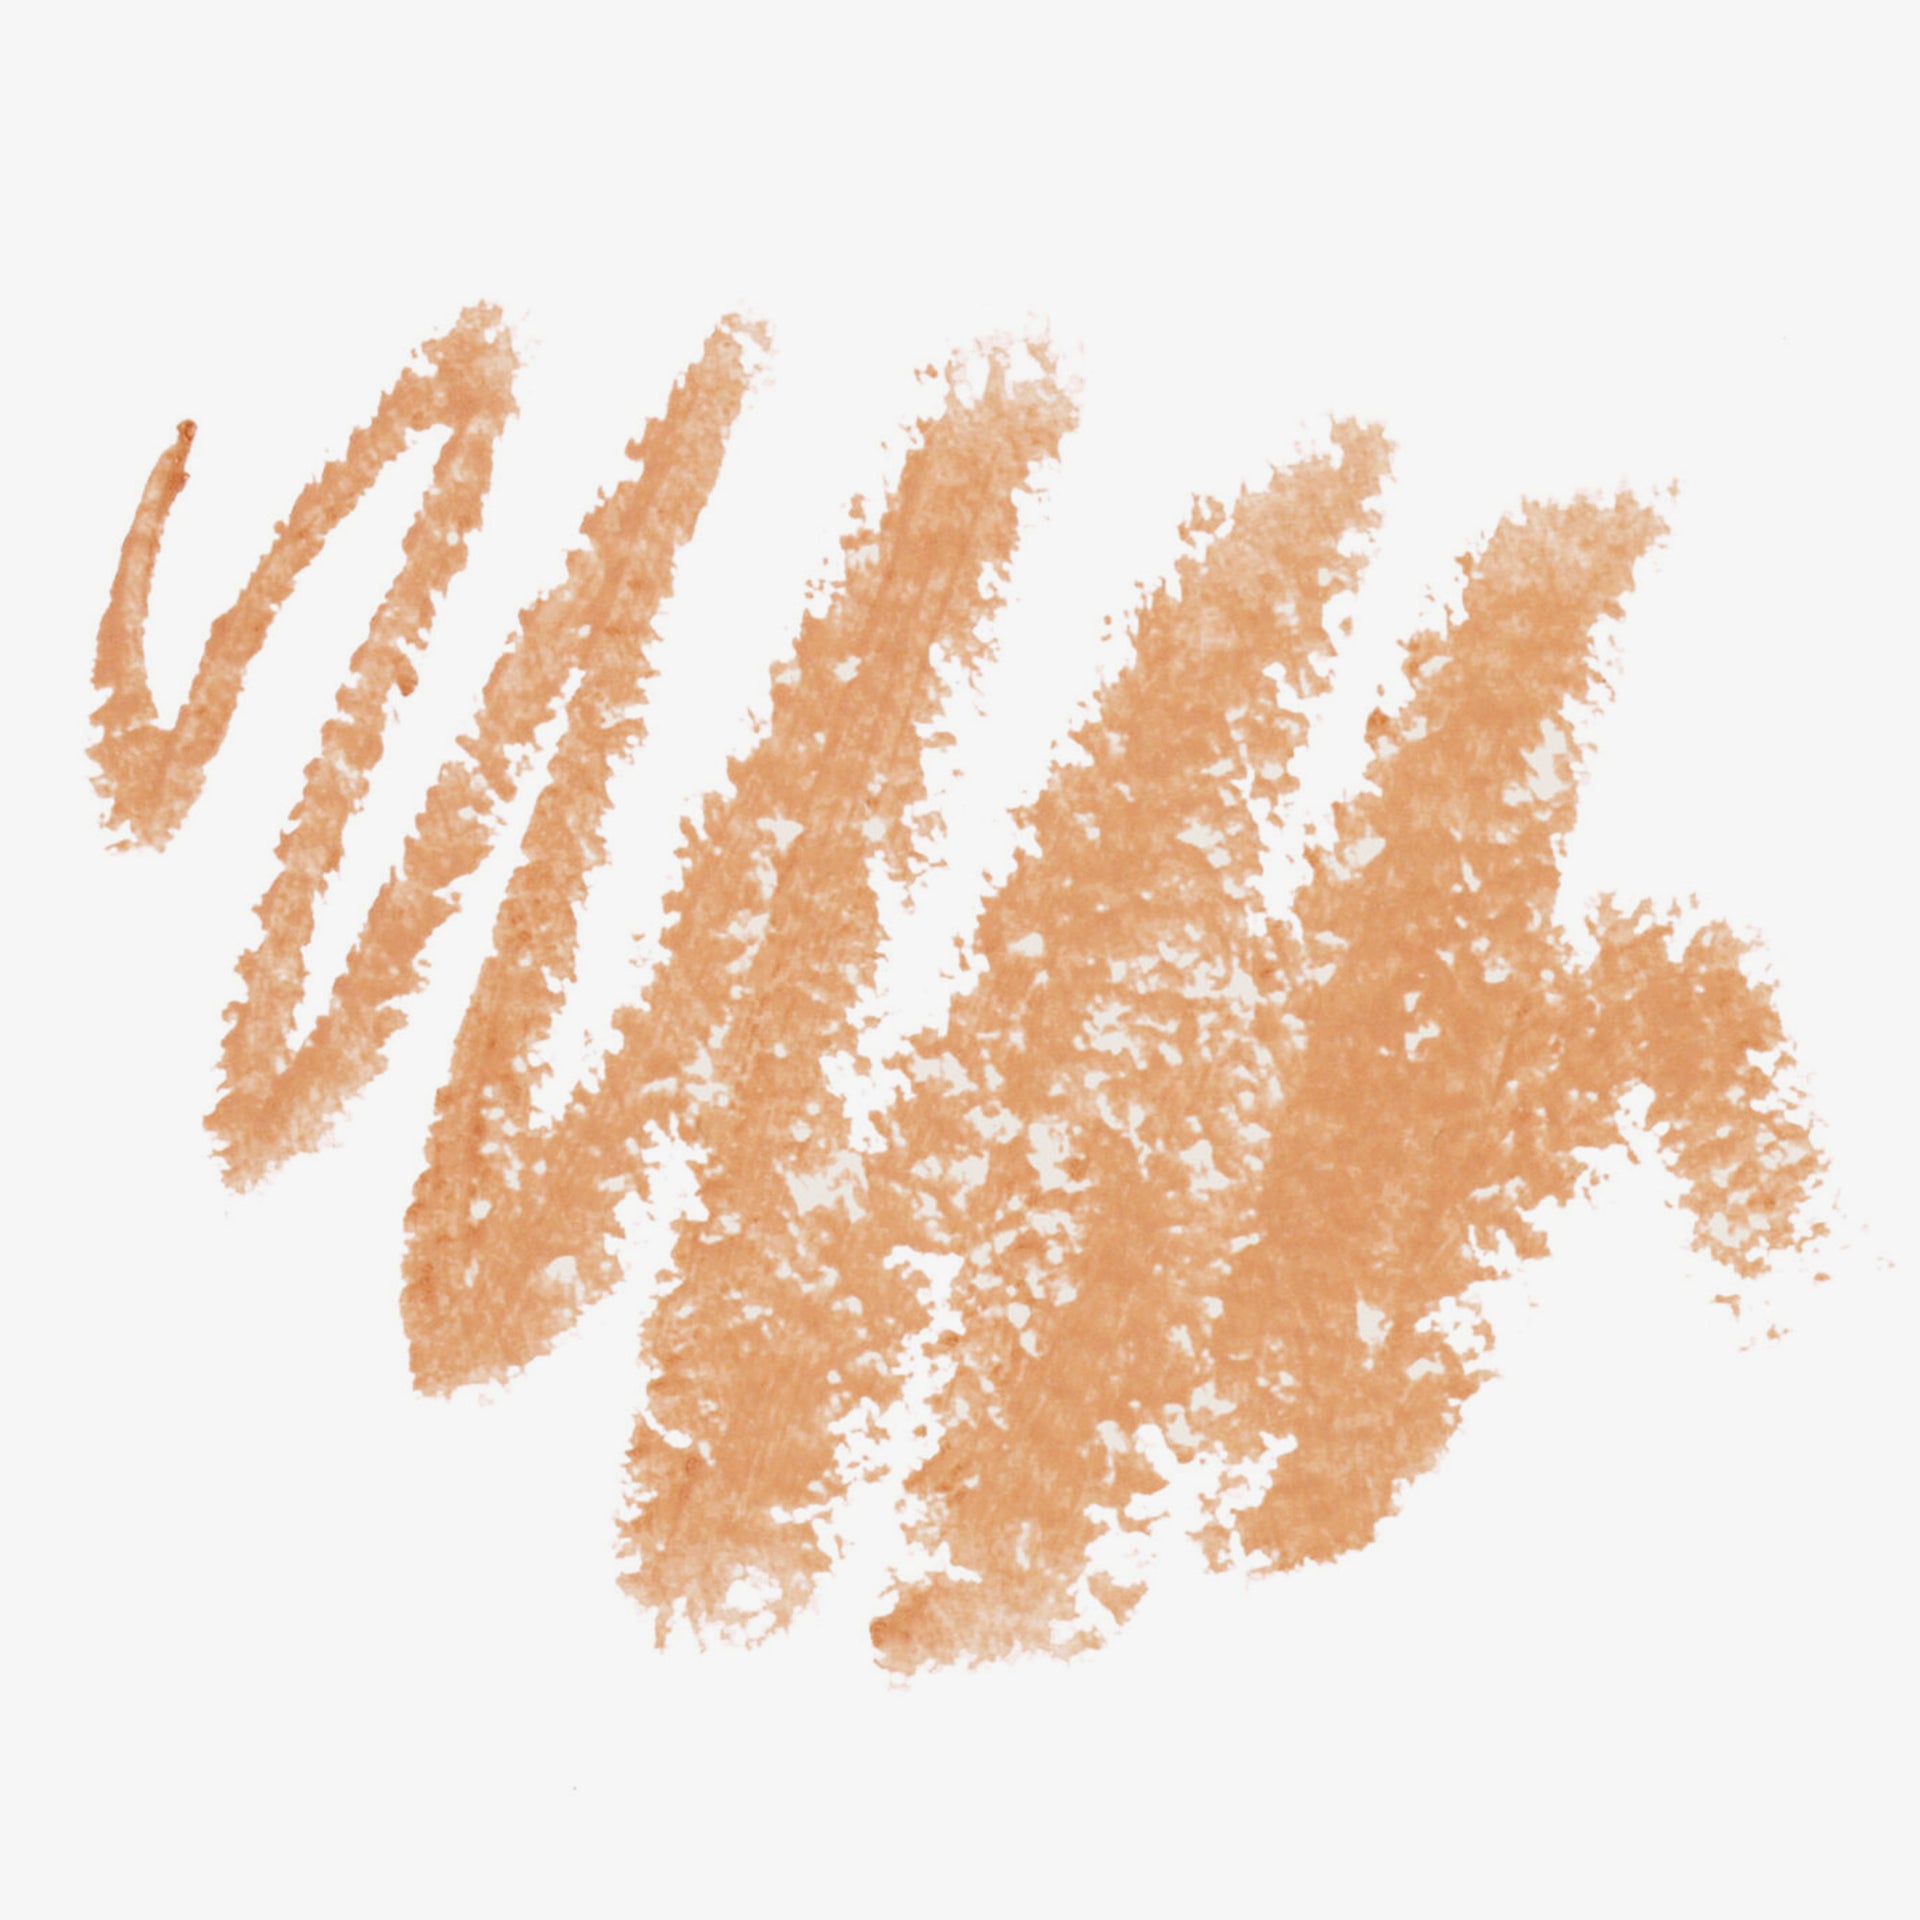
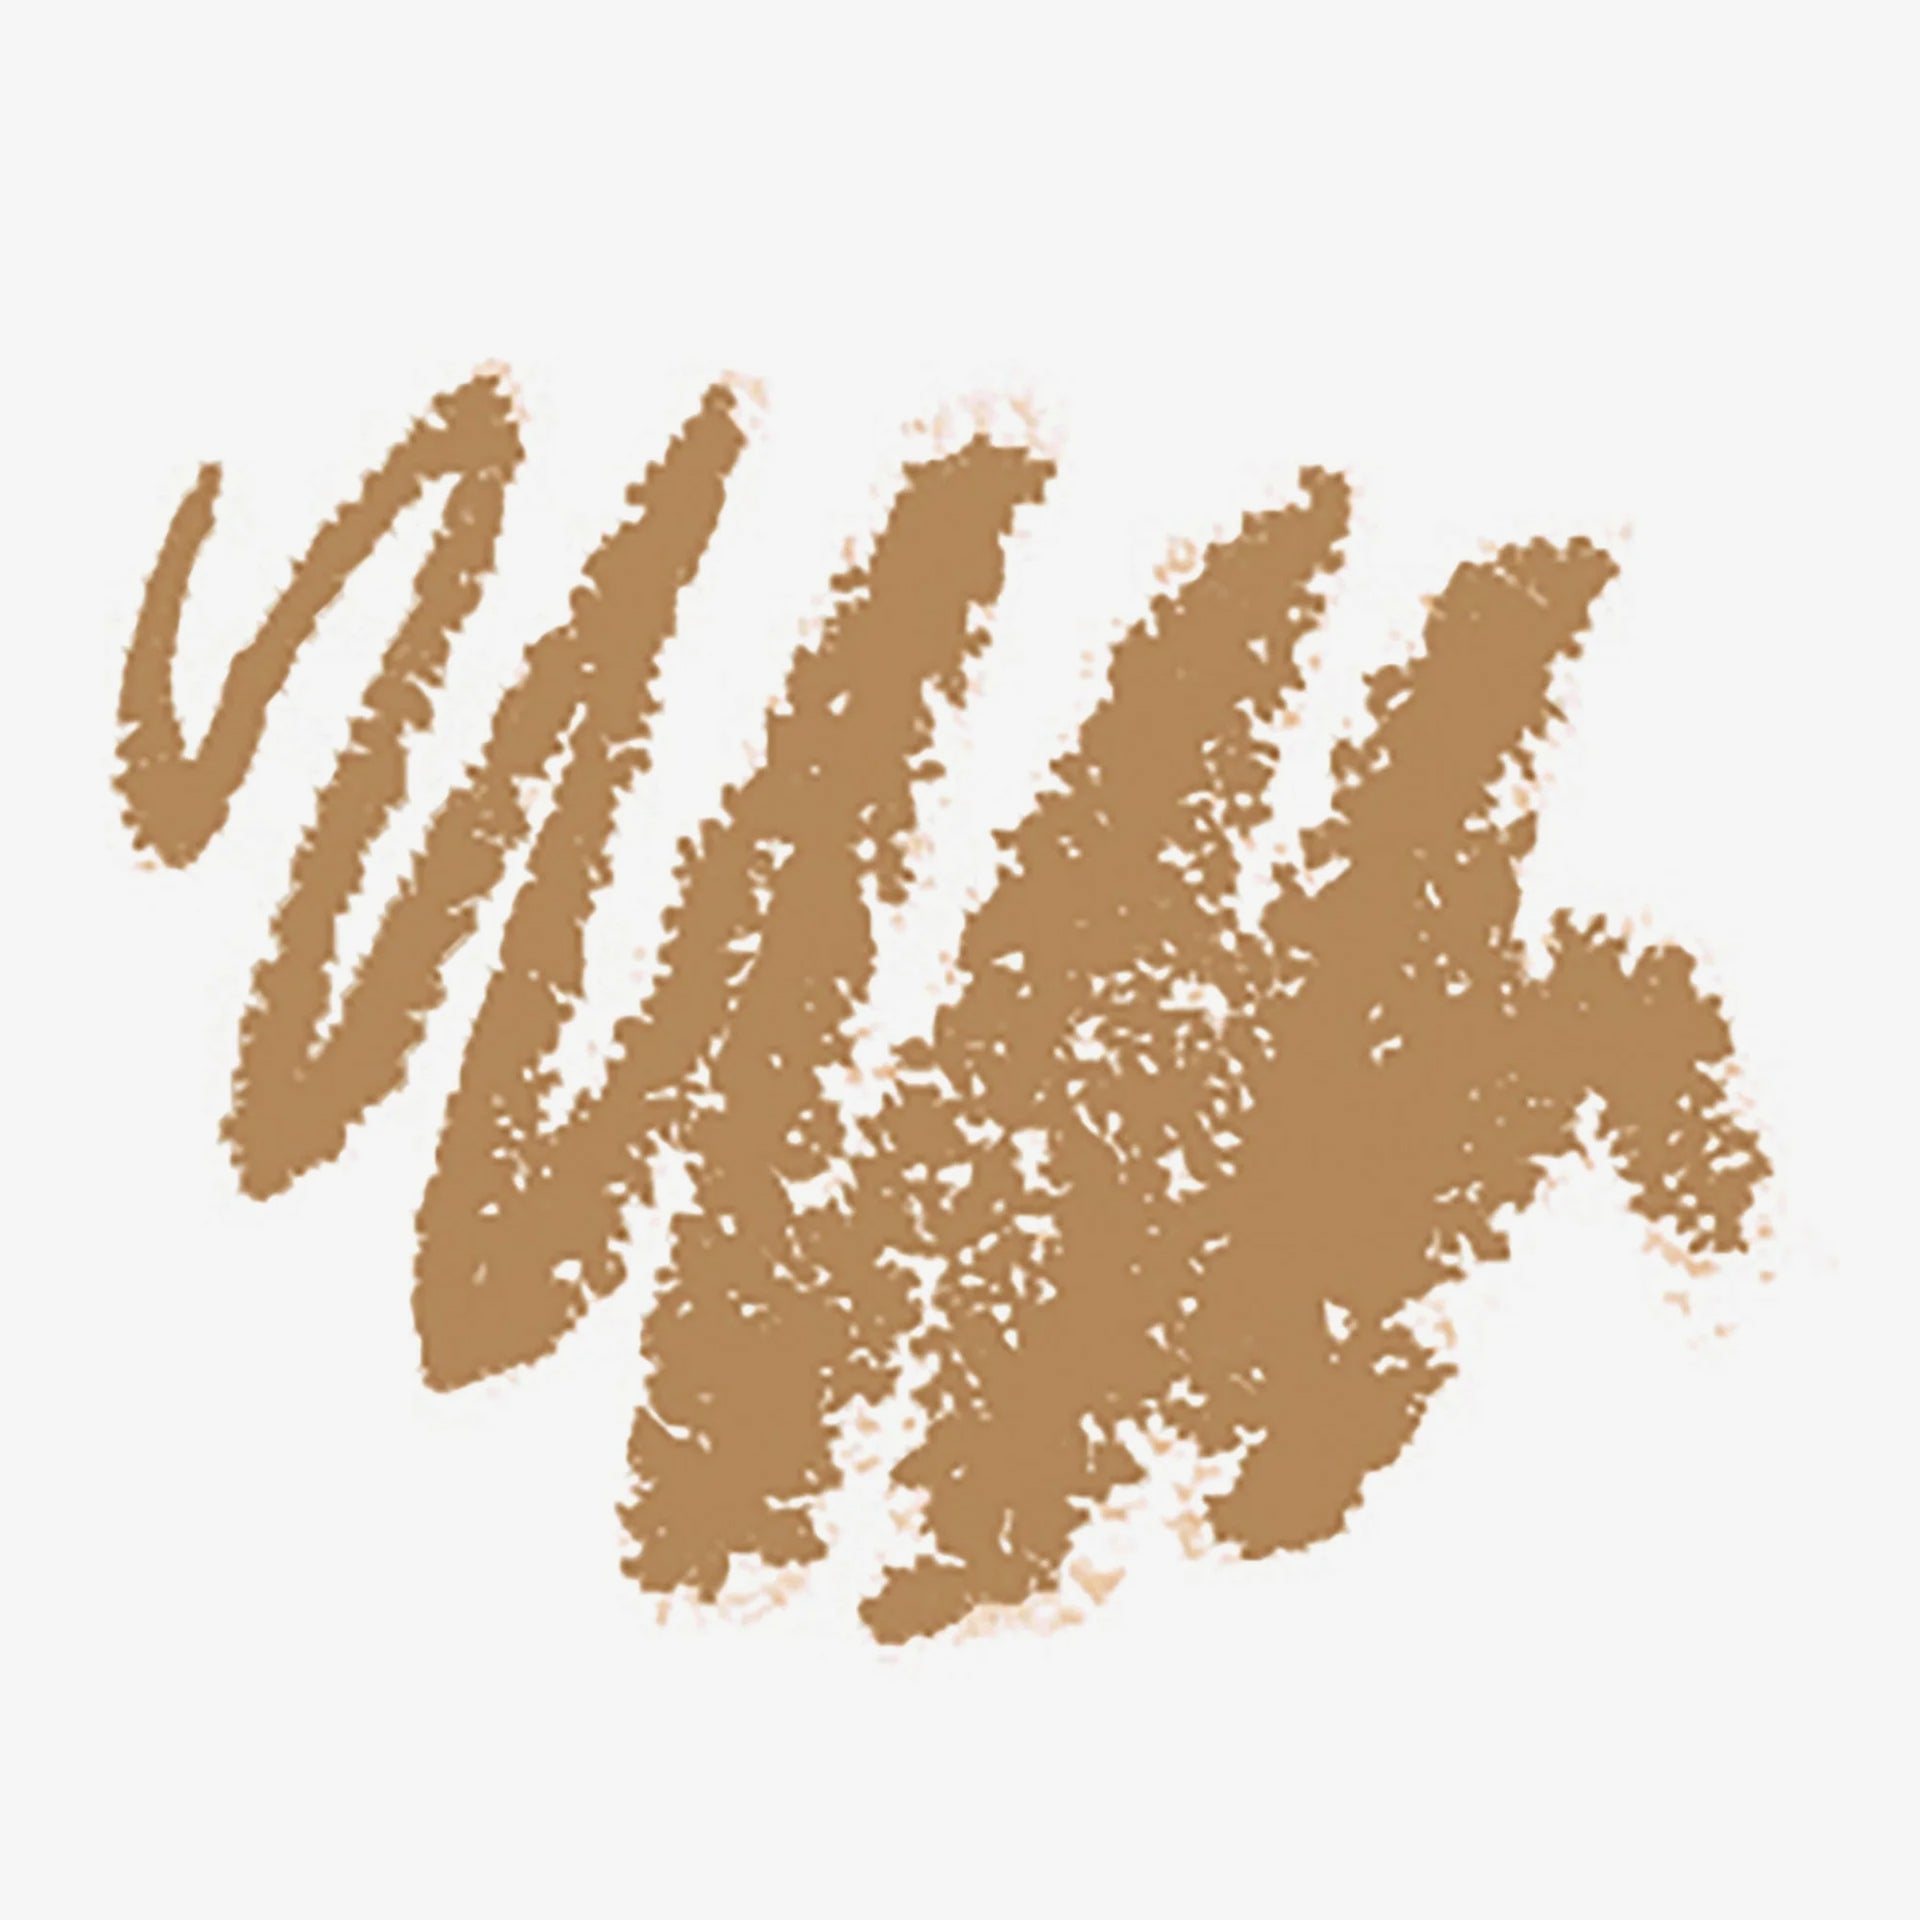
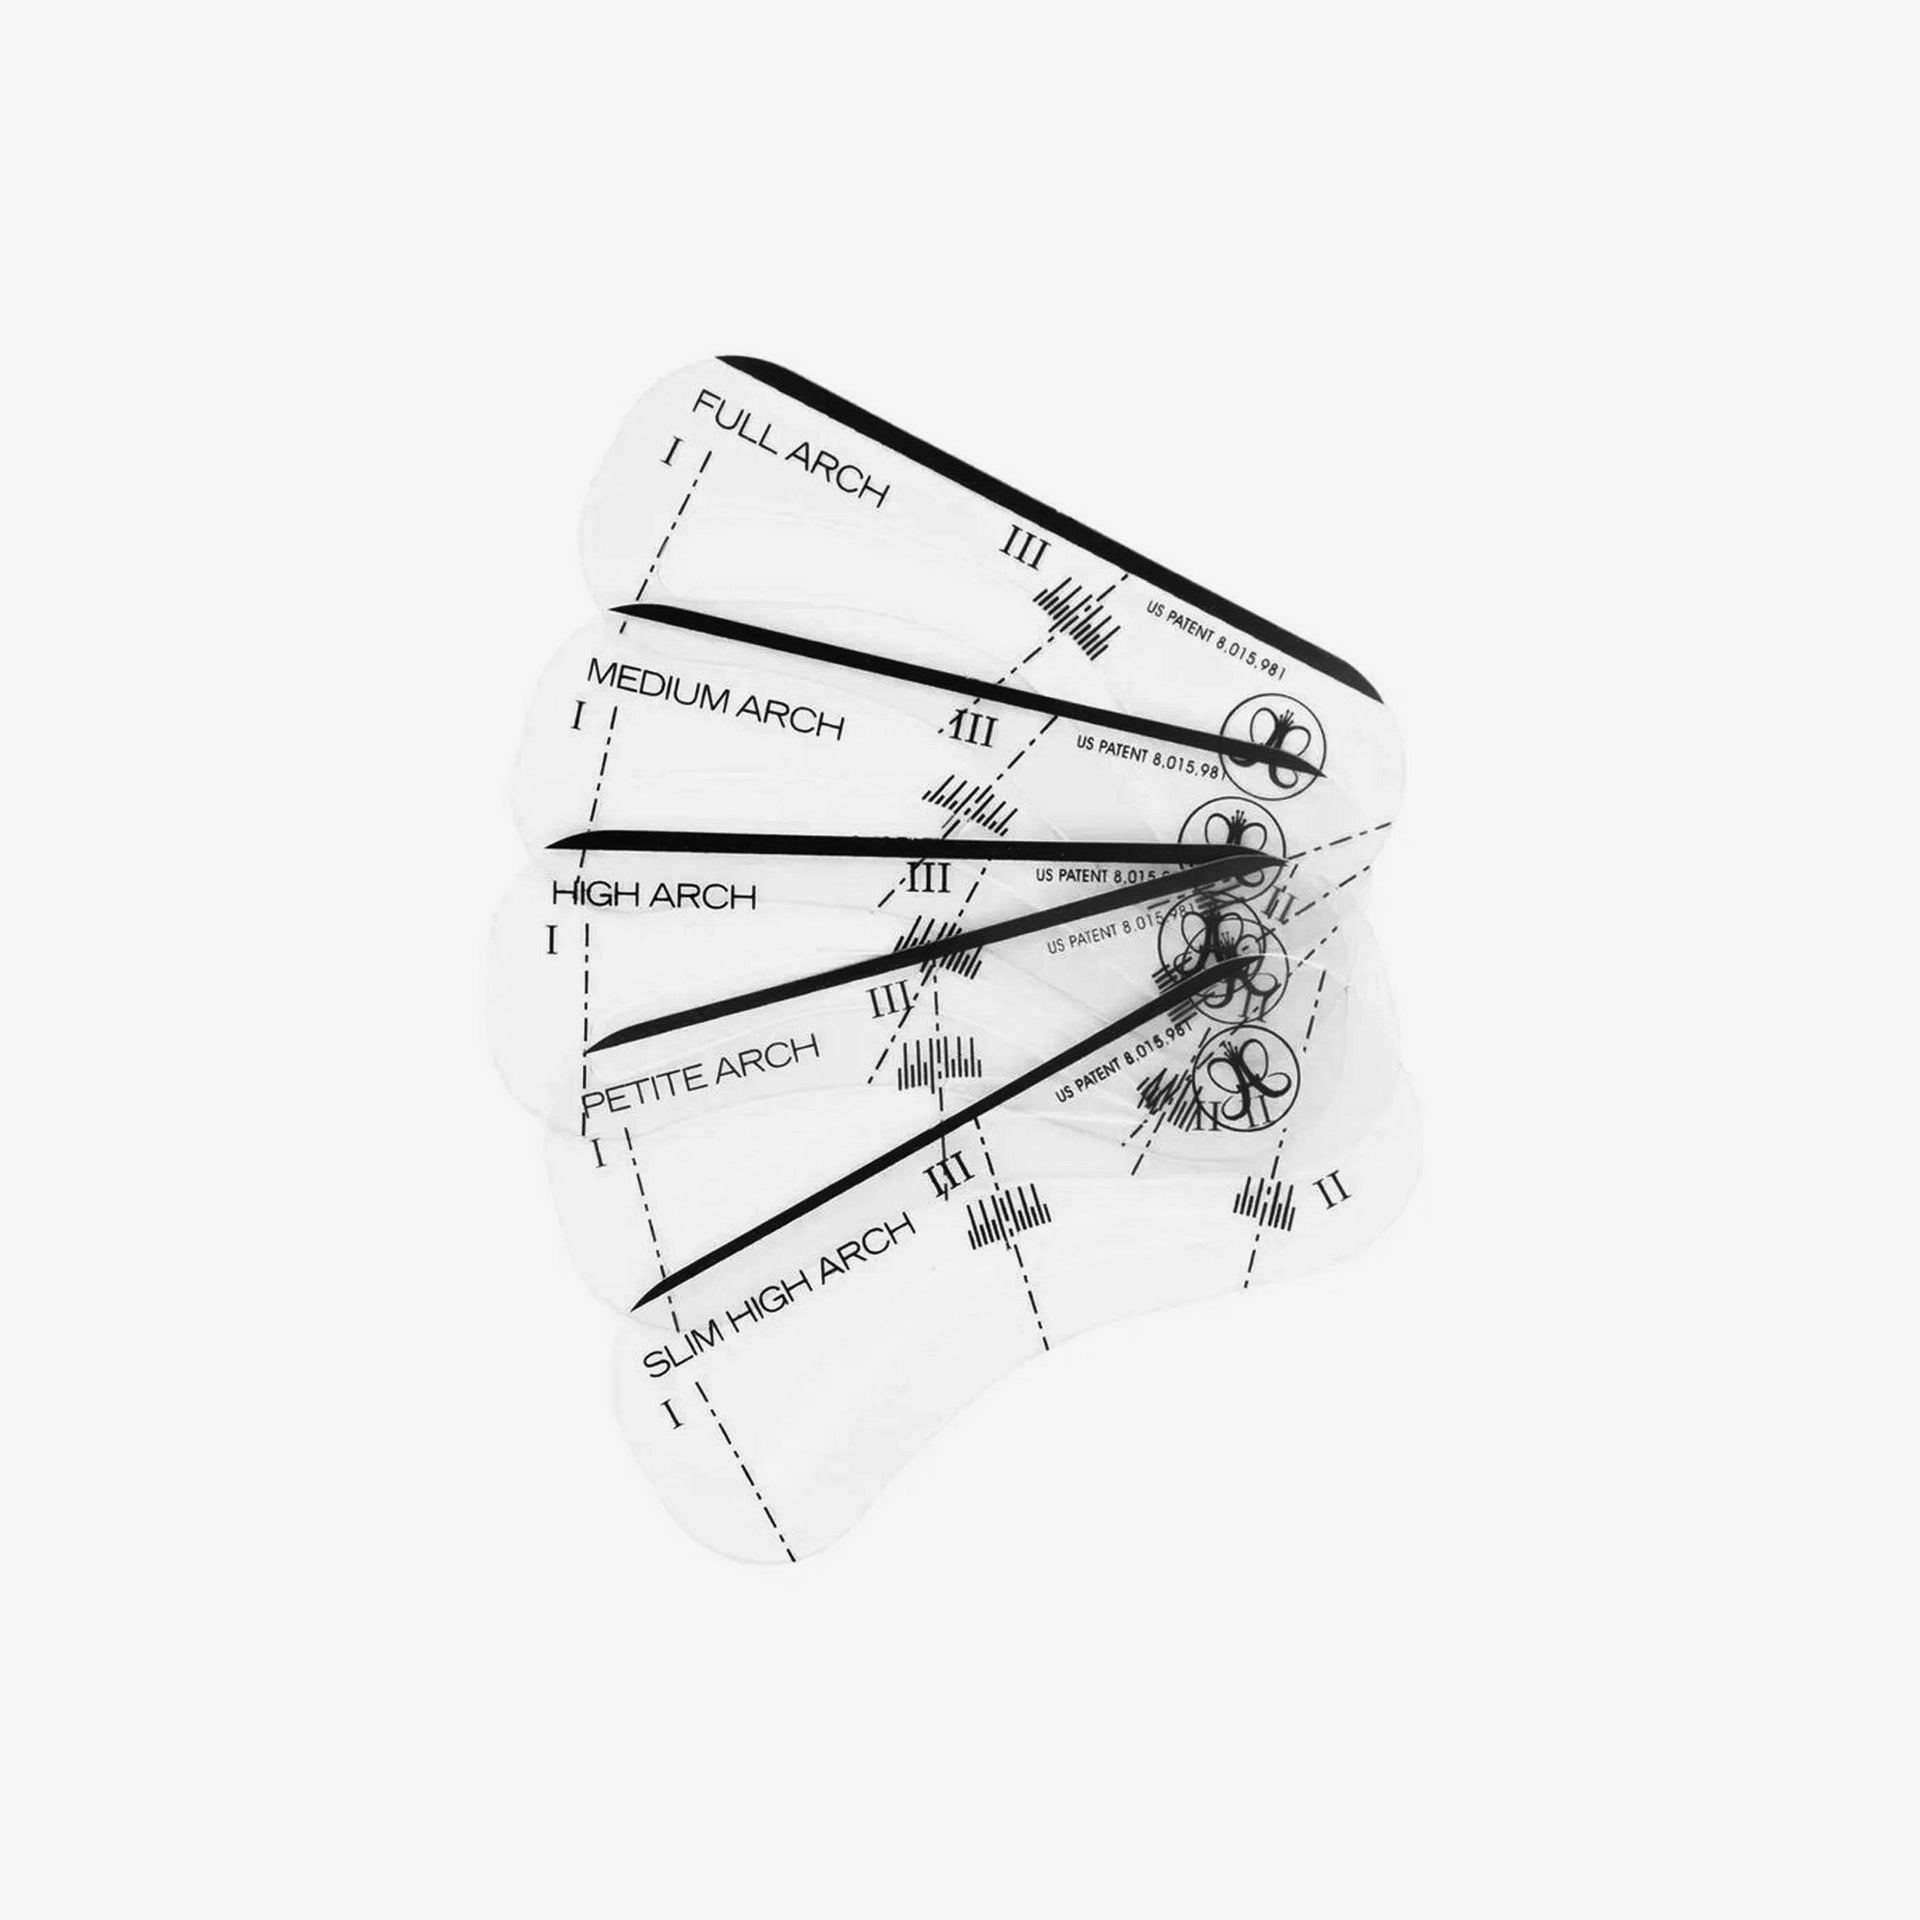
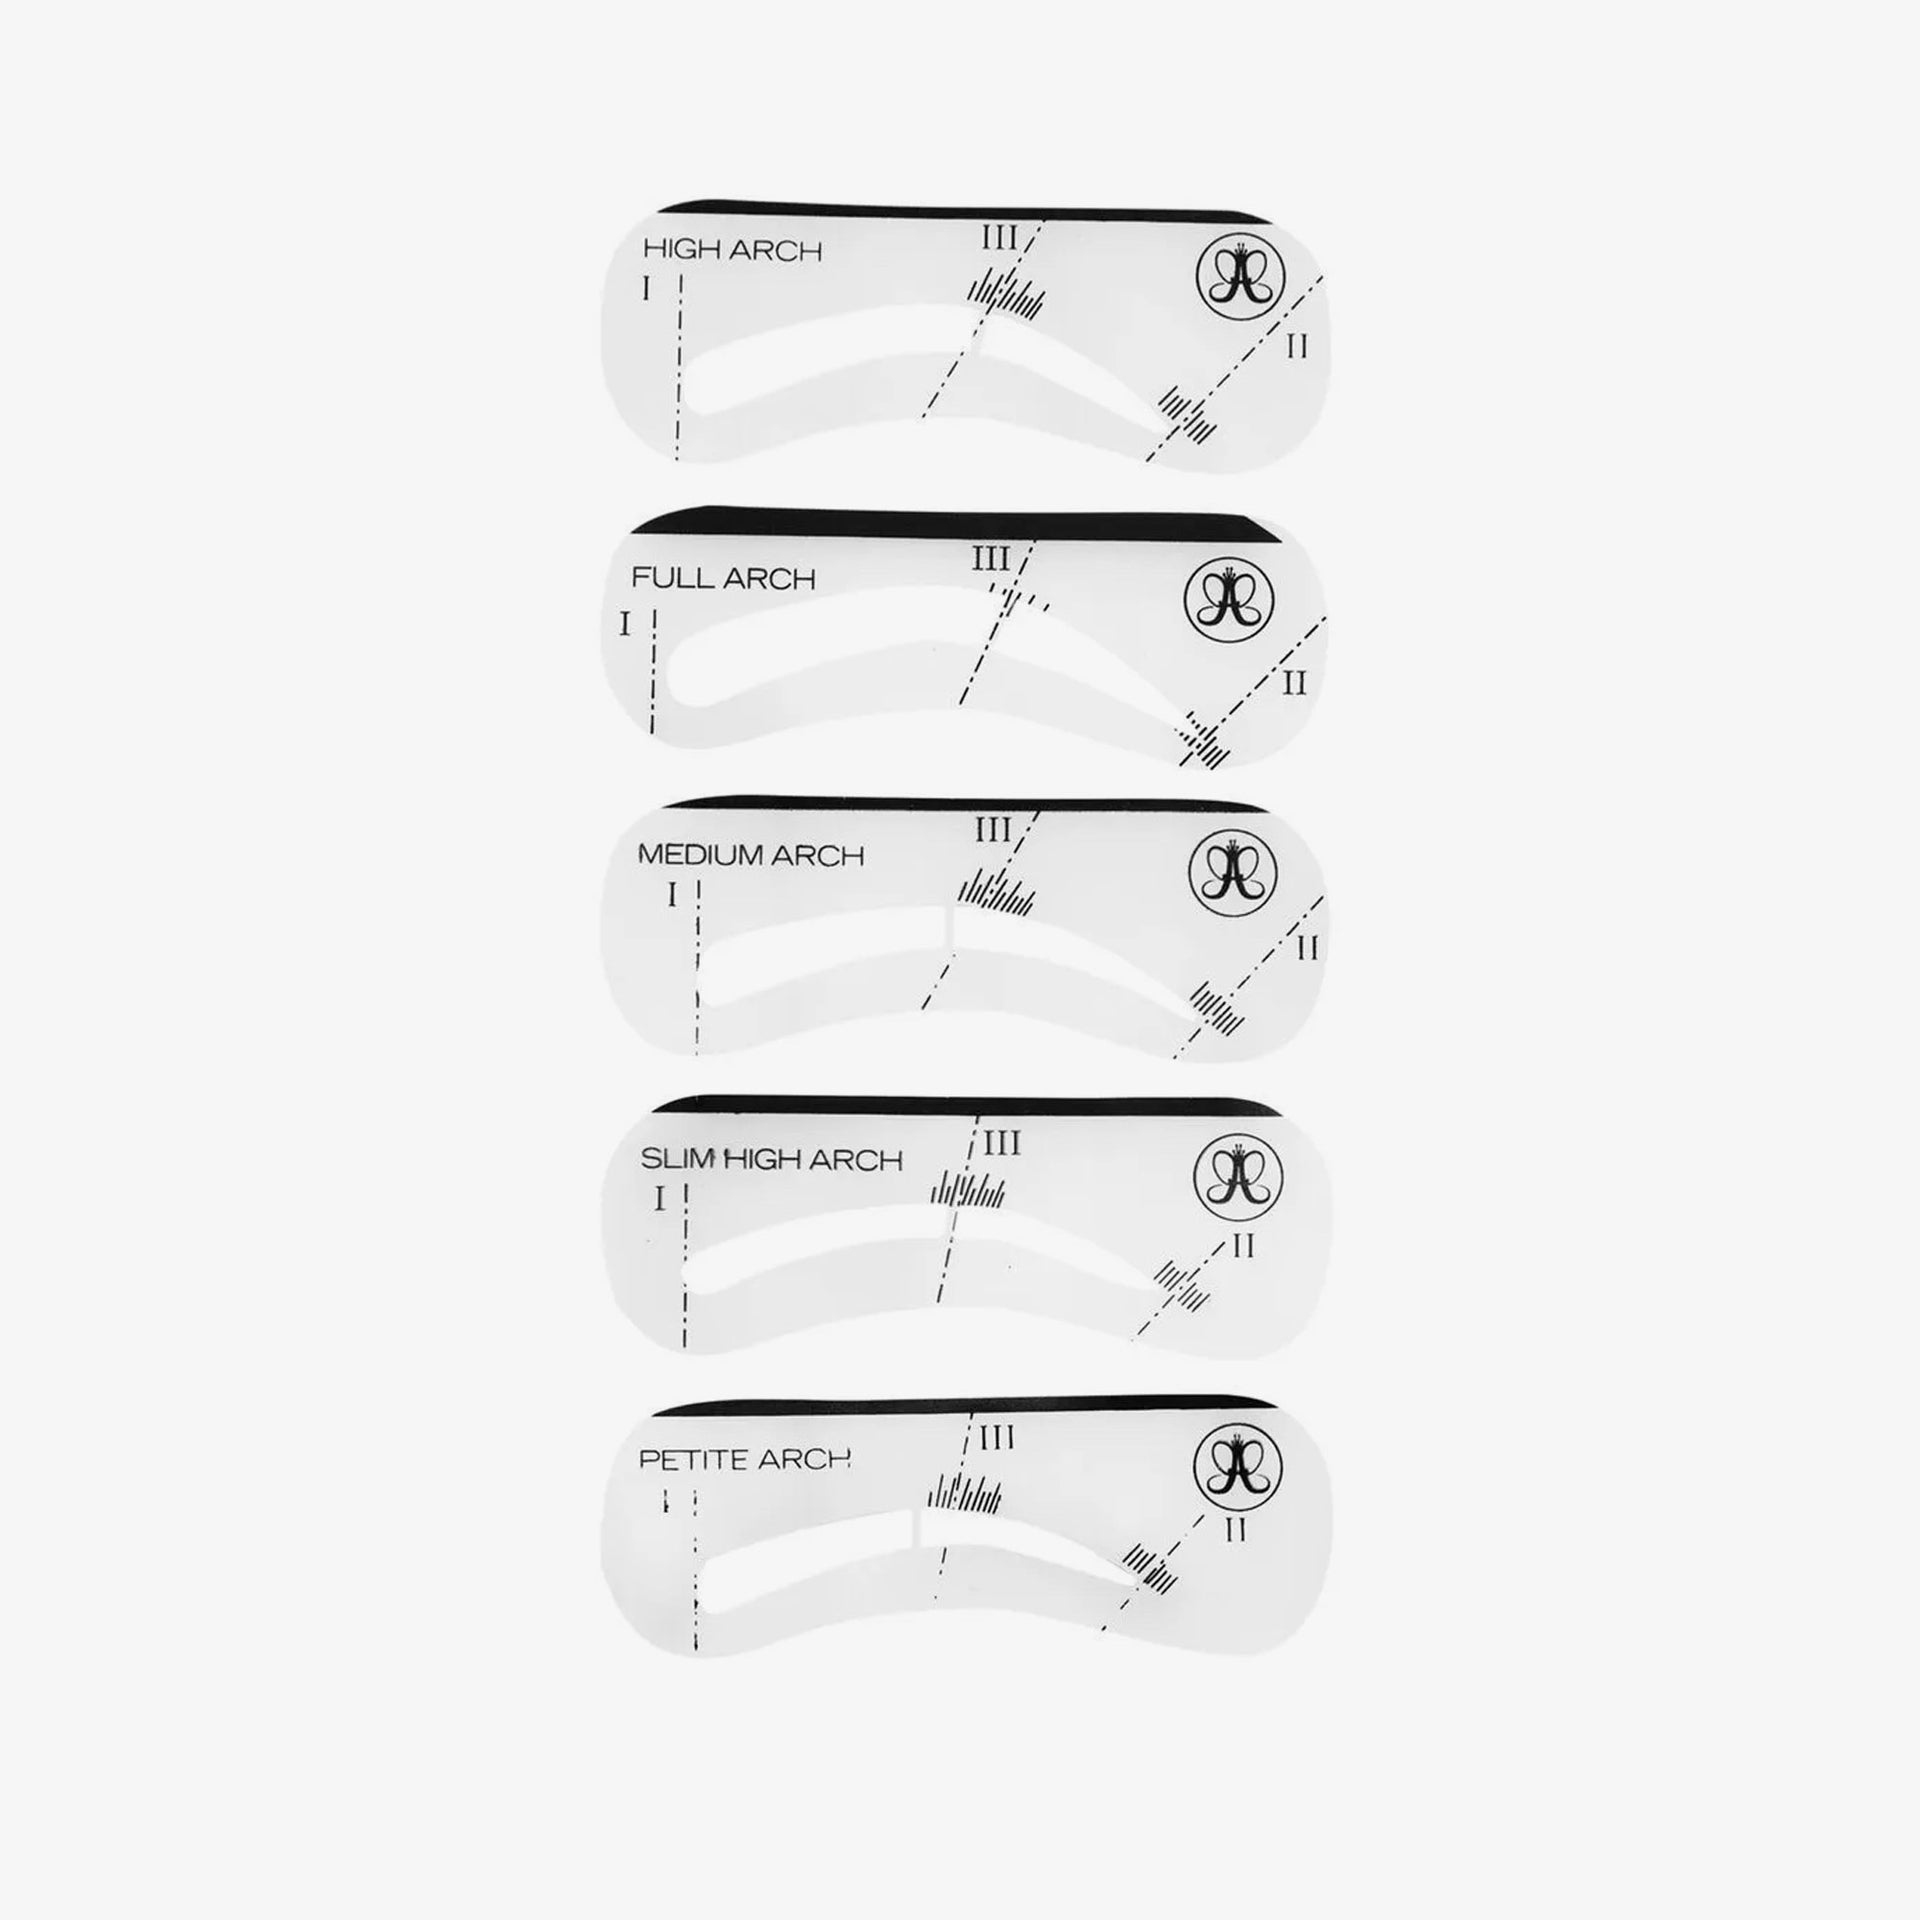
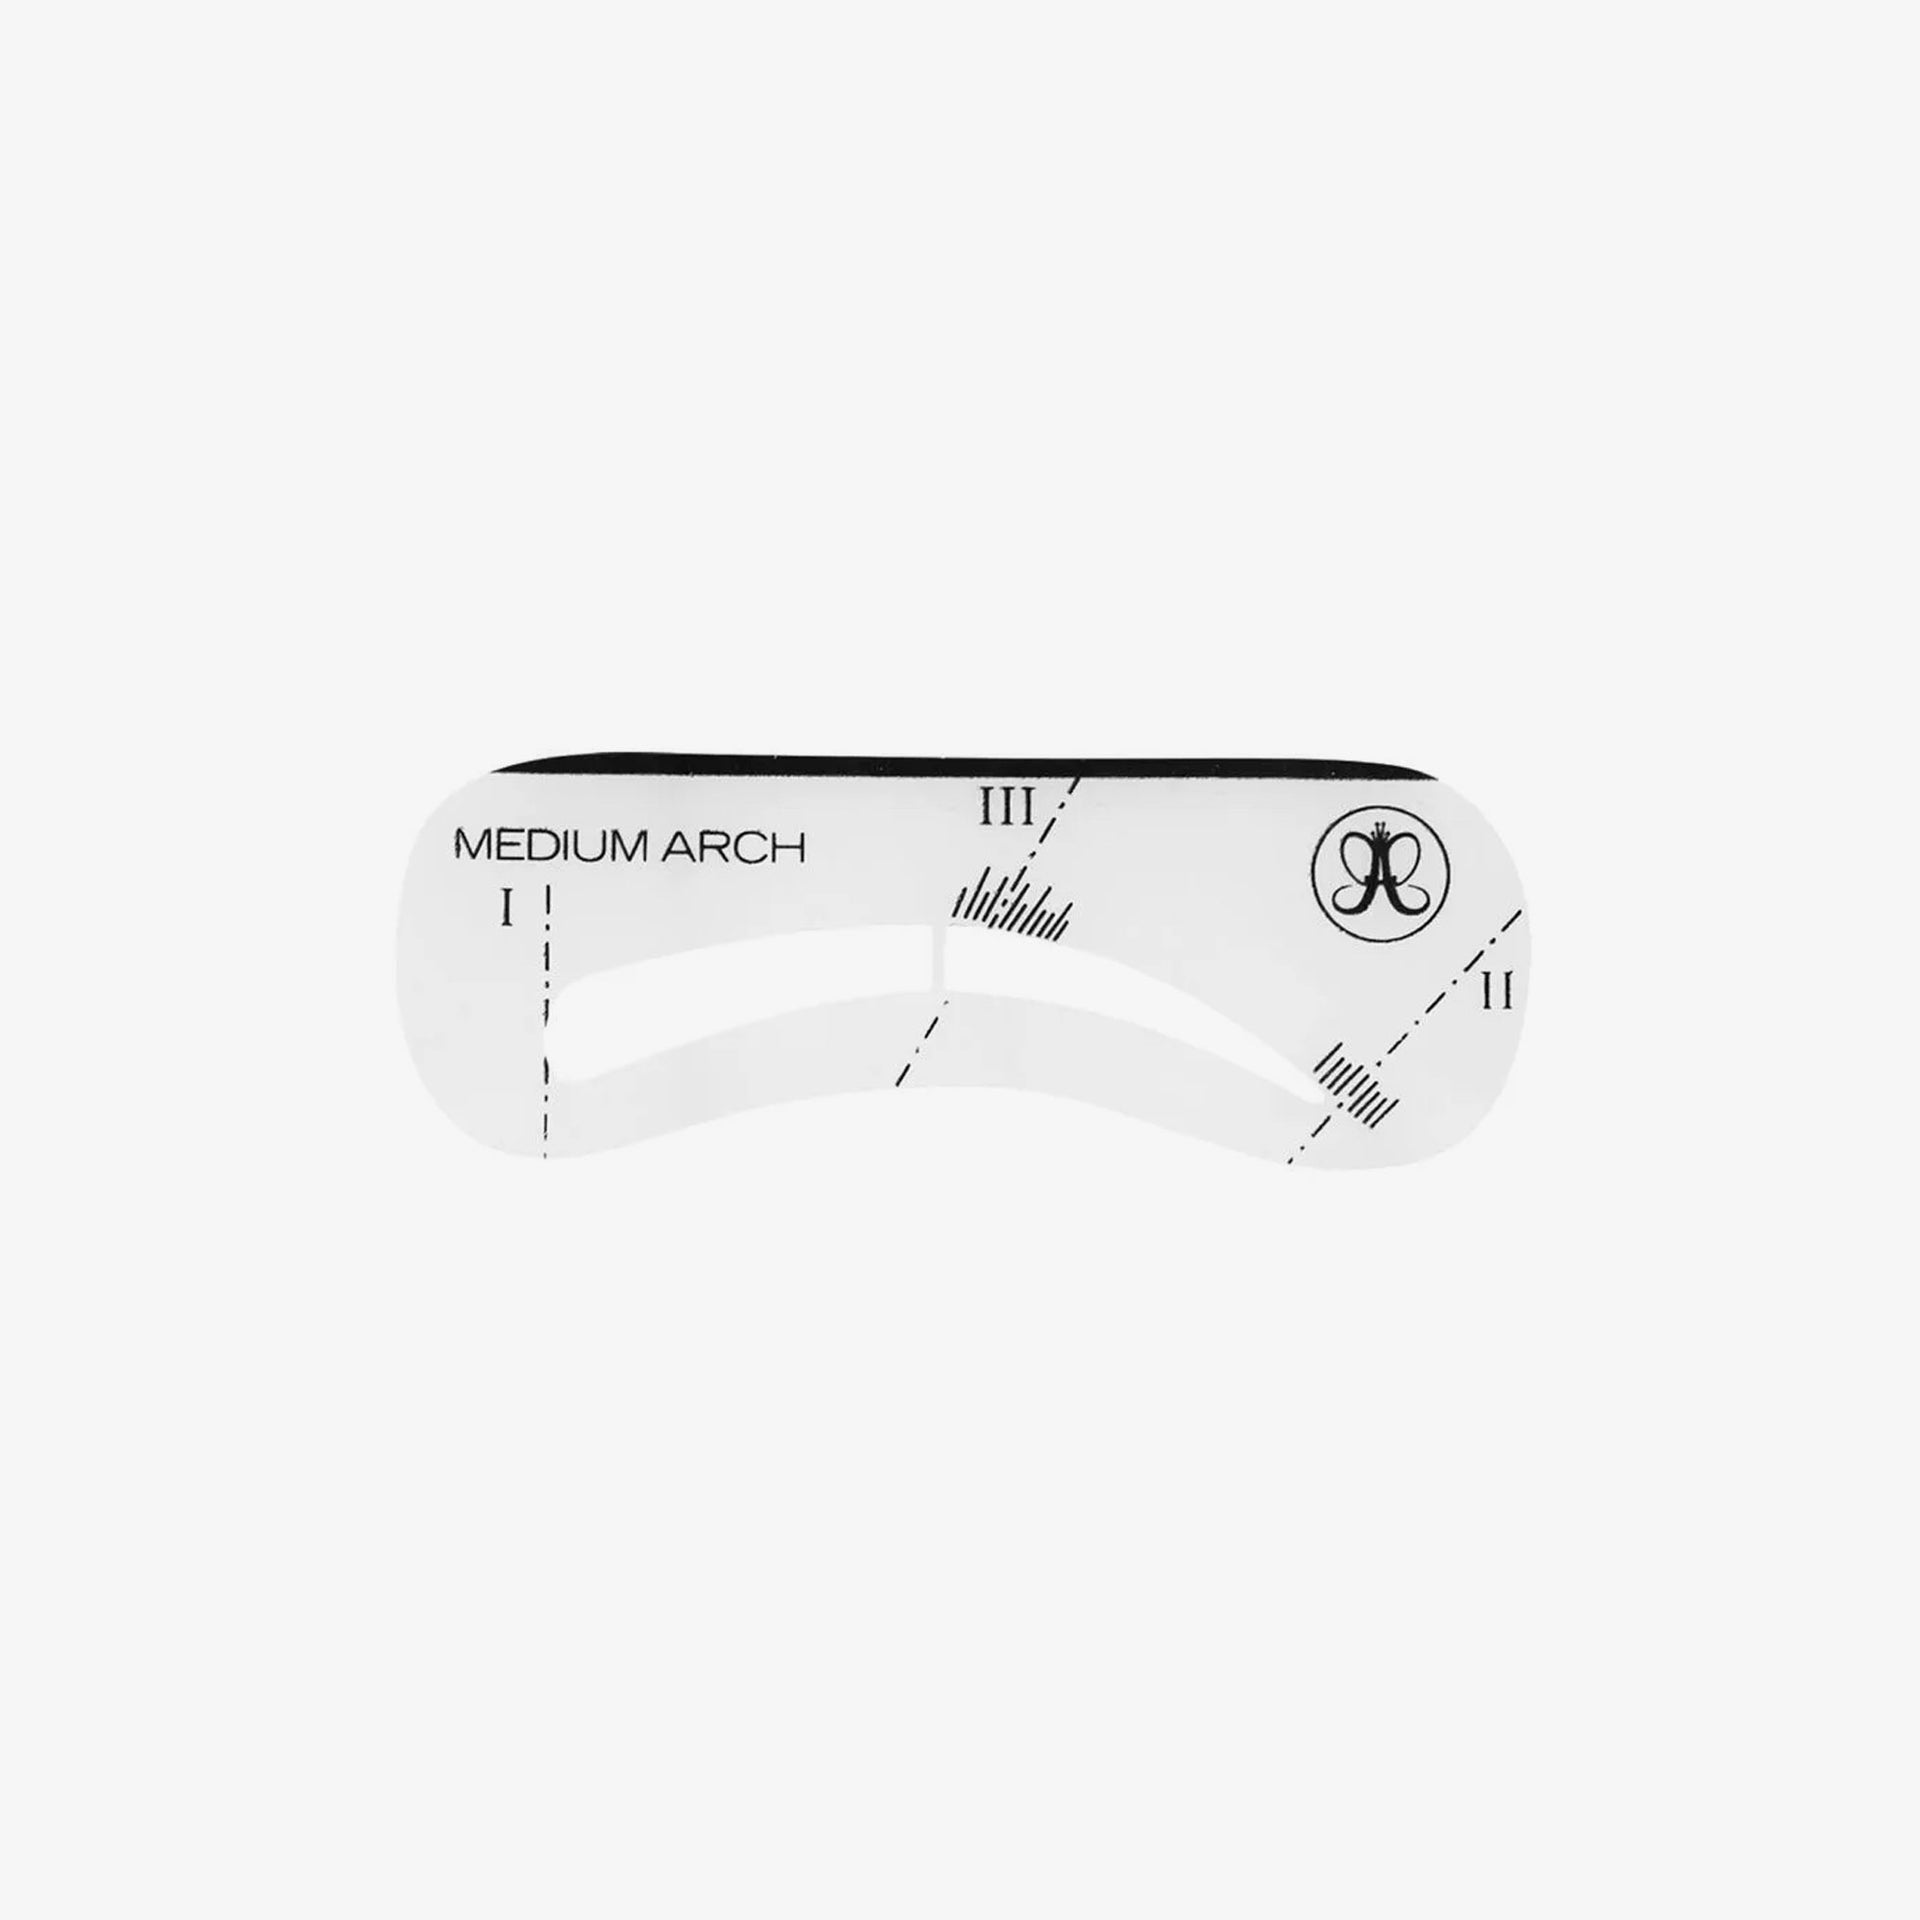
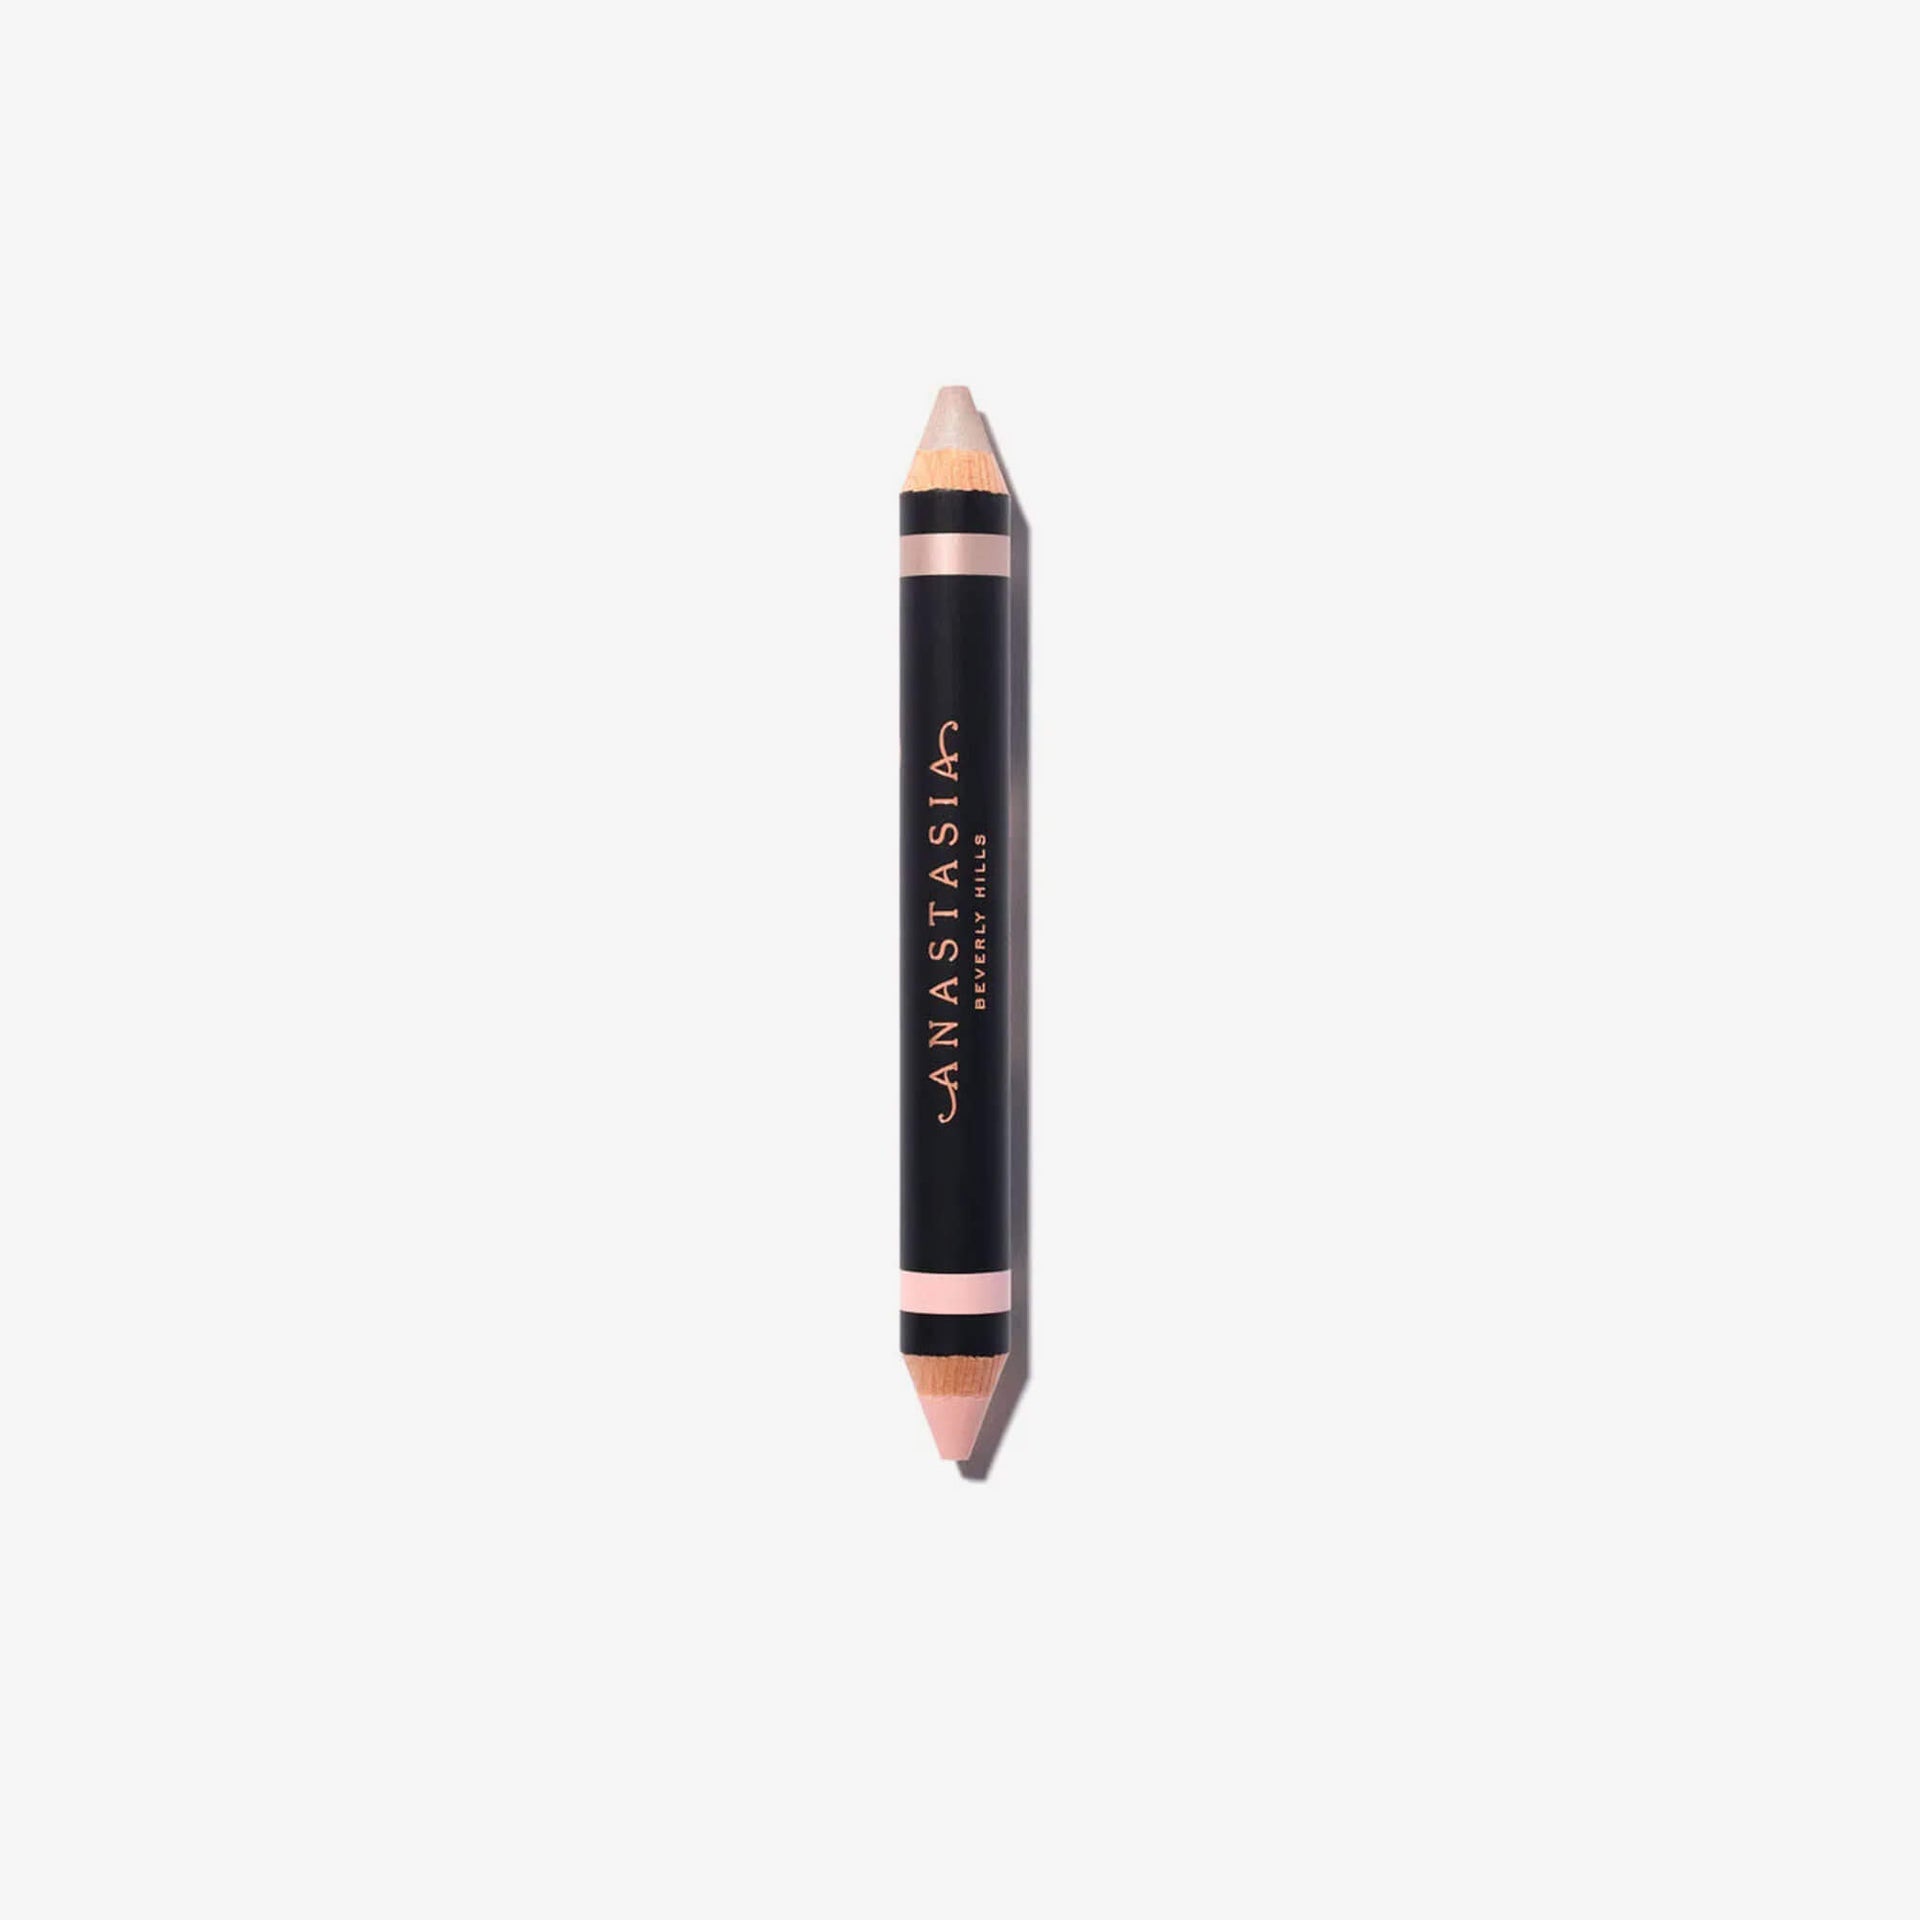
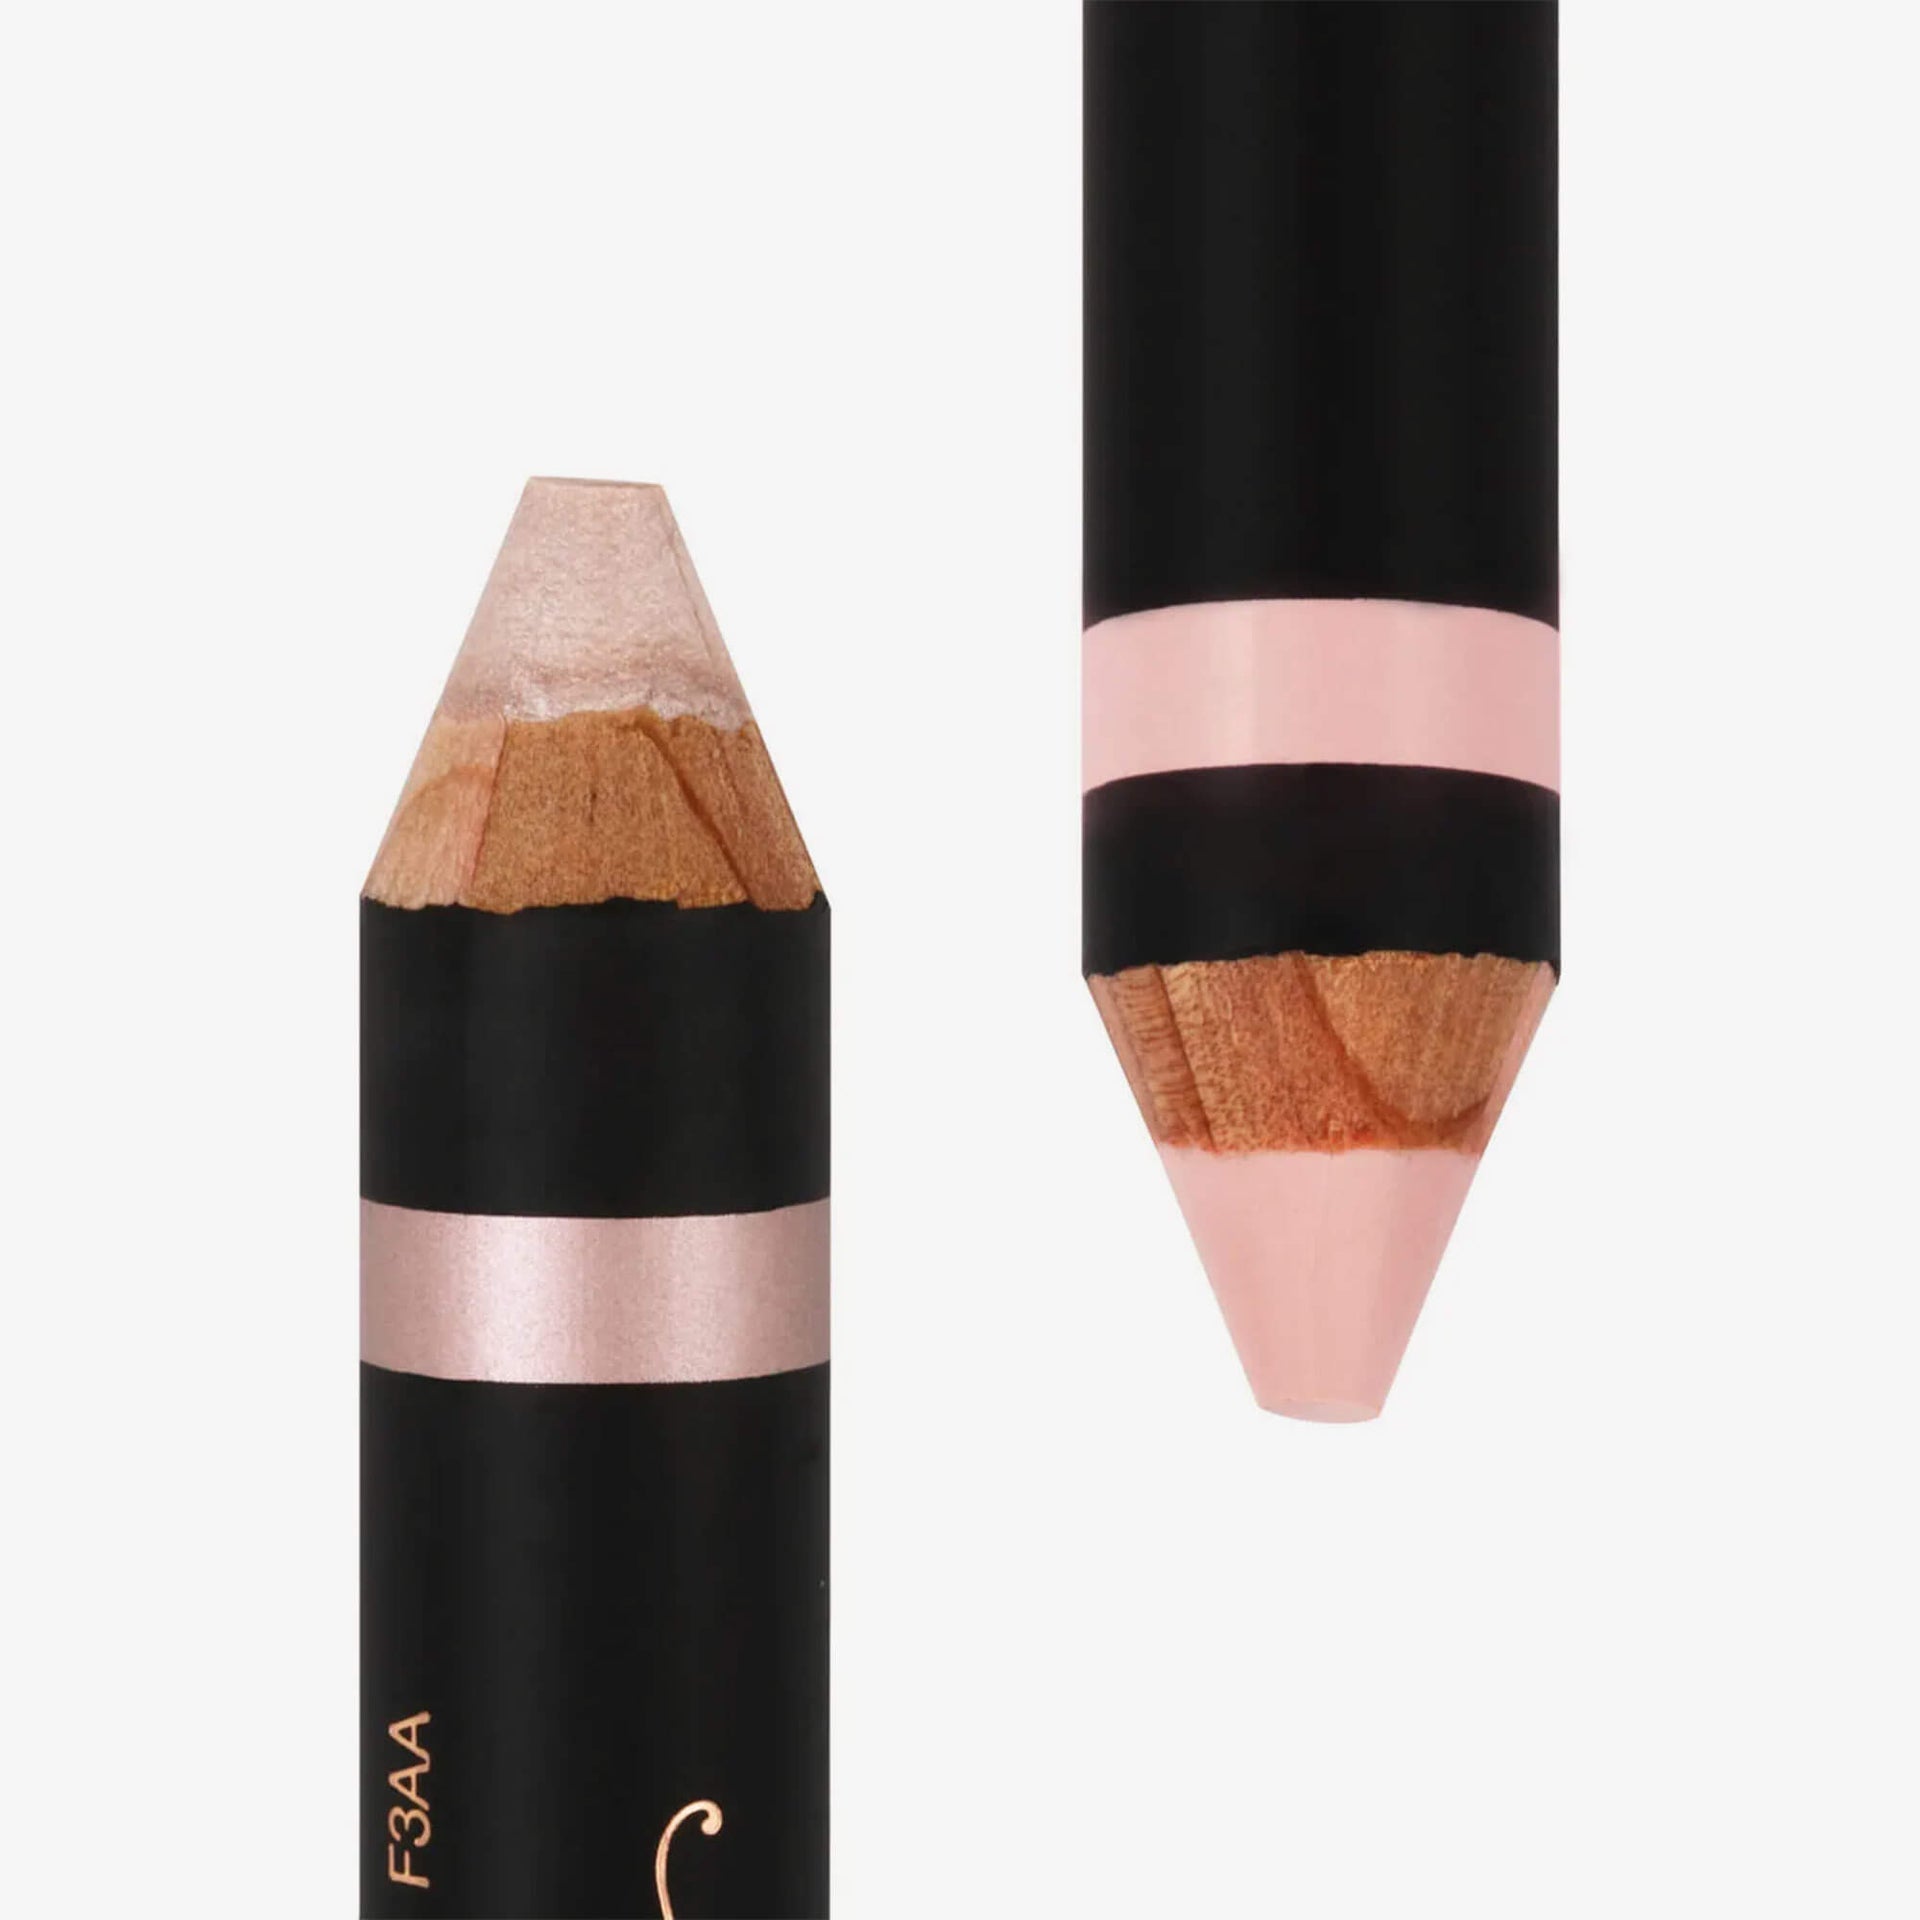
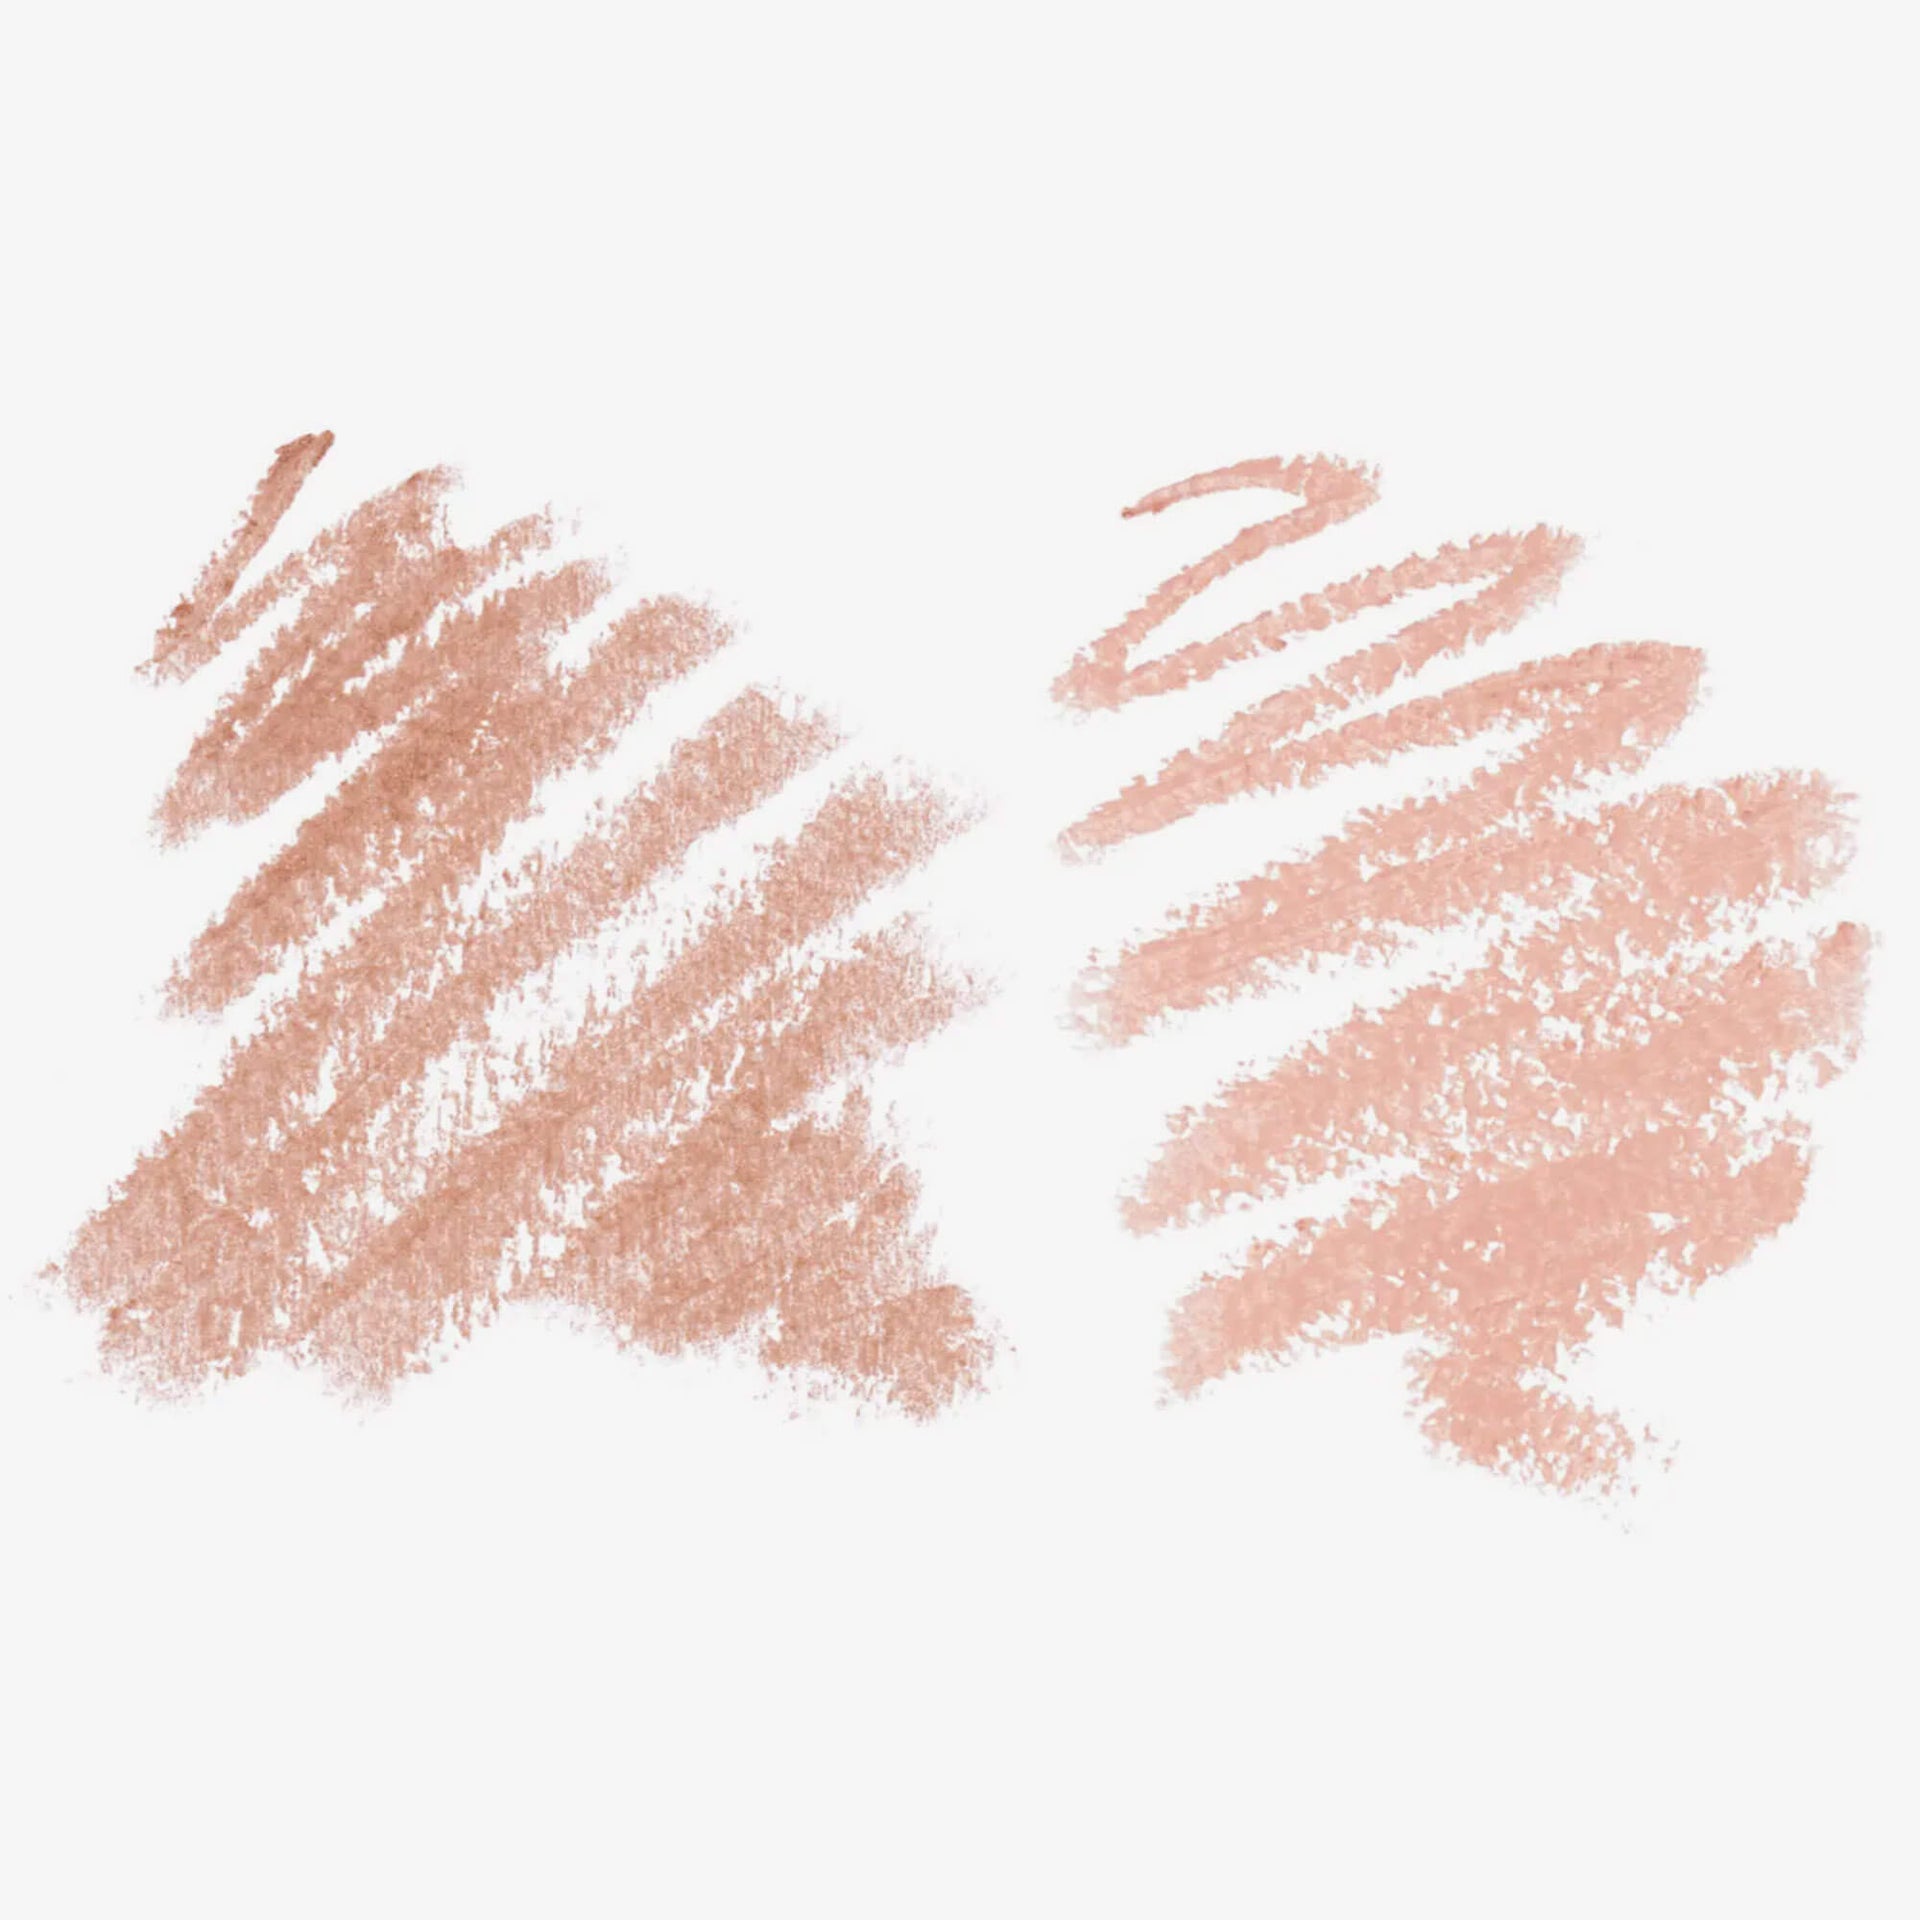
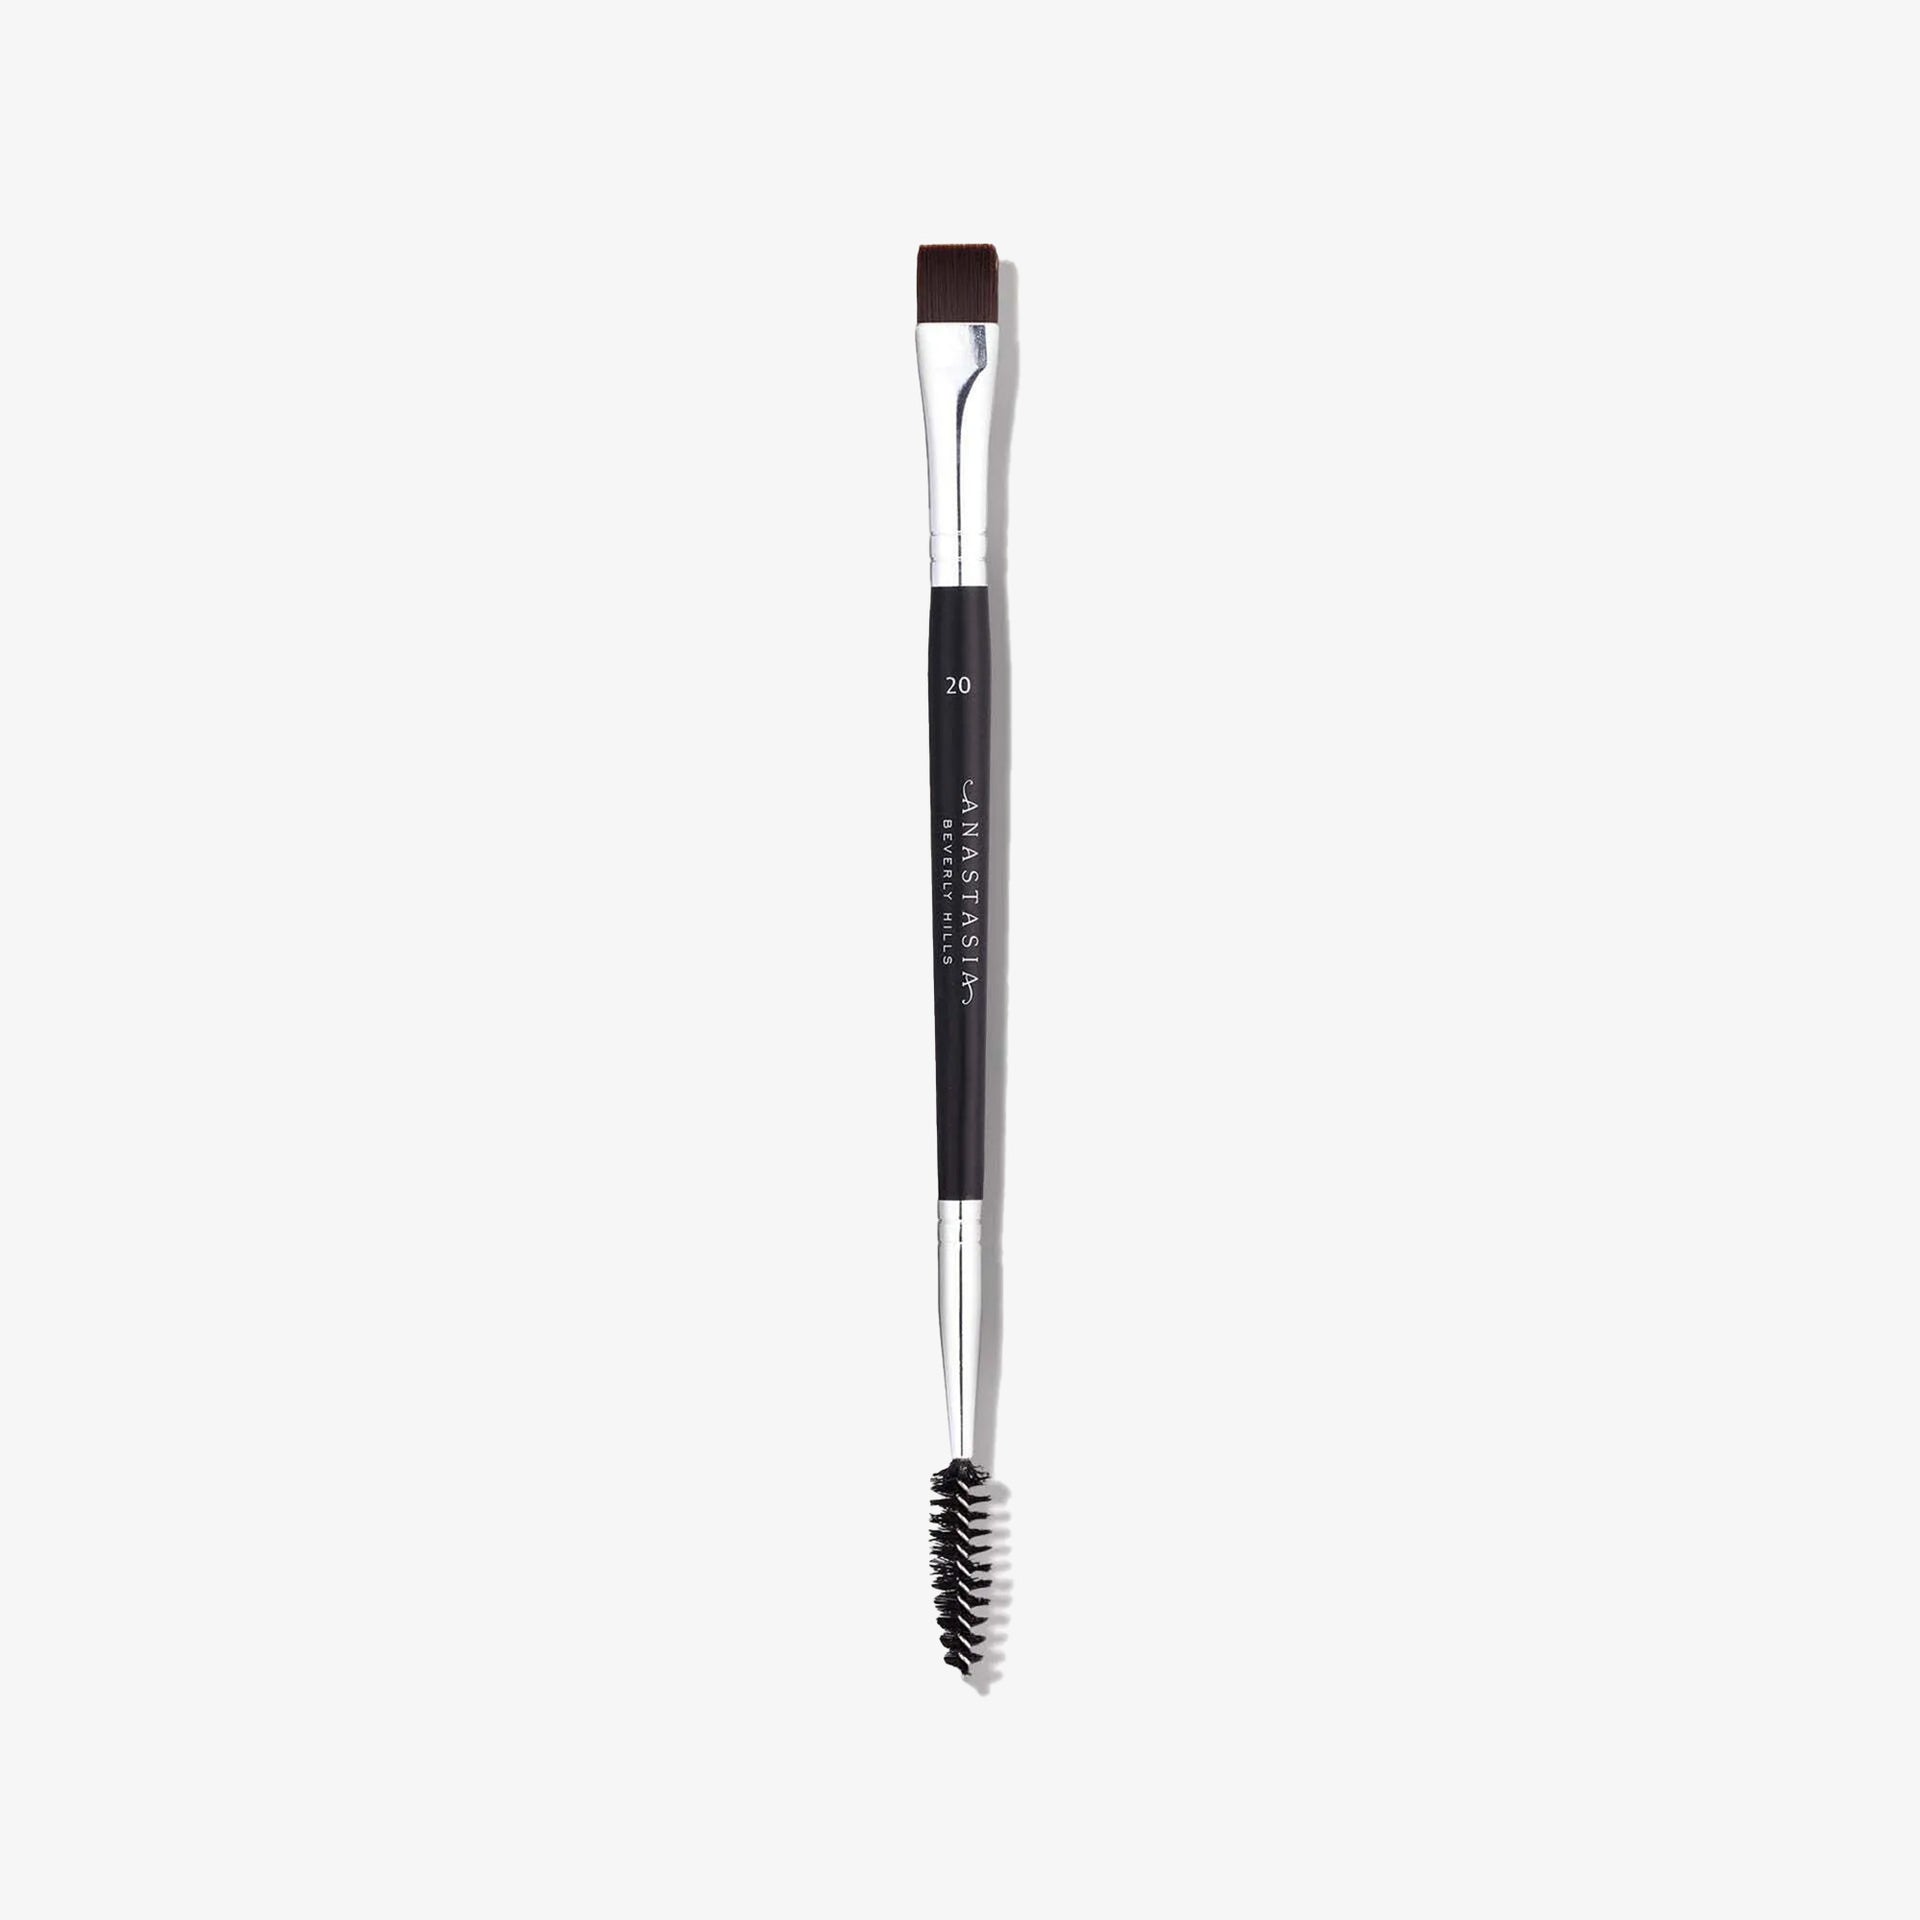
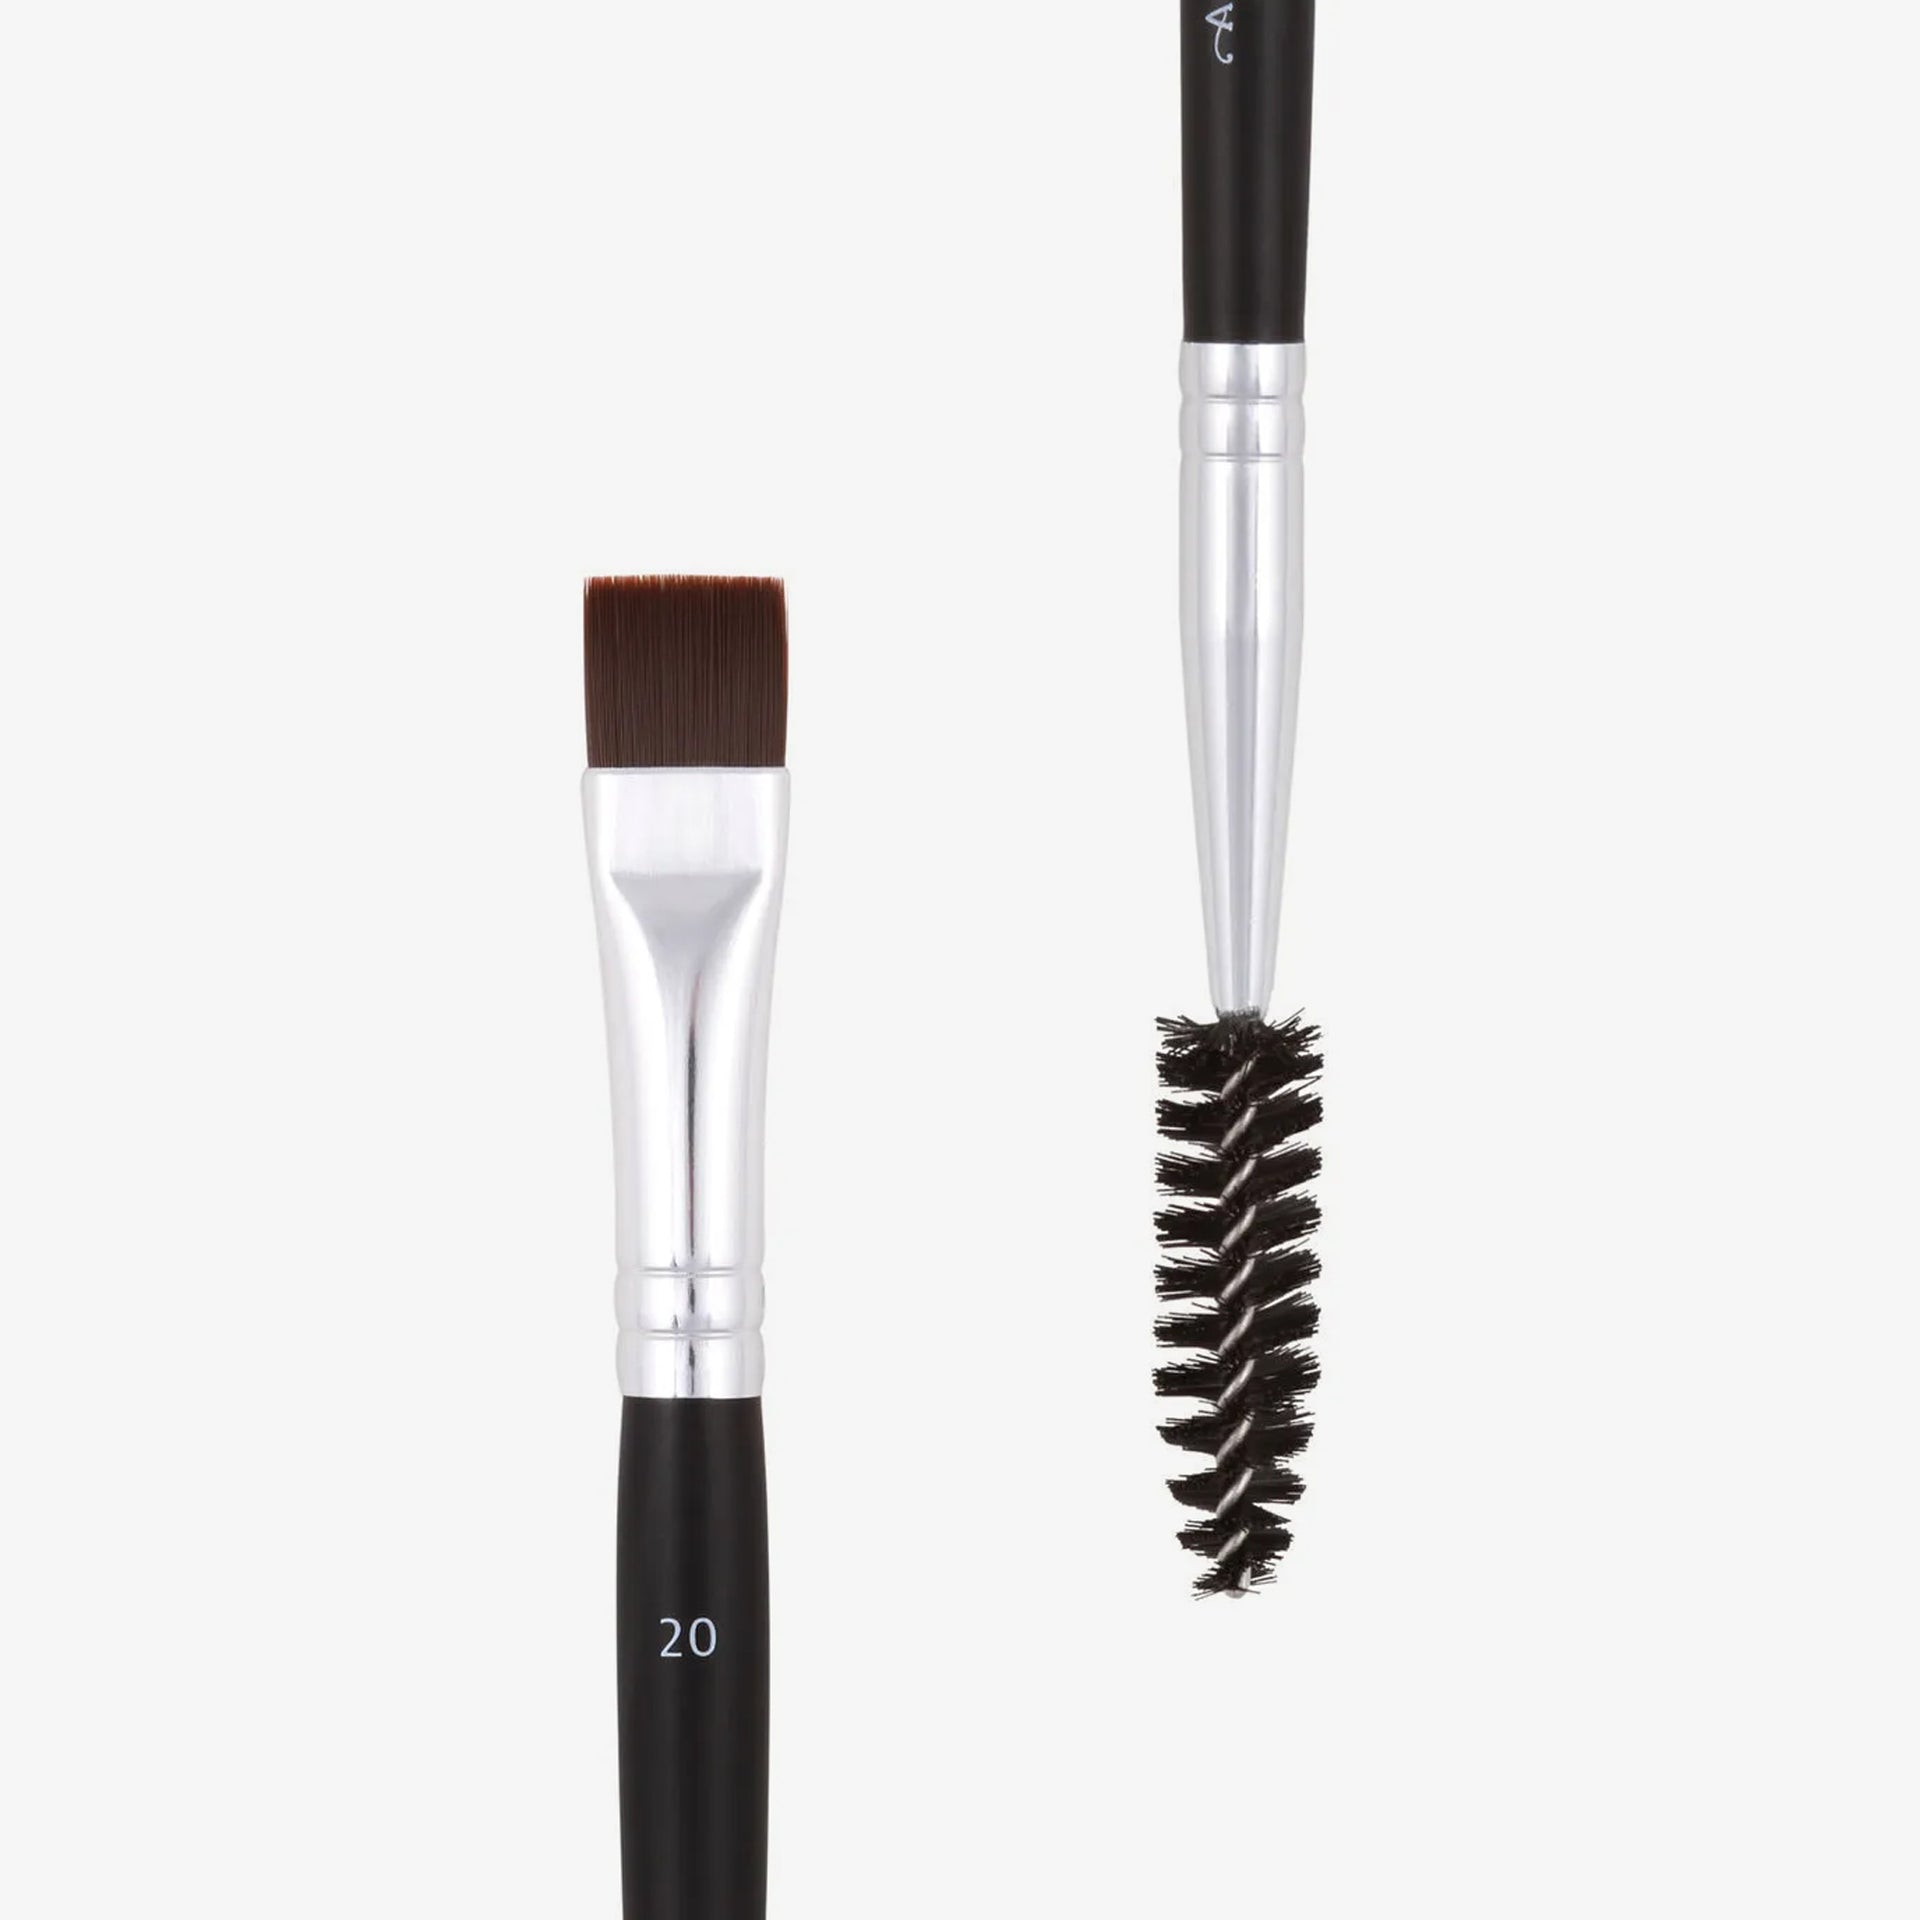
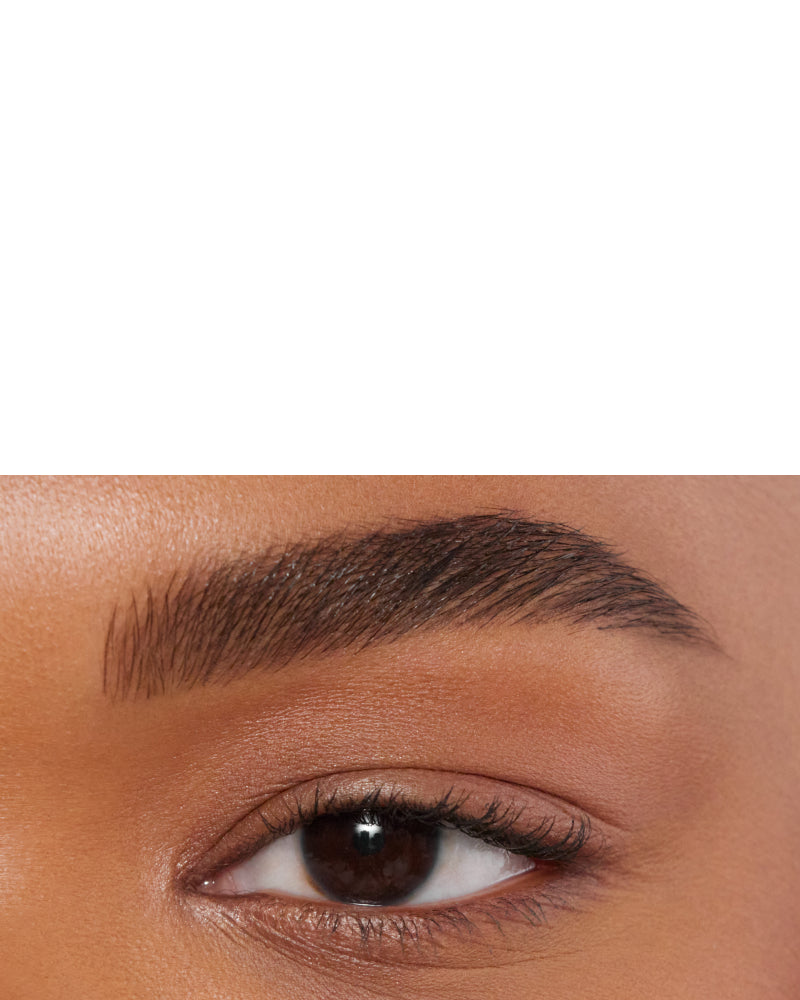
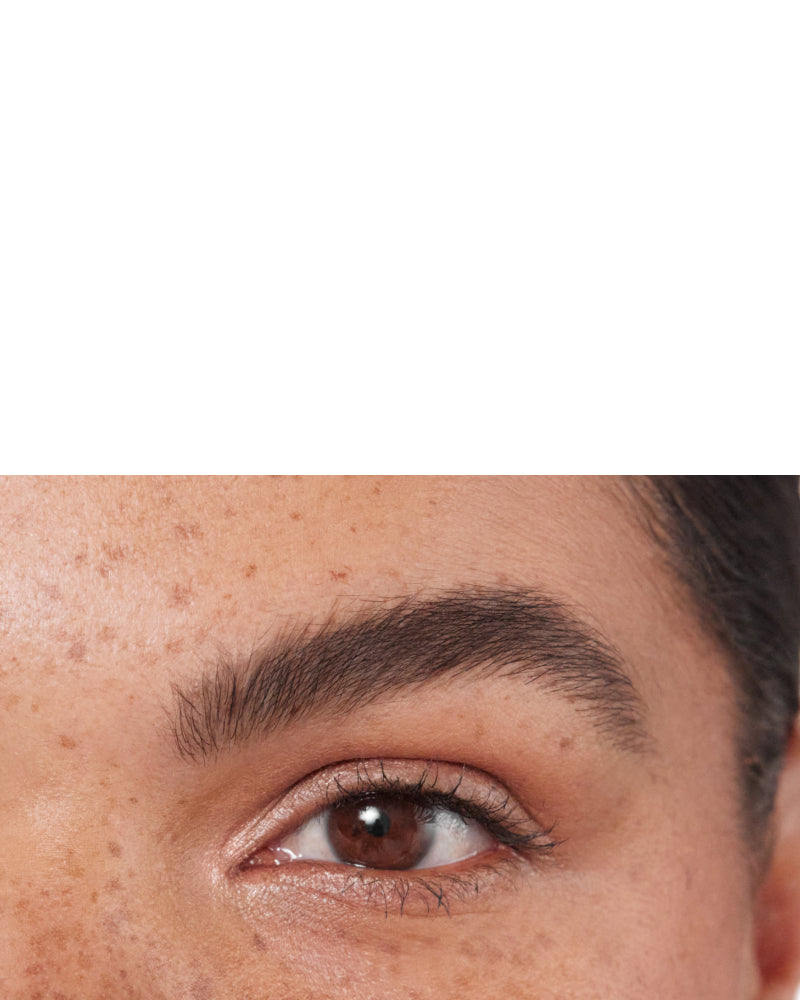
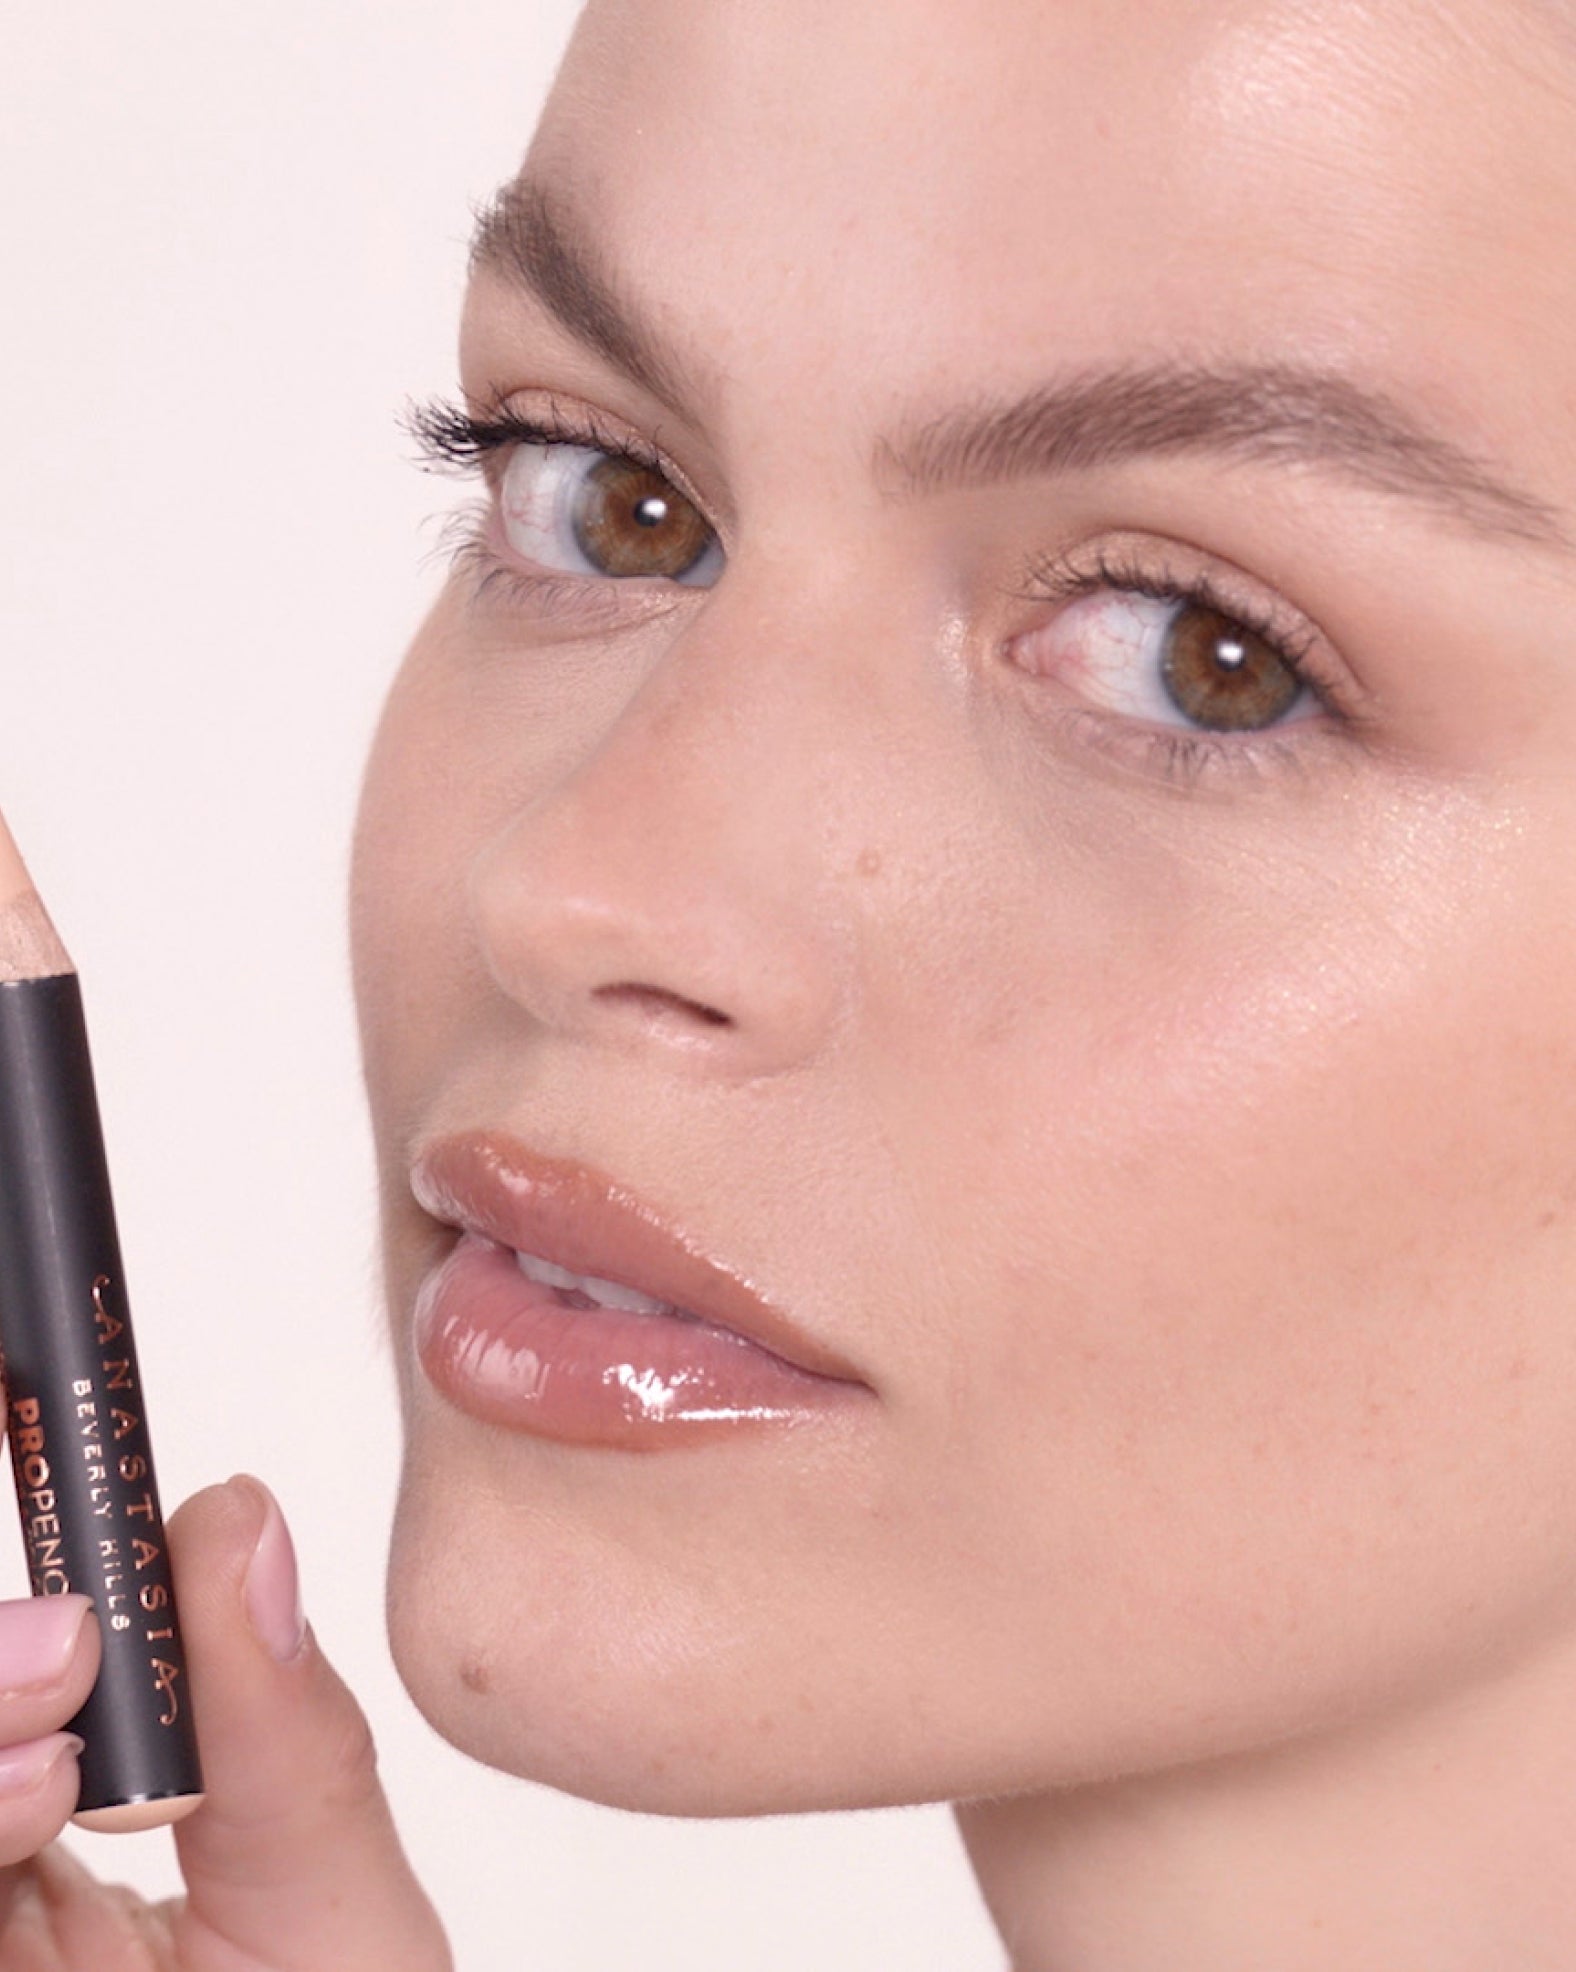
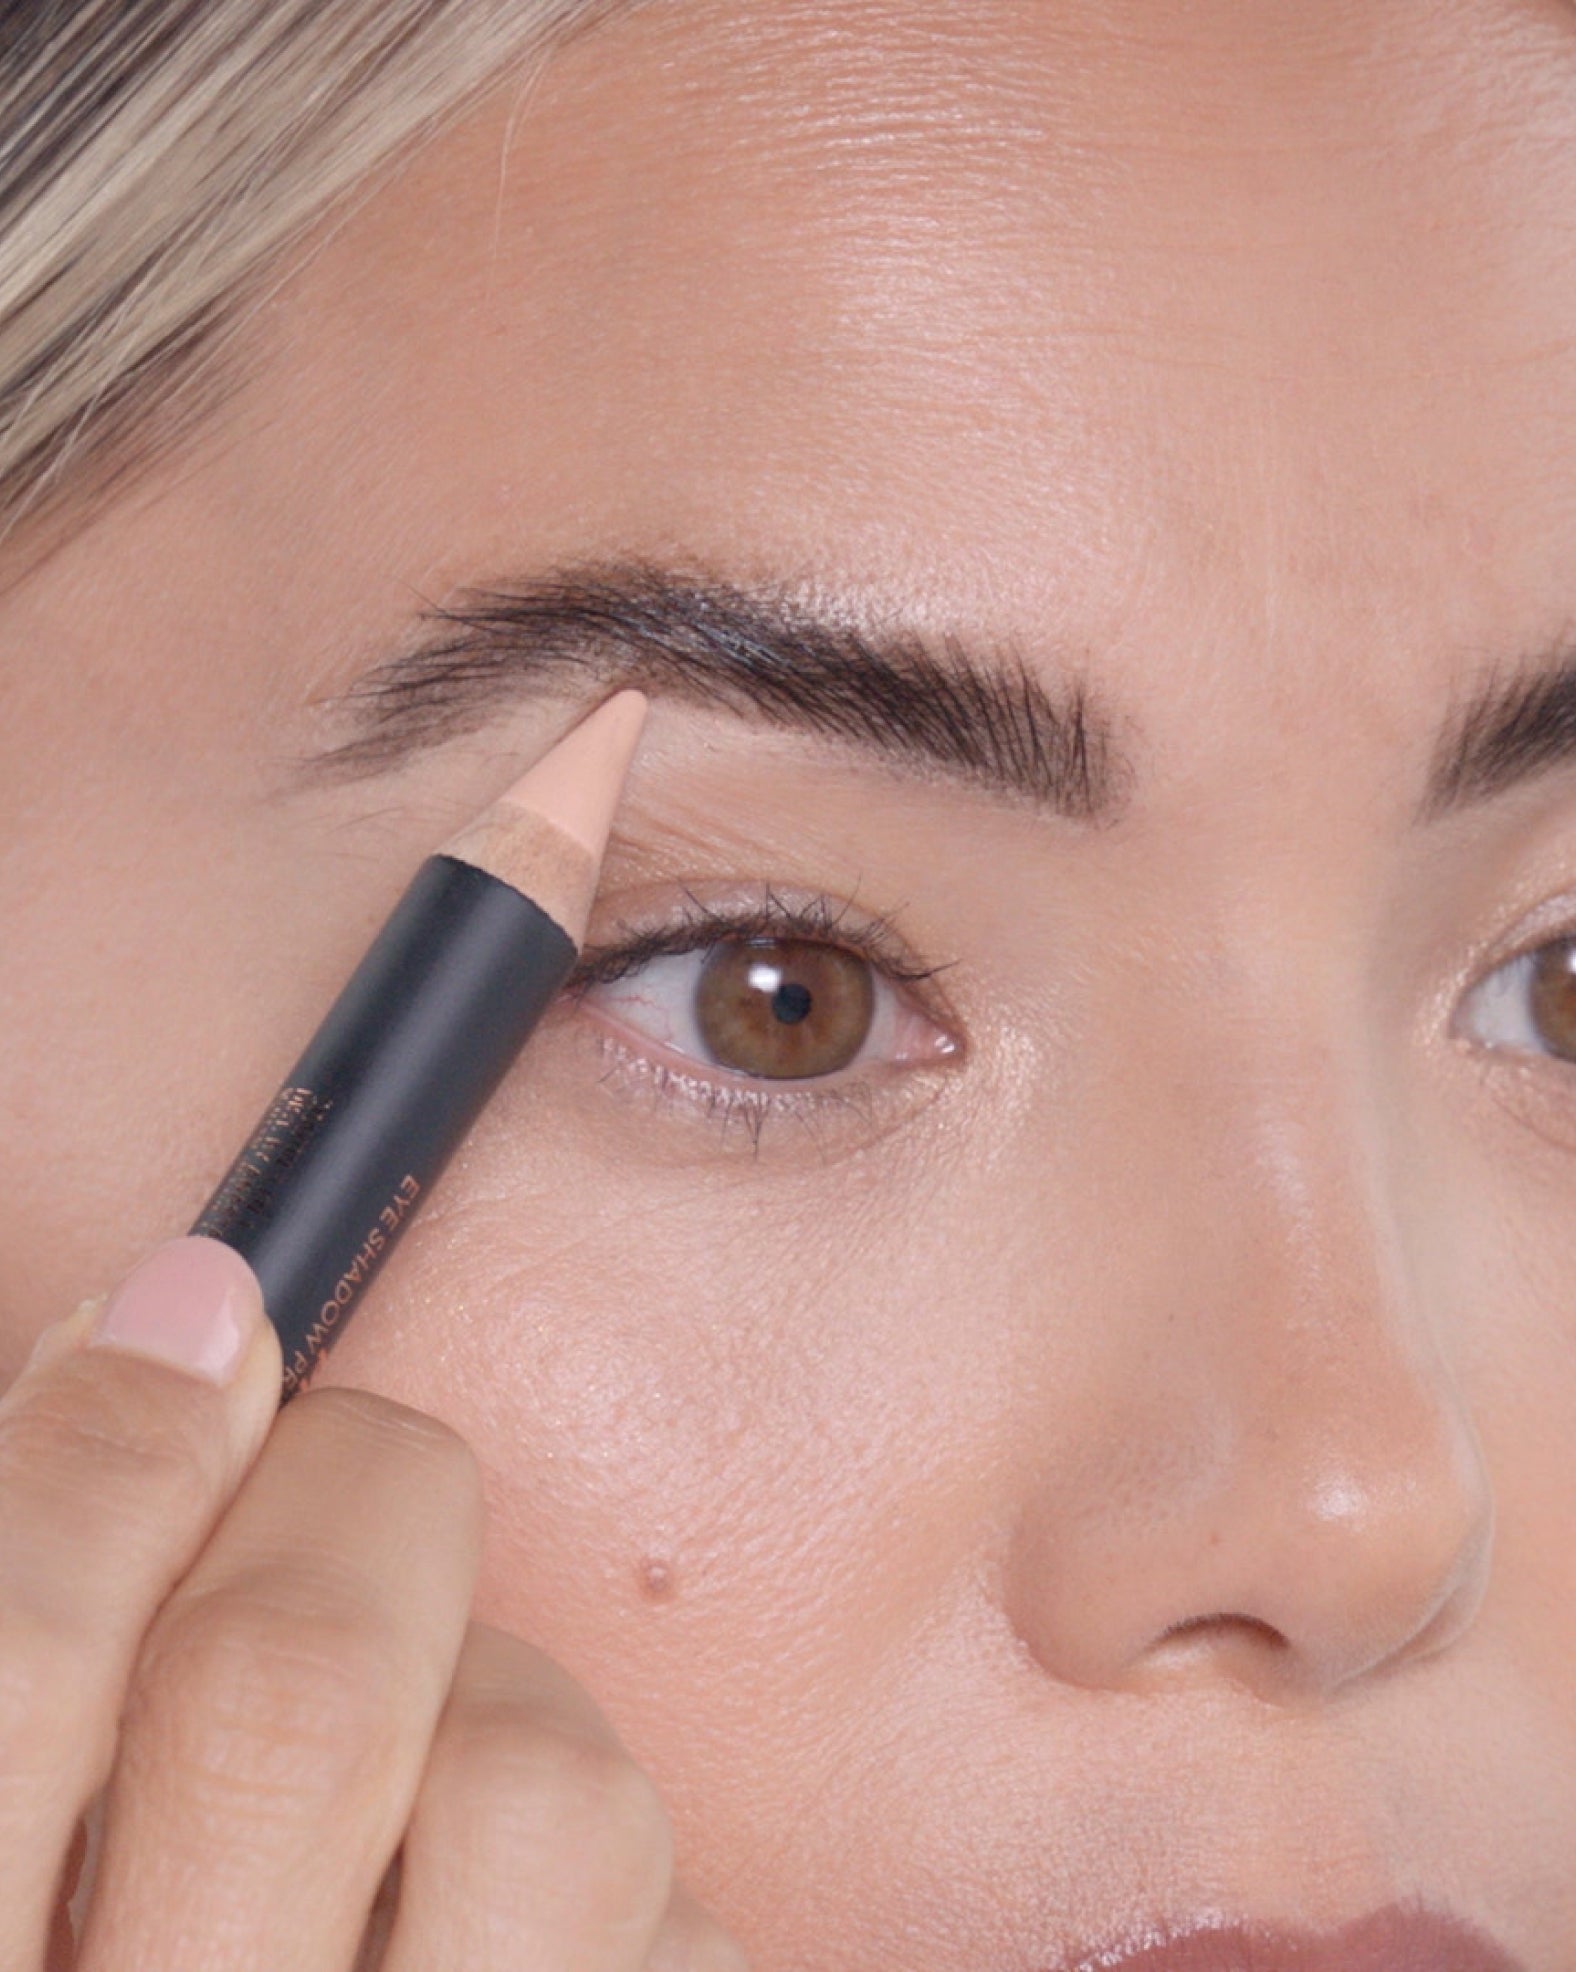
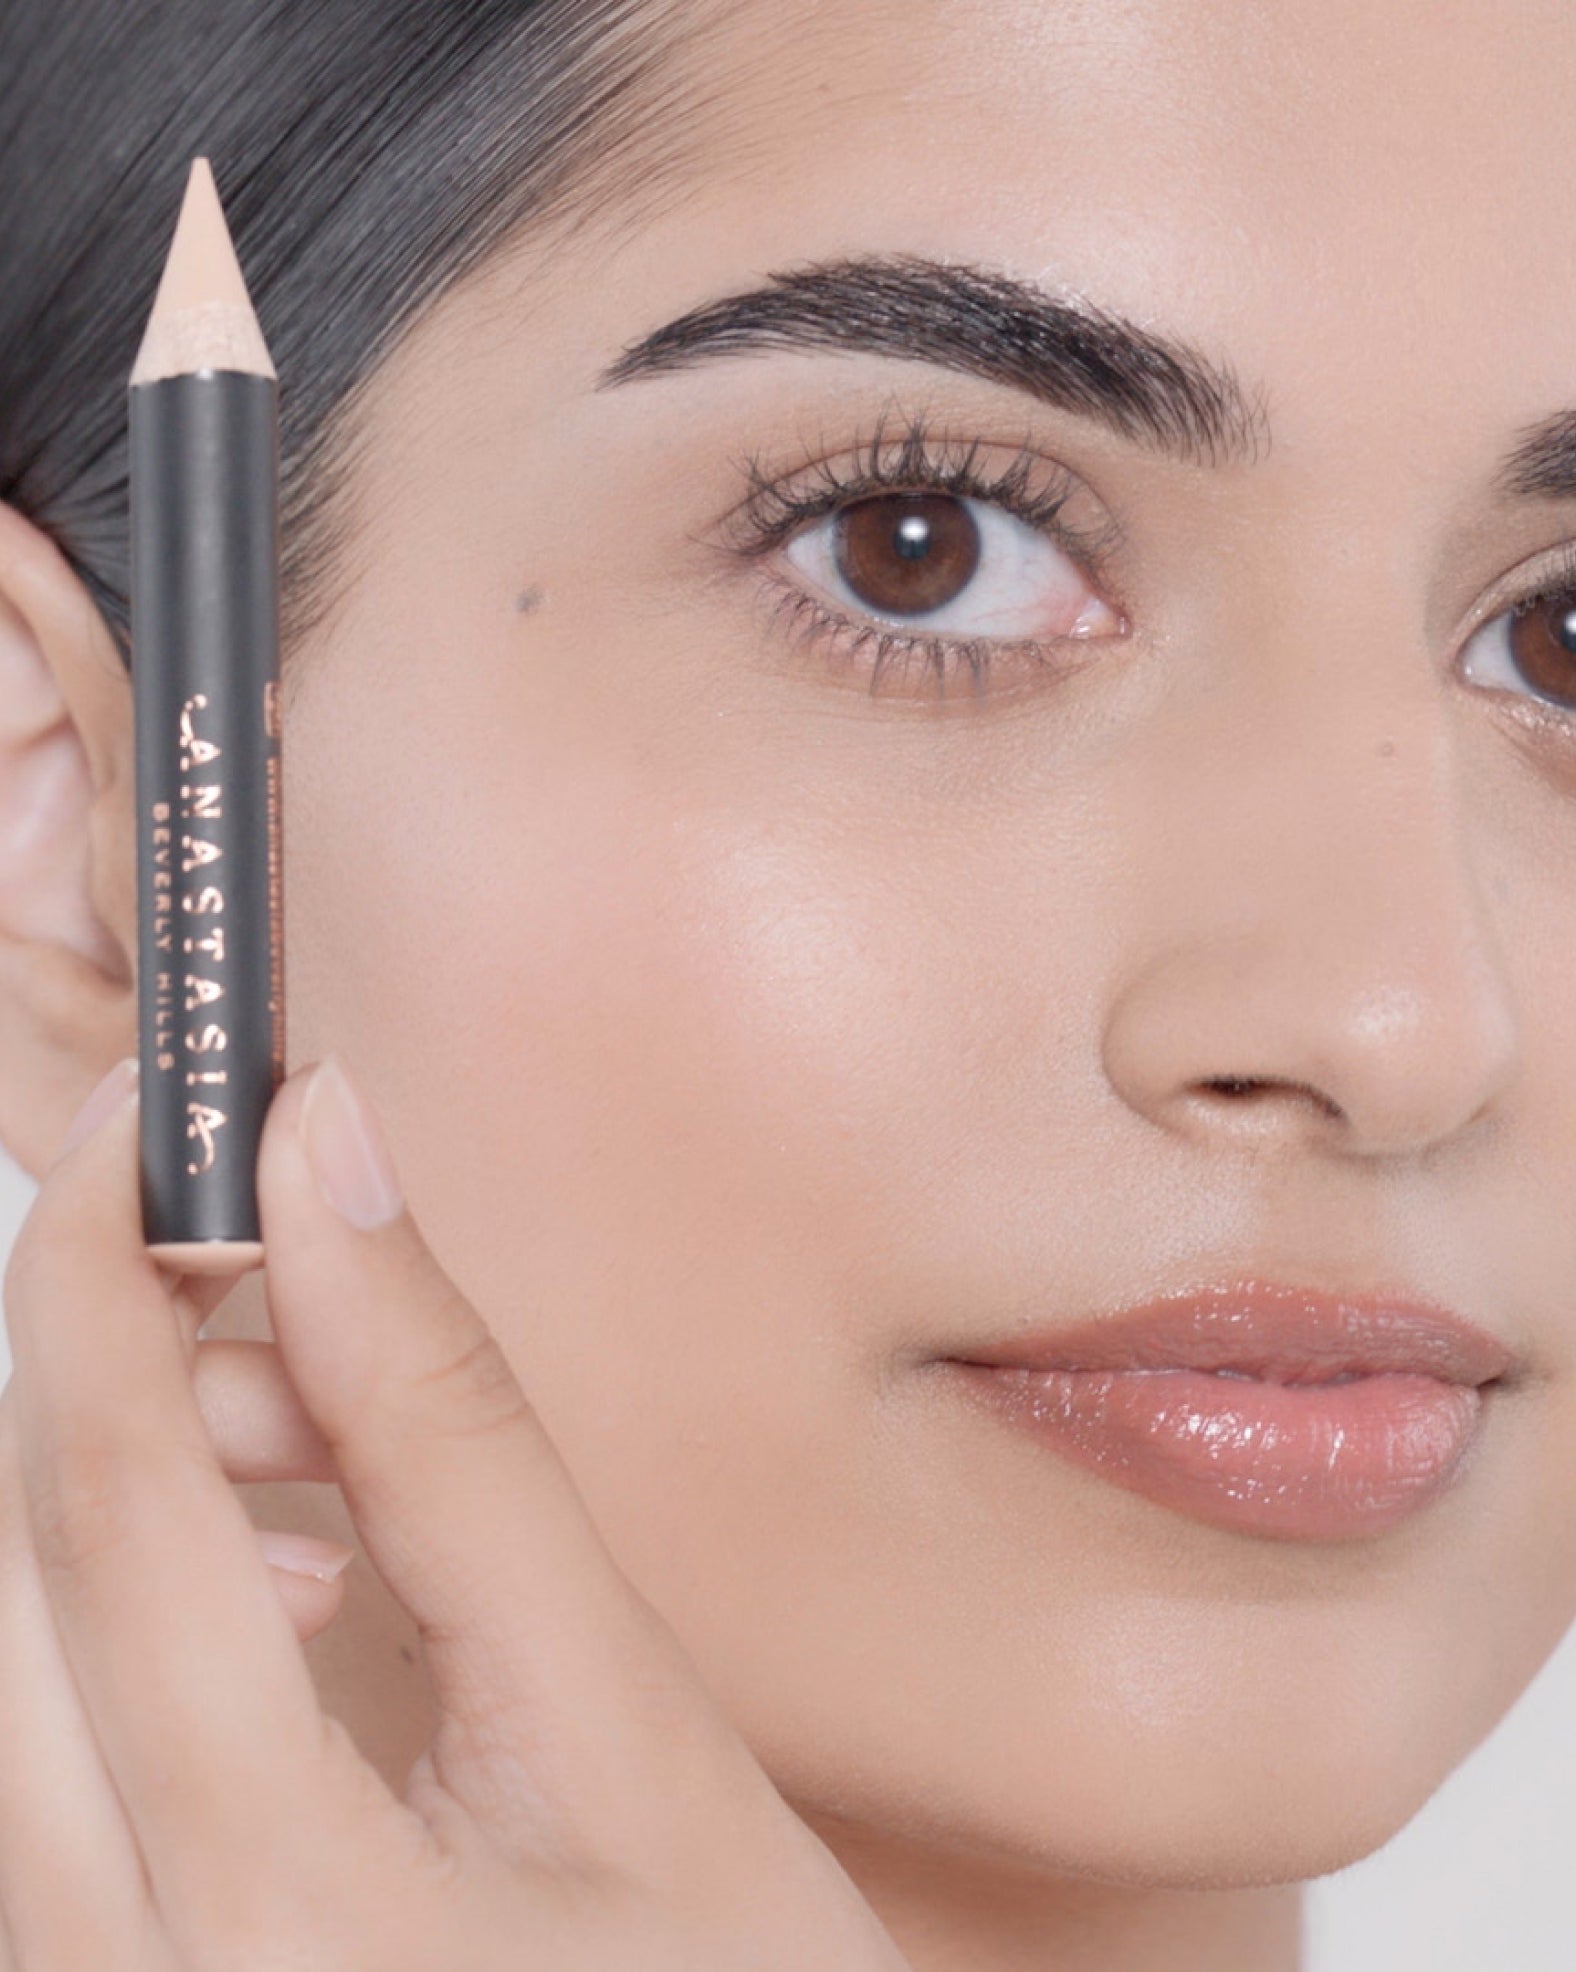
Does the new year have you wanting to try on a new look? Or maybe your resolution is more about getting back into a better routine? Either way, it’s a good time to look at your brow care the past year, and how to improve for the next! With that in mind, we’ve put together this handy quick-tip guide. Use it as a checklist to make sure you have the right products and you’re taking the right steps. At Anastasia Beverly Hills, we want everyone to have beautiful brows! Feathered Brows Ideal for: Sparse to full brows; light-colored and patchy brows Suitable for: All skill levels You’ll need: Volumizing Tinted Brow Gel, Brow Pen, Brow Freeze® Gel You might want: Brow Wiz®, Pro Pencil, Brush 20 It’s easy to create delightfully full-and-fluffy eyebrows in seconds when you know how. First, use Volumizing Tinted Brow Gel to create instant color and fullness. Next, add definition using Brow Pen to create hair-like strokes in patchy areas. Finally, lock your brows in place with Brow Freeze® Gel. If you want extra definition, reach for Brow Wiz® to further detail and define. Next, highlight your brow bone and define your shape with Pro Pencil. Blend with Brush 20 for a natural finish. Ombre Brows Ideal for: Sparse to full brows Suitable for: All skill levels Get: Brow Freeze®, Brow Powder Duo, Brush 7B, Clear Brow Gel Extras: Highlighting Duo Pencil, Brush 20, Brow Pen For brows with a natural-looking gradient effect, we’ll naturally need to add a little color. So here, we’ll start with Brow Freeze® to shape and prep our brows to hold powder. Then, we’ll apply the deeper shade of Brow Powder Duo with Brush 7B to the highest point of the brow, working toward the end and blending as we go. Apply the lighter shade to the front of the brow and voila – instant ombre! Clear Brow Gel sets the brows and color. Next, highlight your brow bone and define your shape with Highlighting Duo Pencil. Blend with Brush 20 for a natural finish. Sculpted Brows Ideal for: Sparse to full brows Suitable for: Intermediate (a little tricky for beginners) Get: Brow Freeze®, Brow Powder Duo, Brush 7B, DIPBROW® Pomade, Brush 12 Extras: Pro Pencil, Brush 20, Brow Pen For ultimate shape and definition with impact, sculpted brows are the way to go. The first steps are the same as for ombre brows – shape and prep with Brow Freeze®, shade with Brow Powder Duo – but we’ll finish with DIPBROW® Pomade for extreme definition and superior hold. Brush 12 is the brush of choice for applying this pomade. For highlighting and filling sparse areas, you want Pro Pencil, Brush 20 and Brow Pen in your makeup bag. Laminated Brows Ideal for: Medium-sparse to full brows; unruly and coarse brow hair Suitable for: A little tricky for beginners Get: Brow Powder Duo, Brush 7B, Brow Pen, Brow Freeze® Gel Extras: Brow Powder Duo, Brow Primer, Pro Pencil Even with the calendar flipping to 2025, laminated brows are still a hot trend. To achieve this look – while taming uncooperative brow hairs at the same time – here’s what you need to know. First, softly fill and define your brows with Brow Powder Duo. (Applying Brow Primer as a first step is a good idea; it will help the powder adhere better.) Next, we add hair-like strokes in sparse areas with Brow Pen. Finally, lift and lock those brows with Brow Freeze® Gel, using the side of the applicator to lay brow hairs flat seamlessly. For highlighting and extra definition, add Pro Pencil to your routine before applying the holding gel.
Read Article
