Of course, there’s absolutely nothing wrong with the light-colored brows nature gave you … but sometimes you might want them to be a little darker, deeper or more defined. This frames the face and draws attention to your beautiful eyes. We’re here to help you create the dream brows you desire.

Step 1
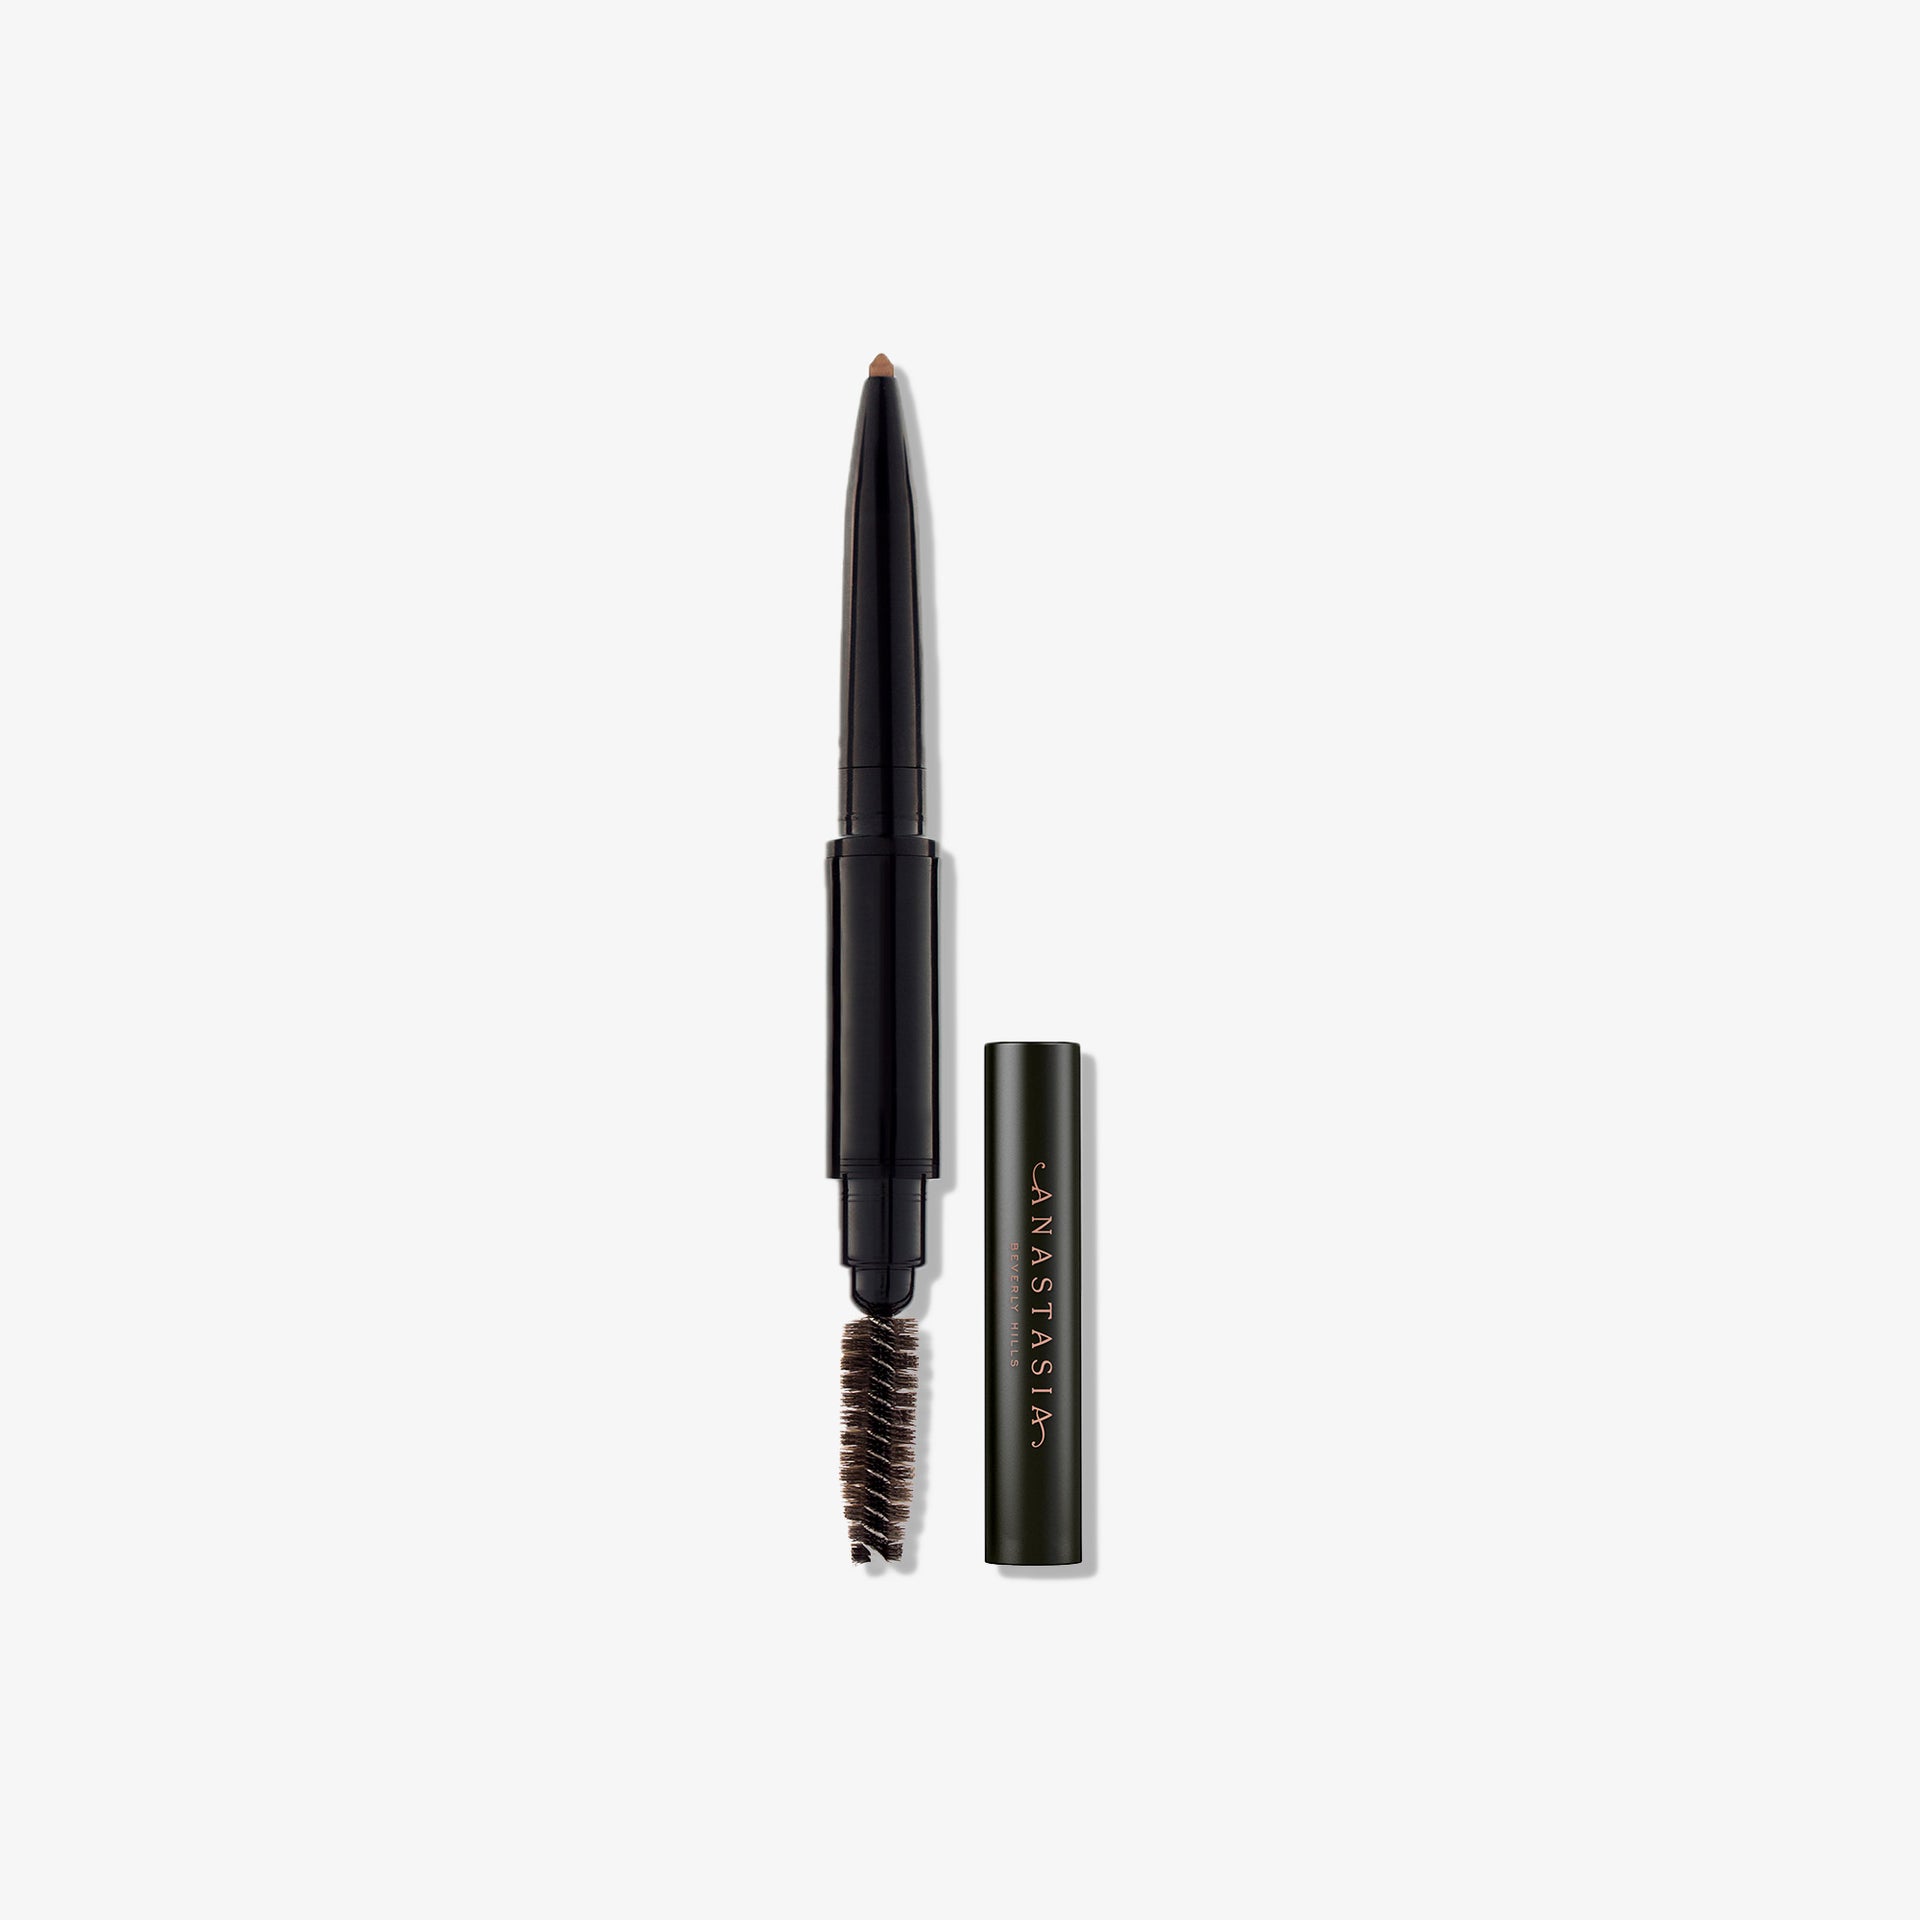
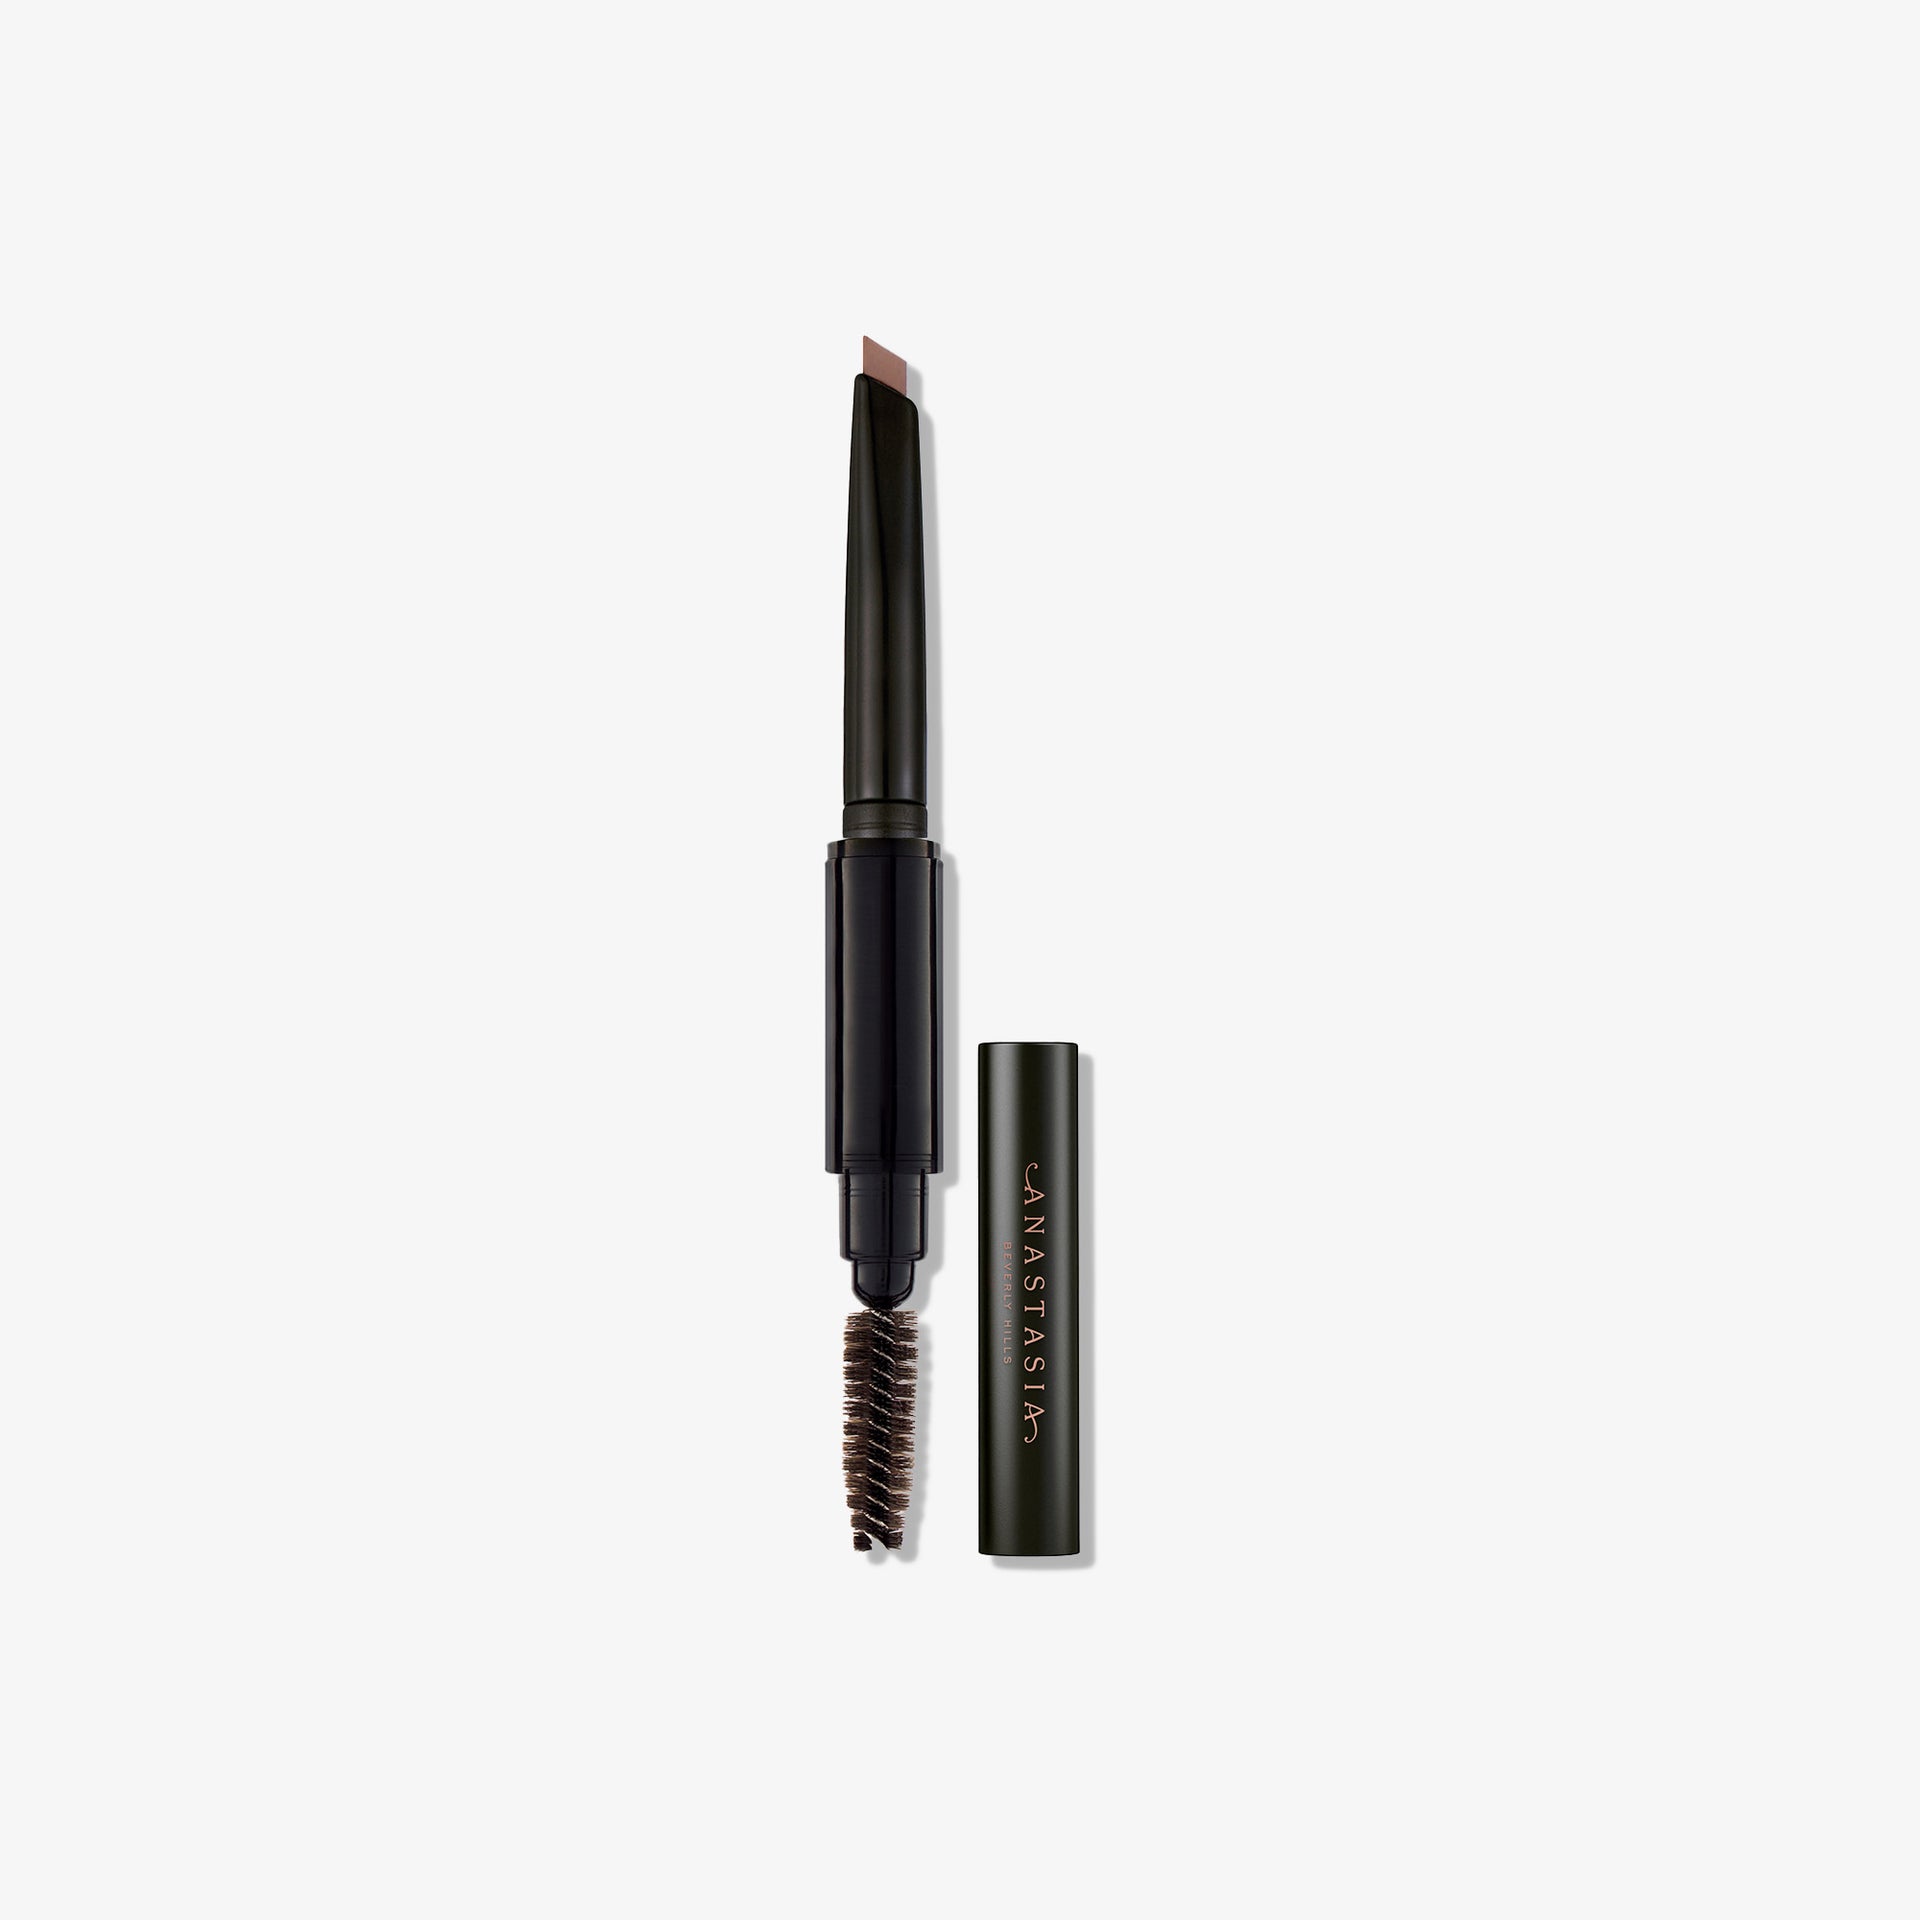
Let’s start by giving those brows some definition with Brow Definer, our all-in-one triangular-tipped eyebrow pencil. Using Brow Definer’s flat side and a small amount of product, outline the brow shape you want. Then use the medium side to fill and shade in the brow. Finally, use the fine tip to create hair-like strokes in sparse areas, working in the direction of your hair growth. Go back over your work and blend with the spoolie brush for a natural-looking finish.

Step 2
Next, let’s add some gorgeous depth. Apply a darker-than-your-natural shade of Tinted Brow Gel in short, upward motions to set your brow in the color you want. Start at the arch of your brow and work toward the tail, then fill in the front of your brow using a small amount of product. This lightweight, full-pigment gel features light-reflecting pearls that add dimension to your new brows.

Step 3
Finally, use Pro Pencil to give your brow clean definition. Apply it at the base of your brow and sweep from front to end, following your brow shape. Use the flat side of Brush 20 to soften and blend edges, using short, downward motions, then blend with the spoolie end. Pro tip: Warm the tip of your Pro Pencil on the back of your hand before applying.


