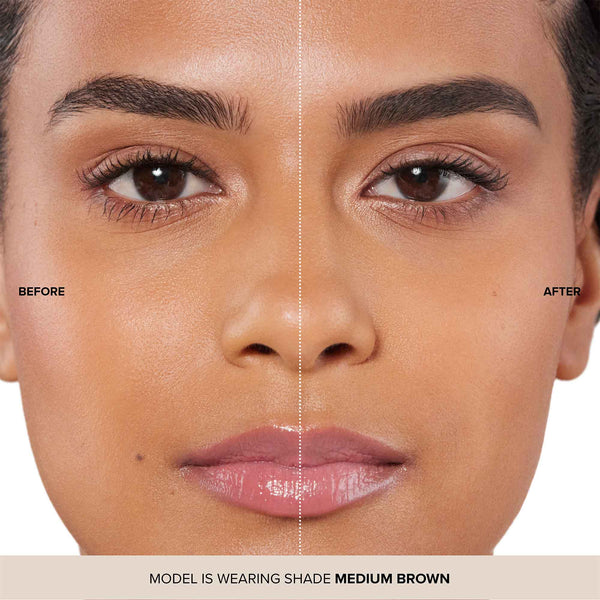
Anastasia believes that everyone should have the perfect brows they’ve always wanted. If you’re someone who wants more shape, fullness and lift in your brows, this is the how-to tutorial for you!

Step 1
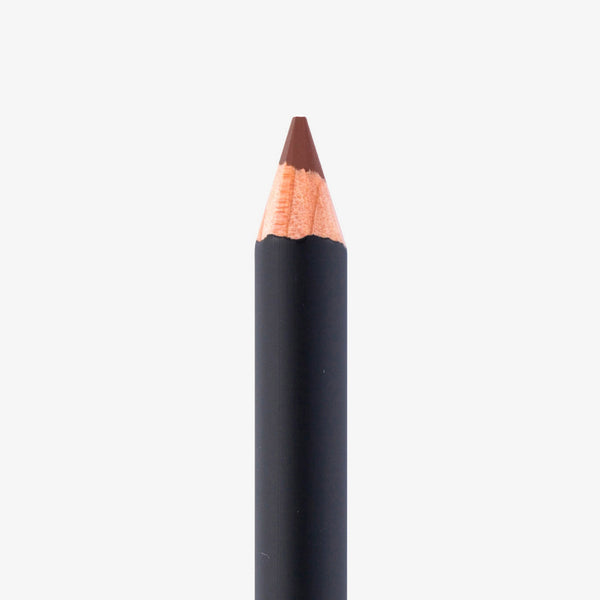
Starting at the arch, fill in the brow with Perfect Brow Pencil. Use light pressure for a natural look, and work in the direction of your hair growth. Then fill lightly in the front and blend with the spoolie brush. Pro tip: Warm the tip of your Perfect Brow Pencil on the back of your hand before applying.
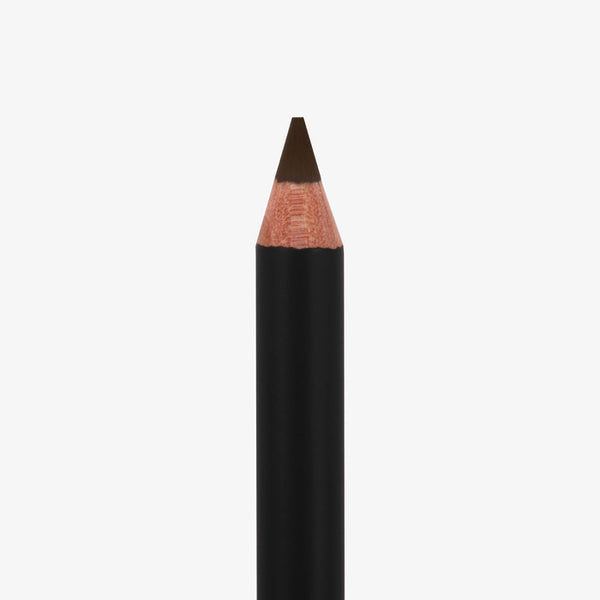
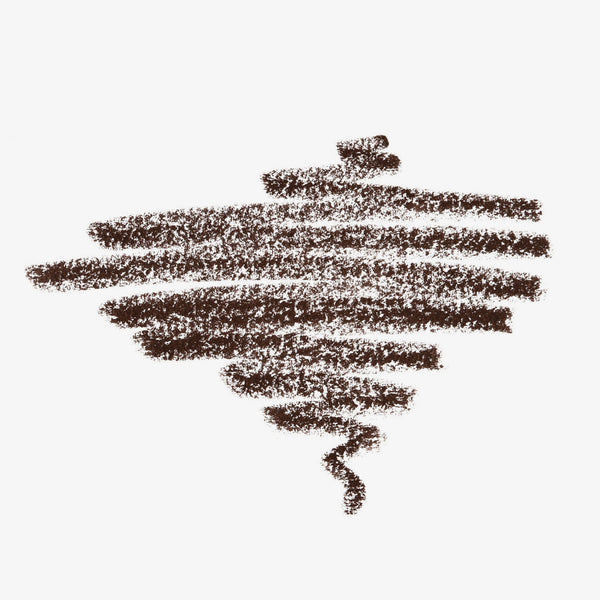
Perfect Brow Pencil

Step 2
Shake Brow Pen before use, then apply hair-like strokes in sparse areas. Again, use light pressure and work in the direction of your hair growth. Let it dry for 20 seconds before proceeding to the final step.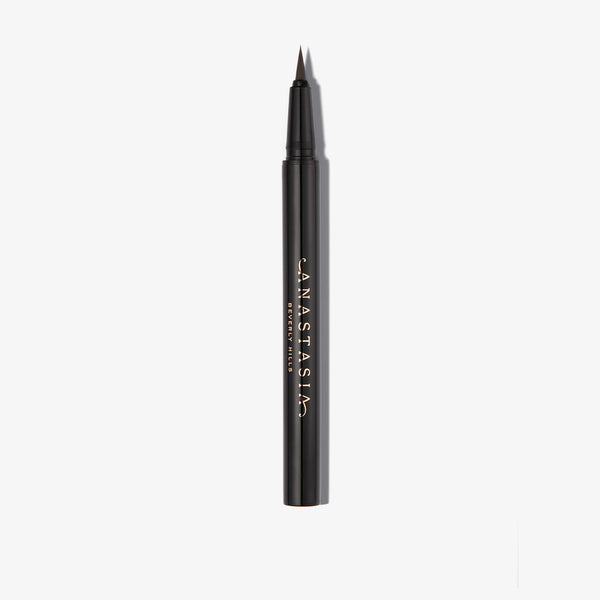
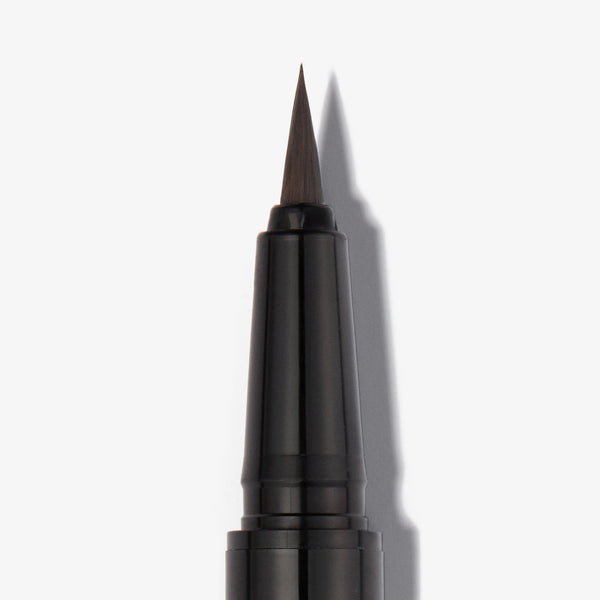
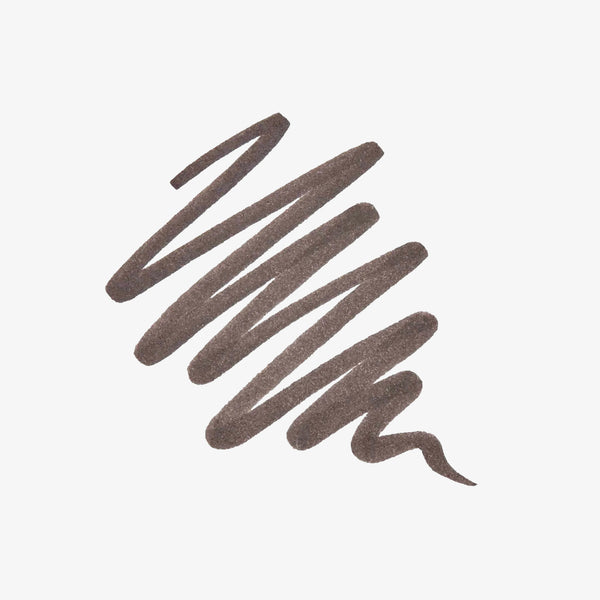
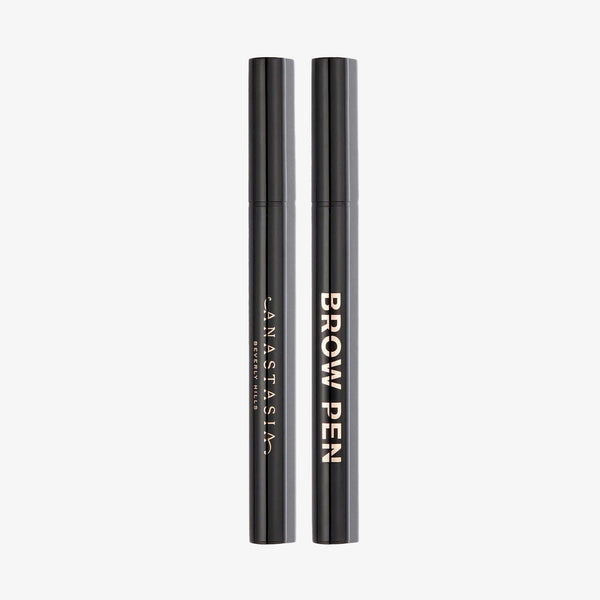
Brow Pen


Step 3
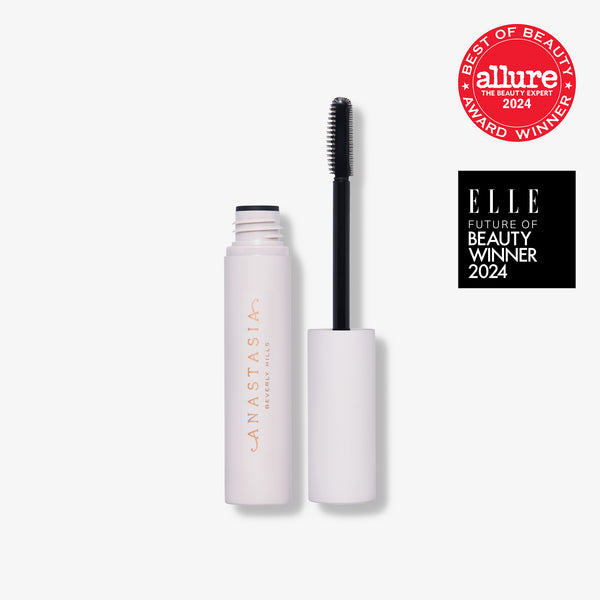
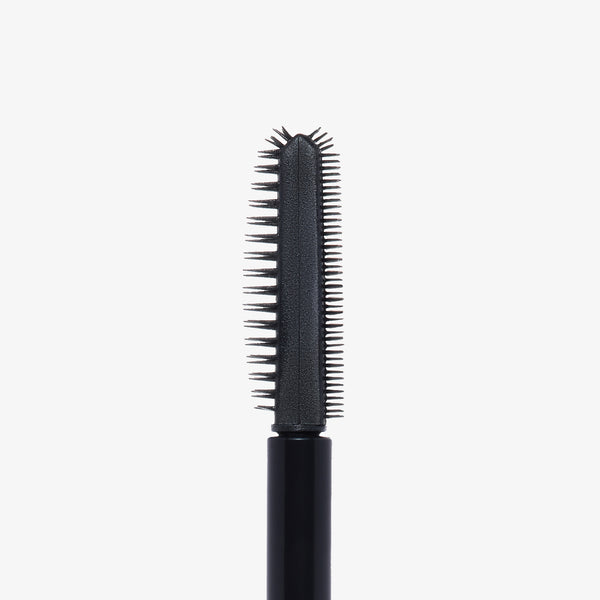
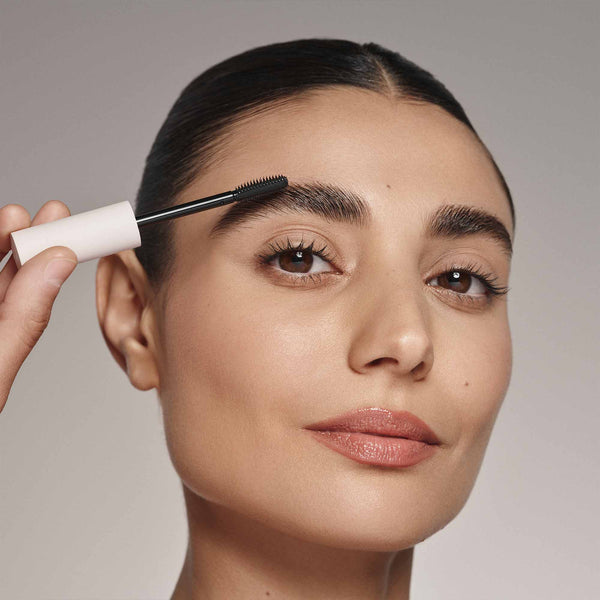
Lift and lock brows in place by applying Brow Freeze® Gel in short, upward motions. Use the long bristle comb to separate and tame hair, then use the short bristle comb to shape and sculpt hairs into place. For a laminated look, use the side of the applicator to lay brow hair down seamlessly.